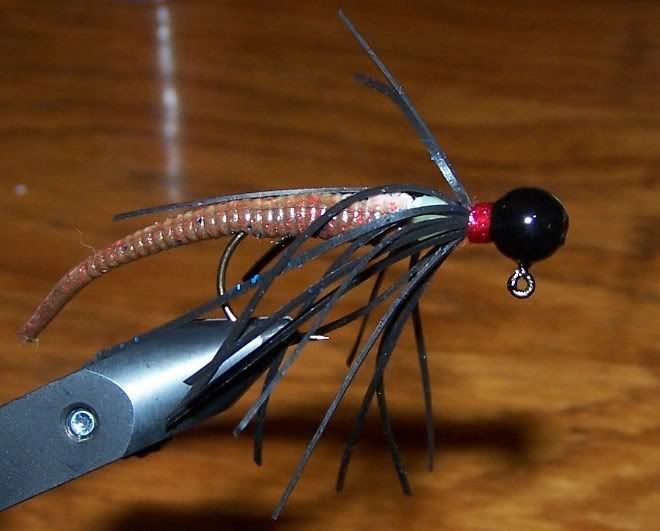
This is a little soft plastic jig I call the "Spider jig" -- even though it looks more like a crayfish taking a huge dump...
Hook: VMC high-carbon size 1 (bronze)
Head: 1/8 oz w/black powder paint
Body: Rubber legs (black w/blue flake) + 4mm chartreuse glow-in-the-dark bead
Tail: Brown stinger tail w/multi-colored flake
step-by-step:
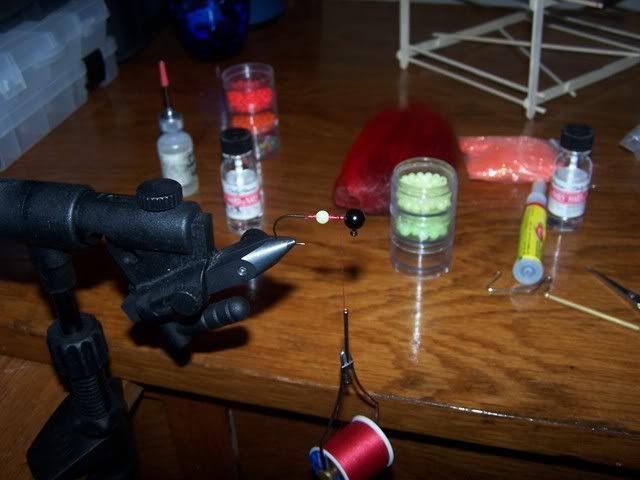
Start the tread wraps. Remove from vise, slide bead onto hook, then back on the vise.
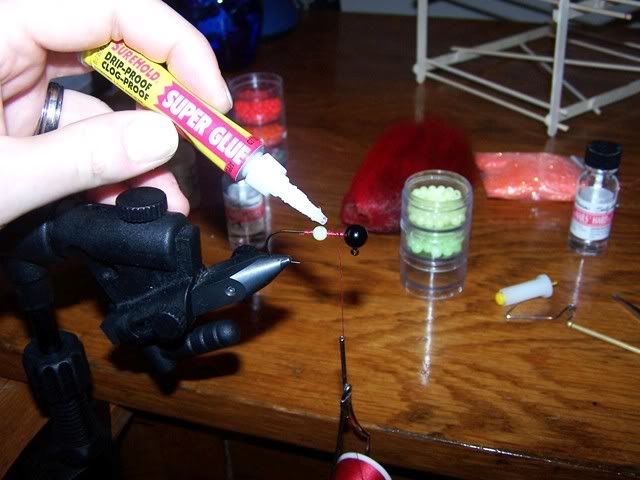
Do enough thread wraps to make the bead slightly snug when it's slid up, then put a tiny bit of super blue on the thread and slide the bead up. Leave a gap of at least 1/8" between the bead and jig head.
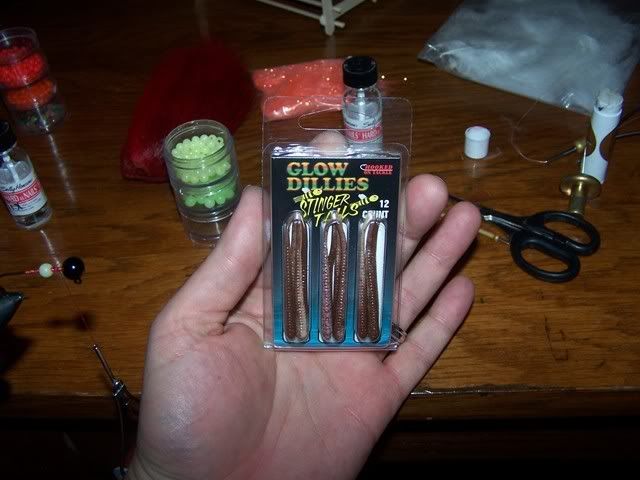
These are stinger tails. They are thinner than most plastic worms and can be found in the jig section @ Joe's.
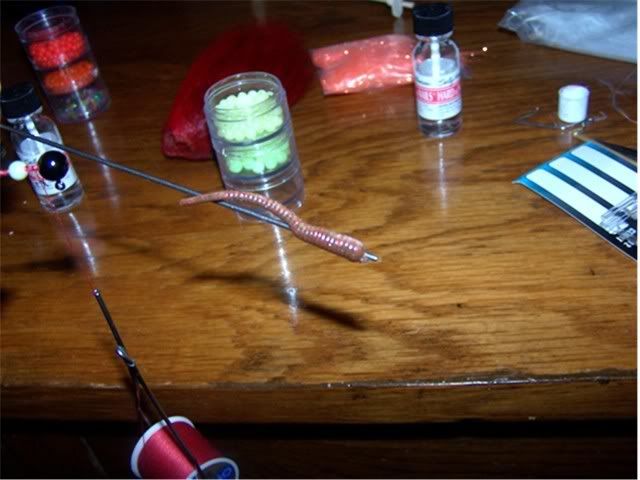
I like to thread the tail onto a worm threader to keep it straight. You can do it directly onto the hook, but it's easy to get it crooked because of the hook bend.
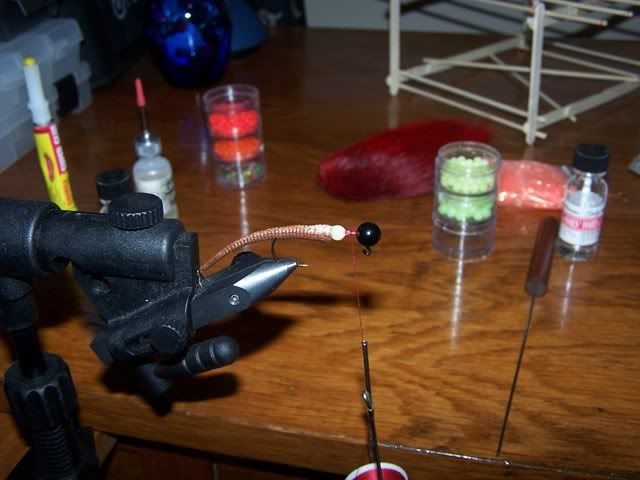
Thread the tail onto the hook until it's almost touching the bead. Then add a small amount of superglue to the top and slide it up until it touches the bead. It should bond instantly. This keeps the tail from twisting or sliding.
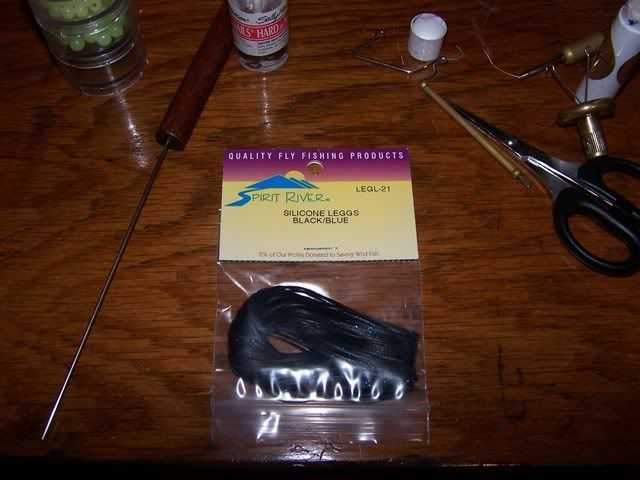
These are the rubber legs I like to use. They are usually with the fly tying stuff in most sporting goods stores.

Cut 4 strands from the bunch and tie them in on one side. Then fold them back and secure with thread.
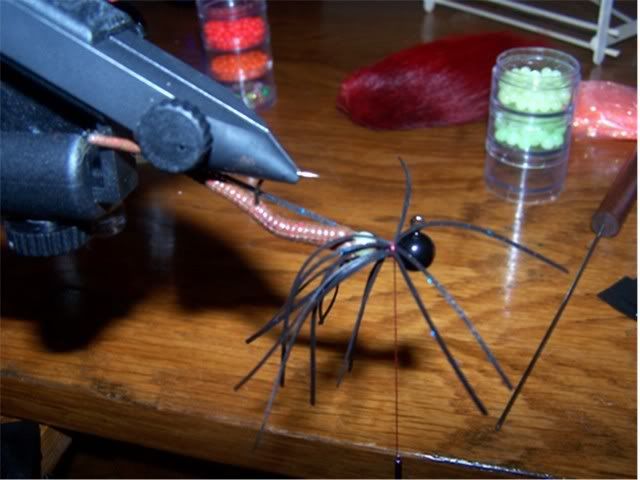
Repeat on oposite side.
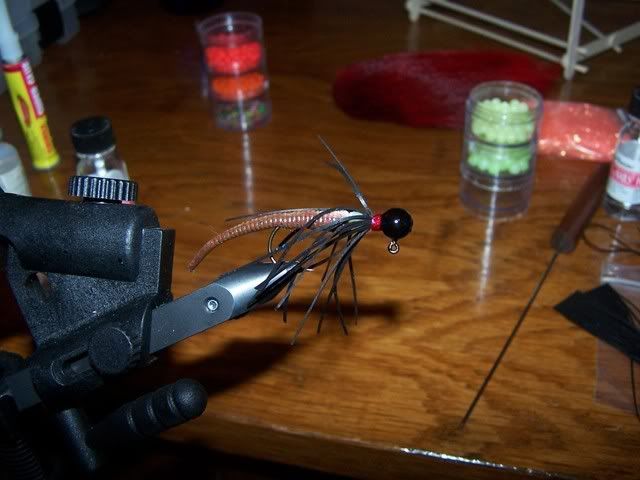
Add a little head cement to the threads and you're done!
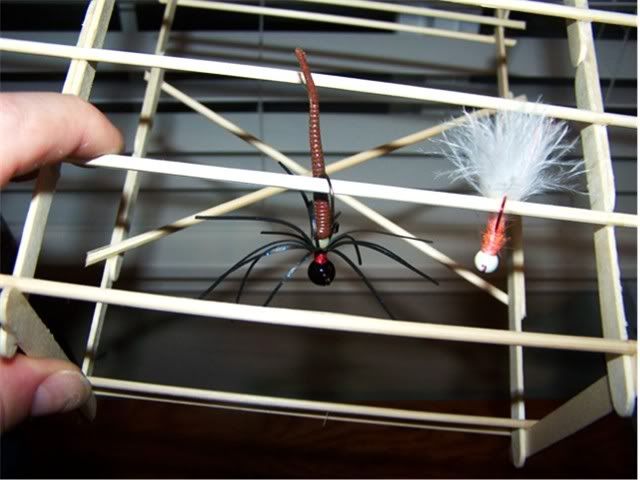
Here's a picture of the jig hanging on a rack. This is what it should look like when it's being fished on the bottom. I like to hop it and then let it sit. Fish will either pick it up while it's sitting on the bottom or they'll hit it when it's falling.