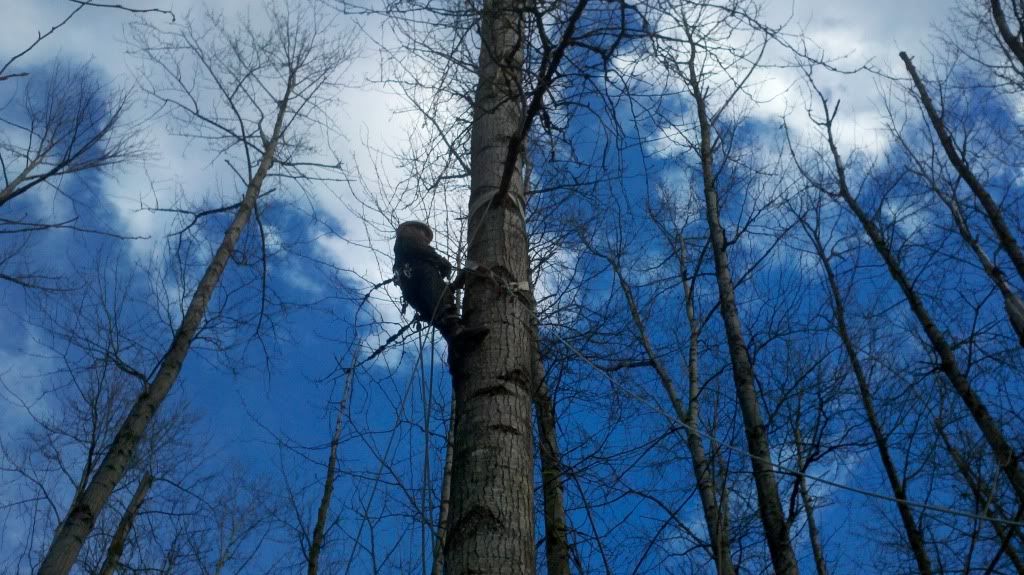
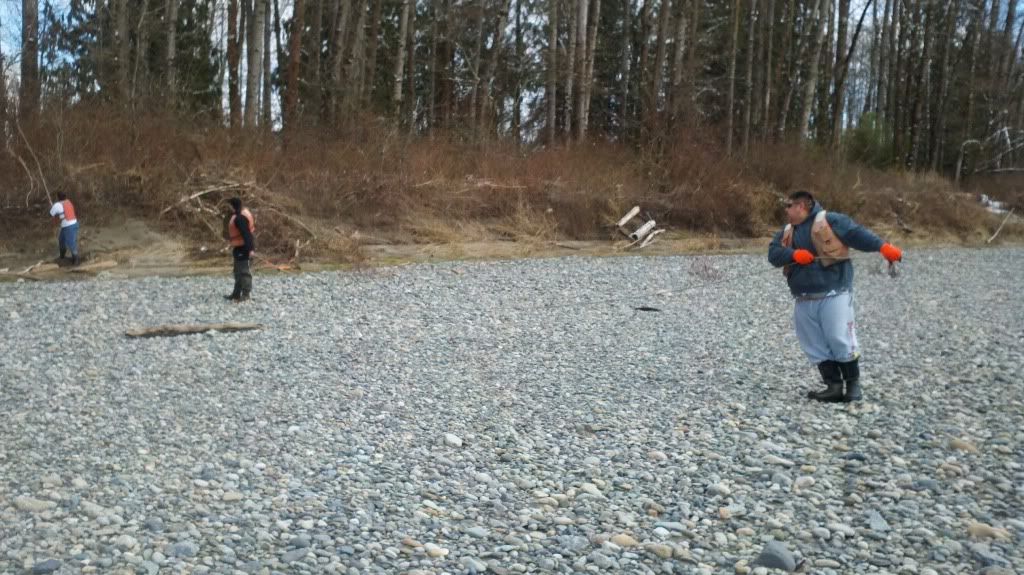
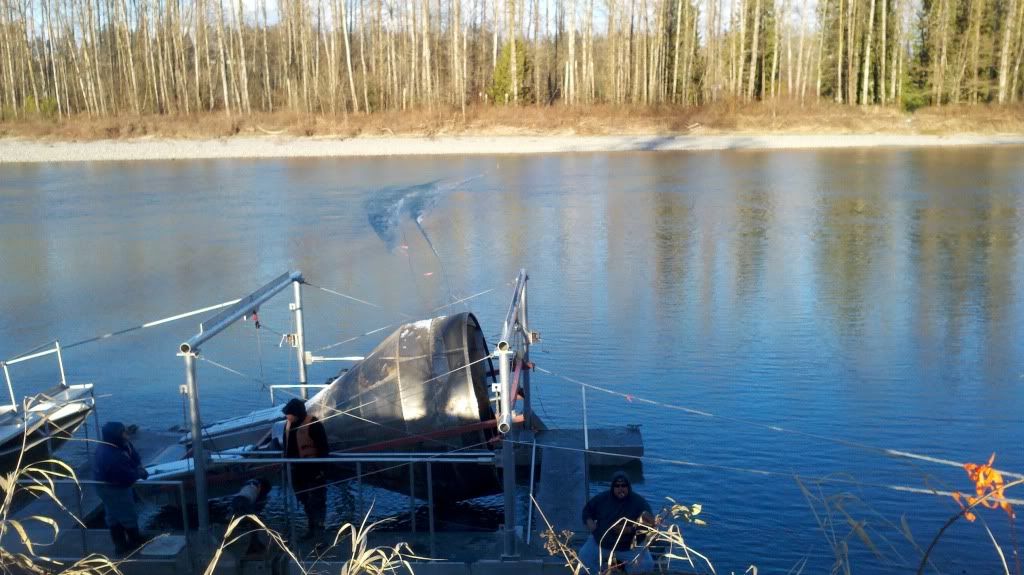
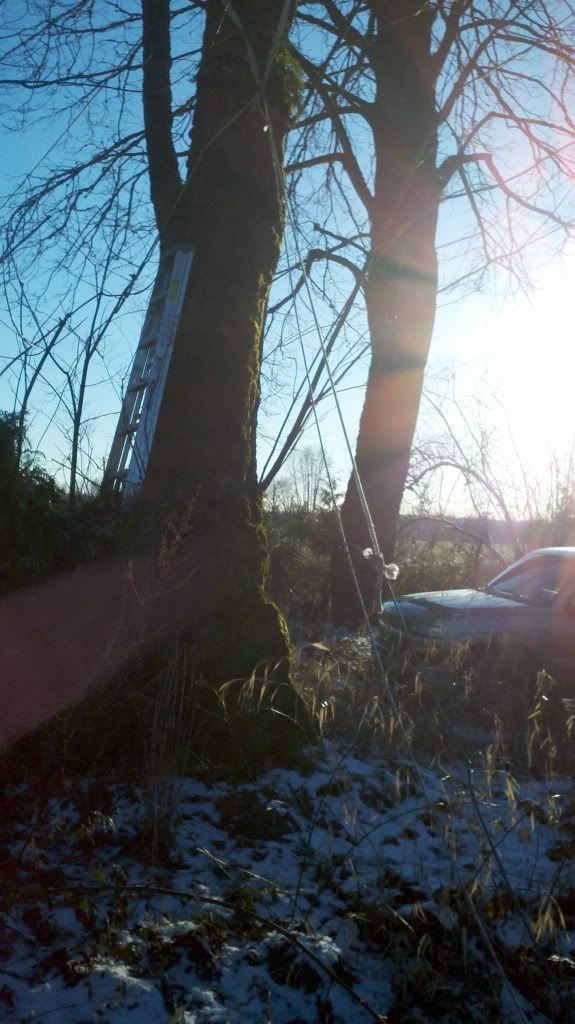
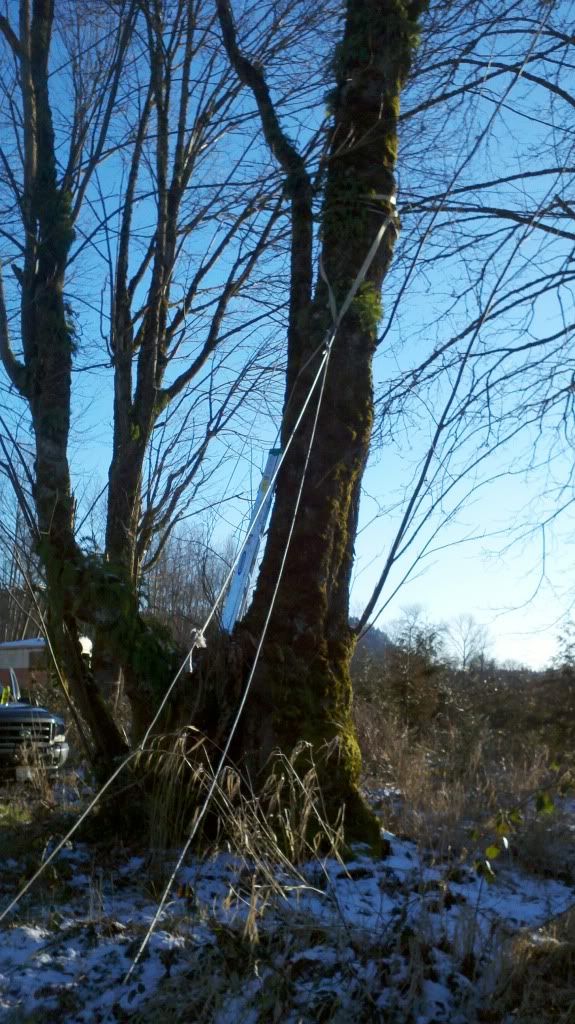
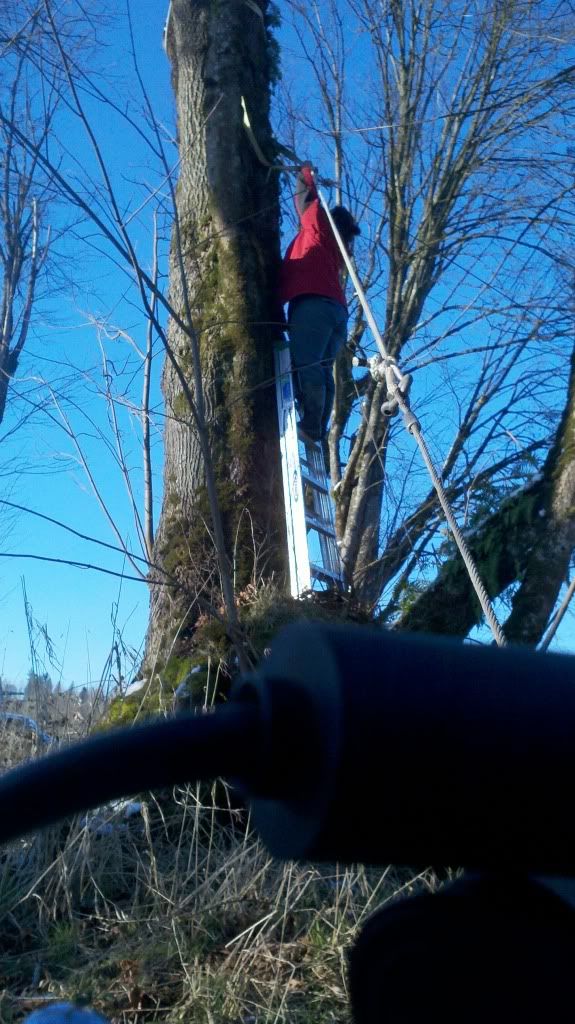
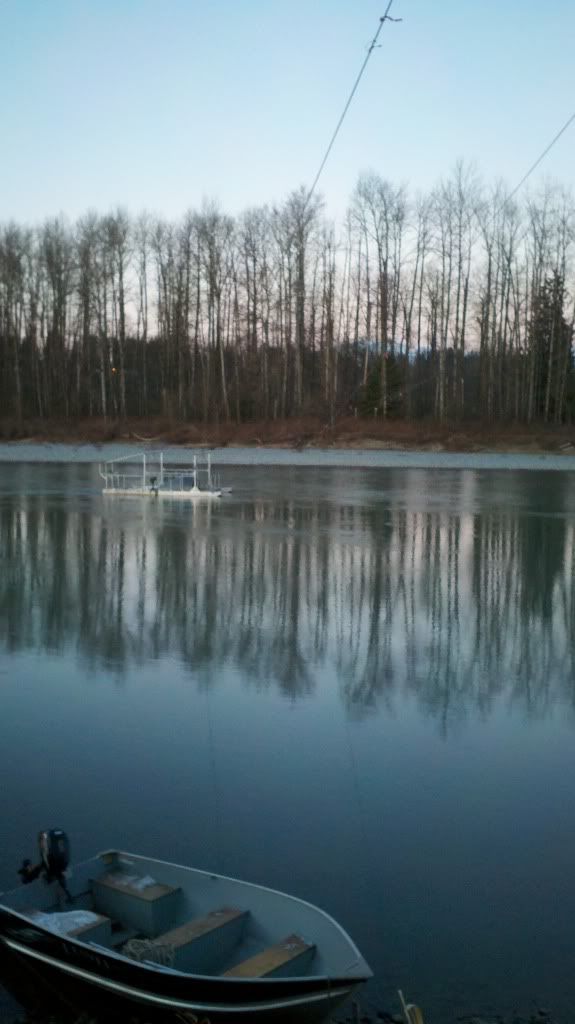
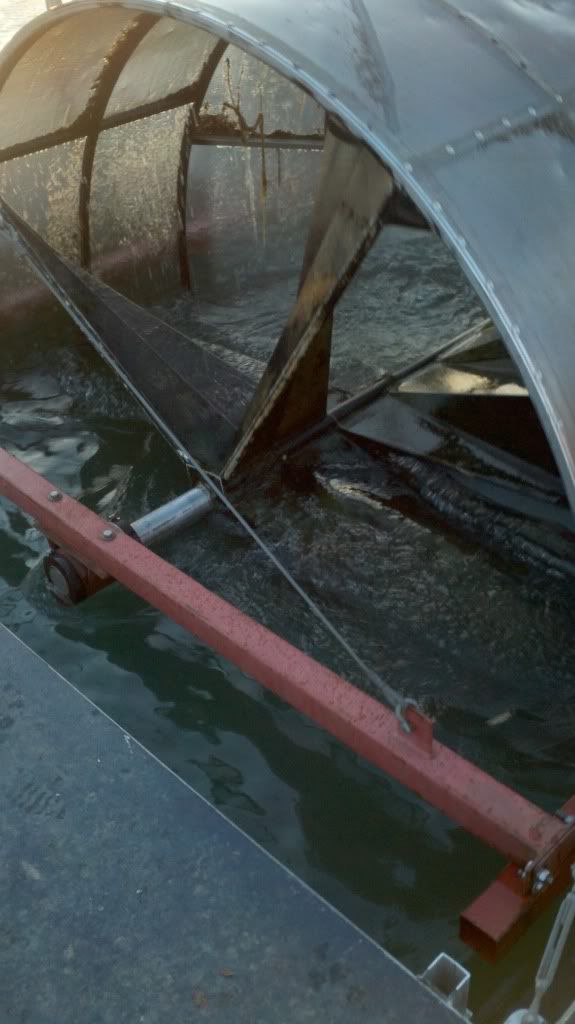
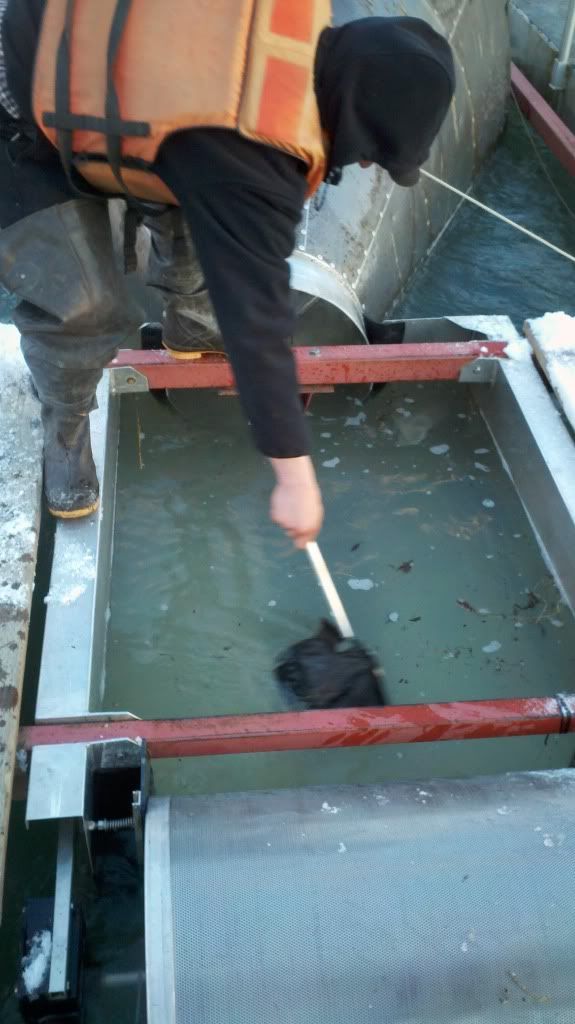
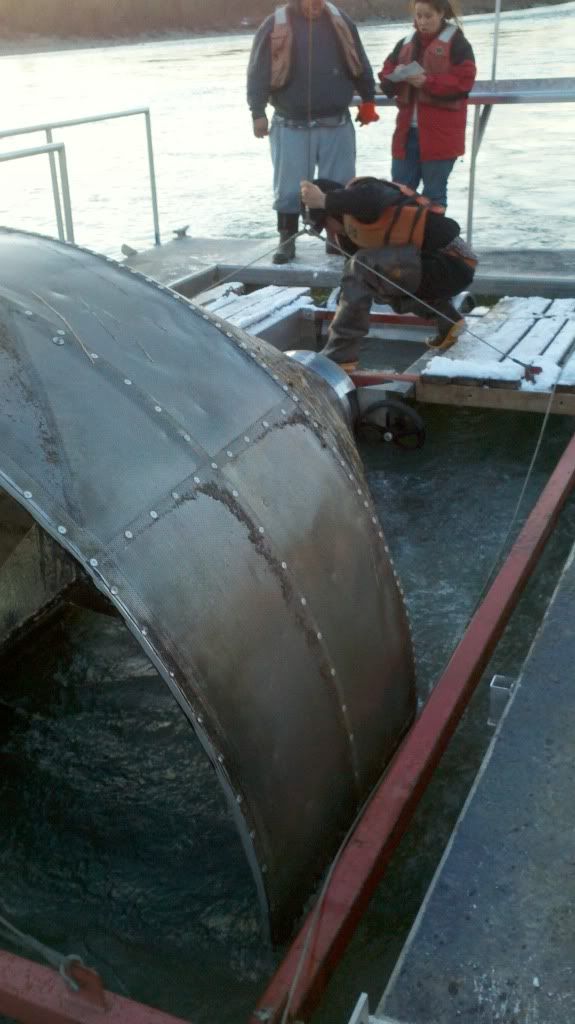
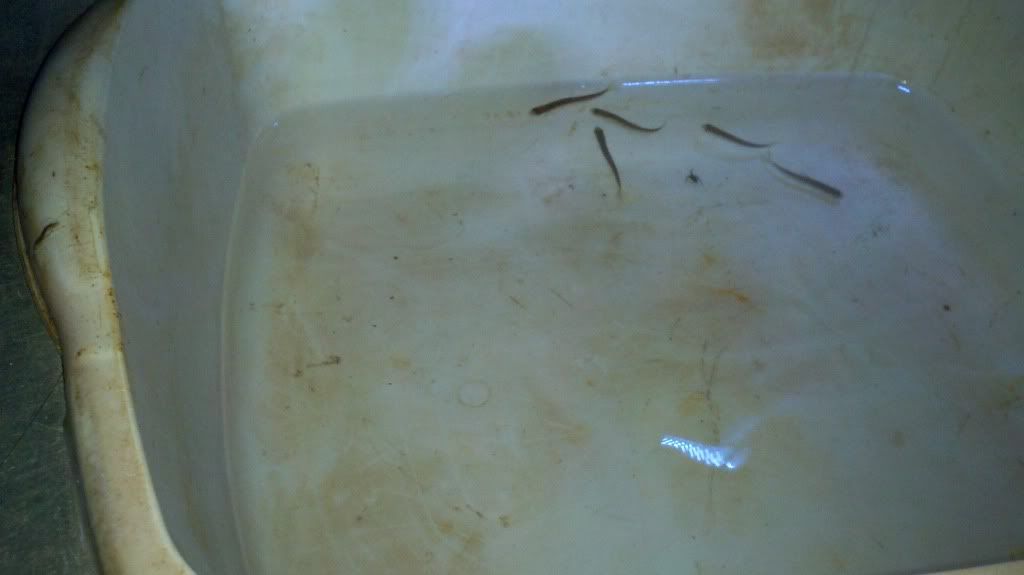
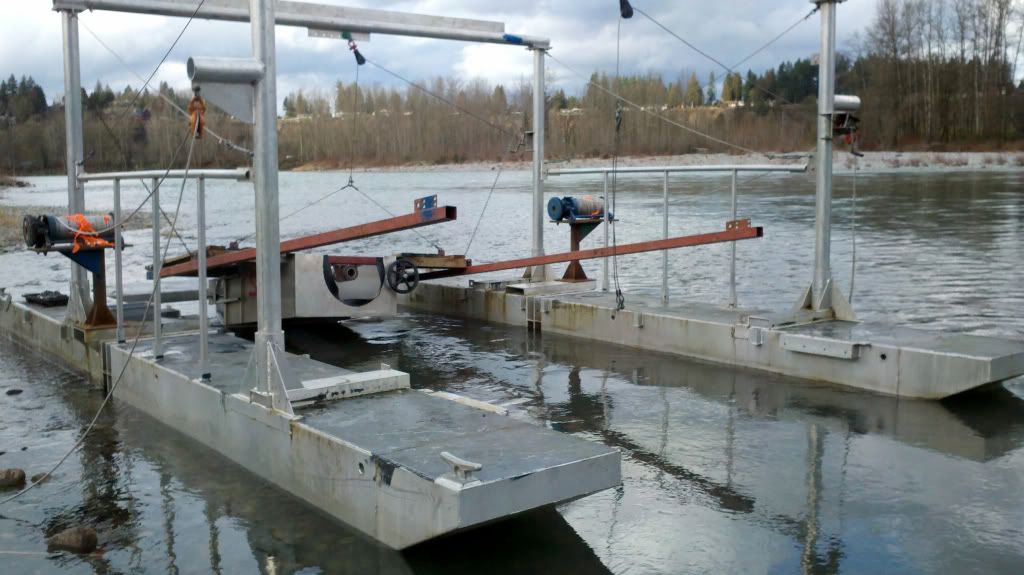
The trap operation is simple; the trap is moved into position using 2 large winches and a long "rope", we crank it out into the thalweg (main river channel) and lock down the winches, the large cone at the front of the trap is then lowered into the water using 2 more winches and steel cables. The trap is filled with corrugated bisections that cause the cone to spin as water flows through the throat of the trap. As the cone spins it creates a suction that will not allow small fishes to escape (large ones just swim right out). Once the fish have been trapped in the vortex the are carried down the throat of the trap and into the "live box" at the back of the trap where they swim around and wait to be collected for sampling. Once collected we take size and species data before returning them to the water unharmed. Some people use clove oil to anesthetize the fish, but for the most part we do not, I have found it is more efficient for us and healthy for the fish is we do not.
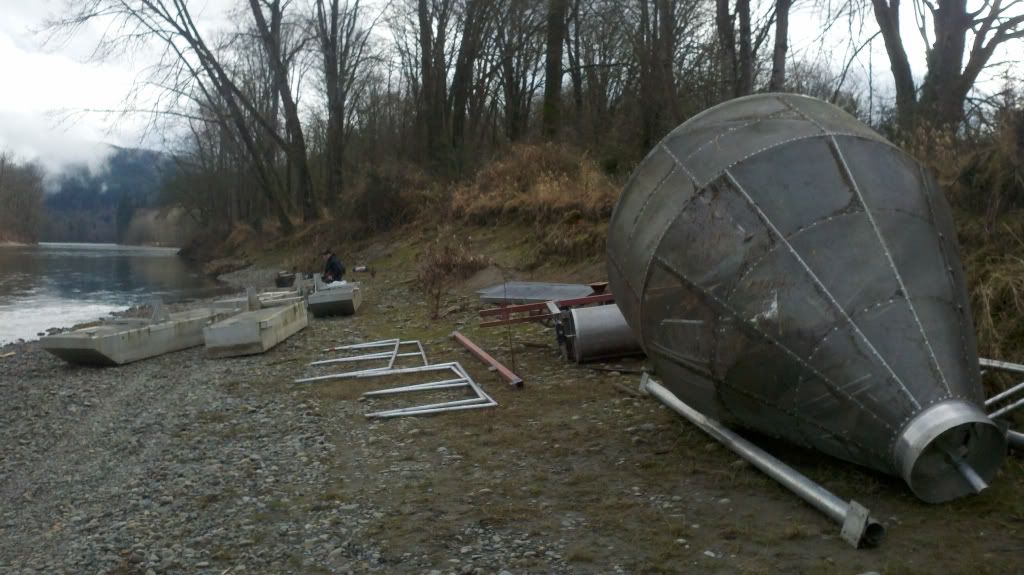
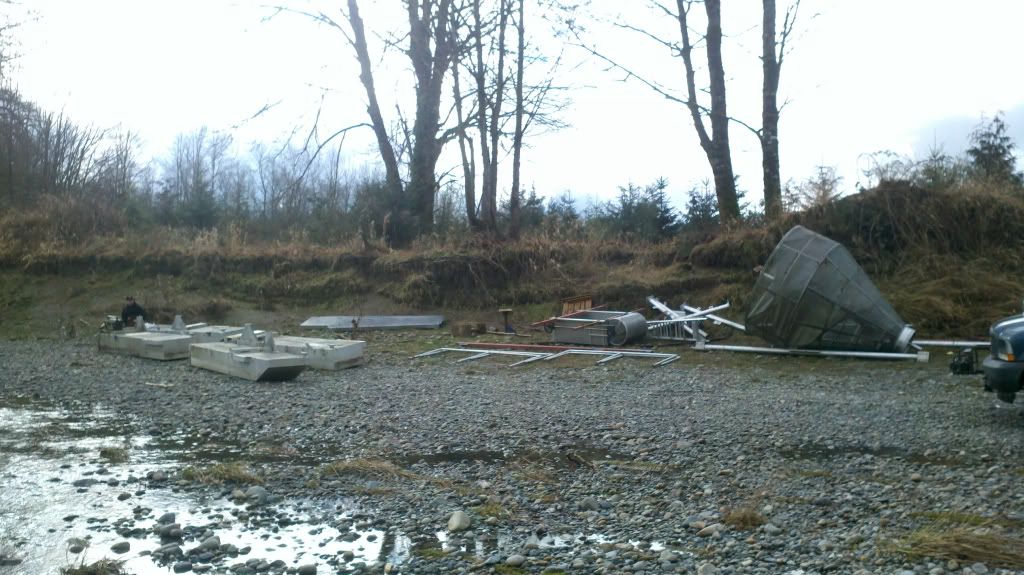
This is what the trap looks like before it is assembled. These pieces are kept in storage facilities on the Tulalip Reservation and are transported to the site VIA flatbed trailer or truck. Moving some of these pieces is difficult as they are rigid, large, and very heavy. Each pontoon takes 4 people to lift, and once you pick them up, you aren't moving them very far. The cone is both heavy as well as precarious, it is by far the most difficult piece to move.
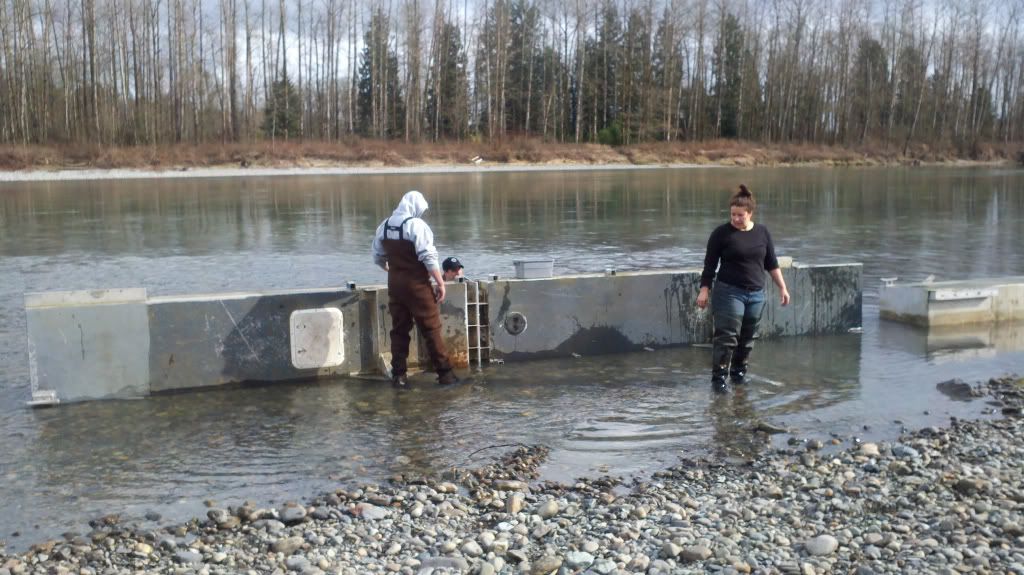
We begin by constructing the pontoons which will act as the foundation of the entire trap. They begin in 4 pieces and connect in the middle.
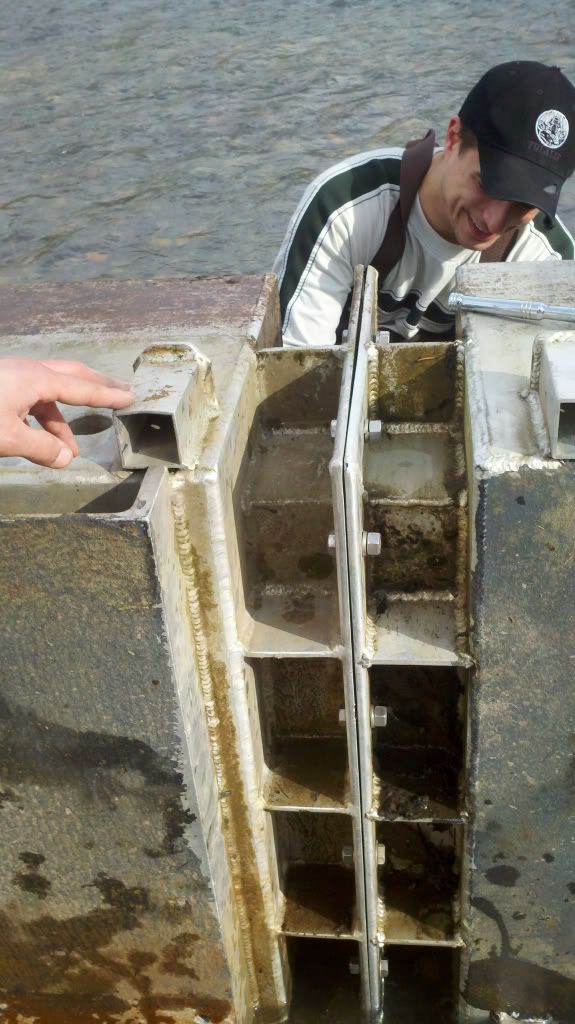
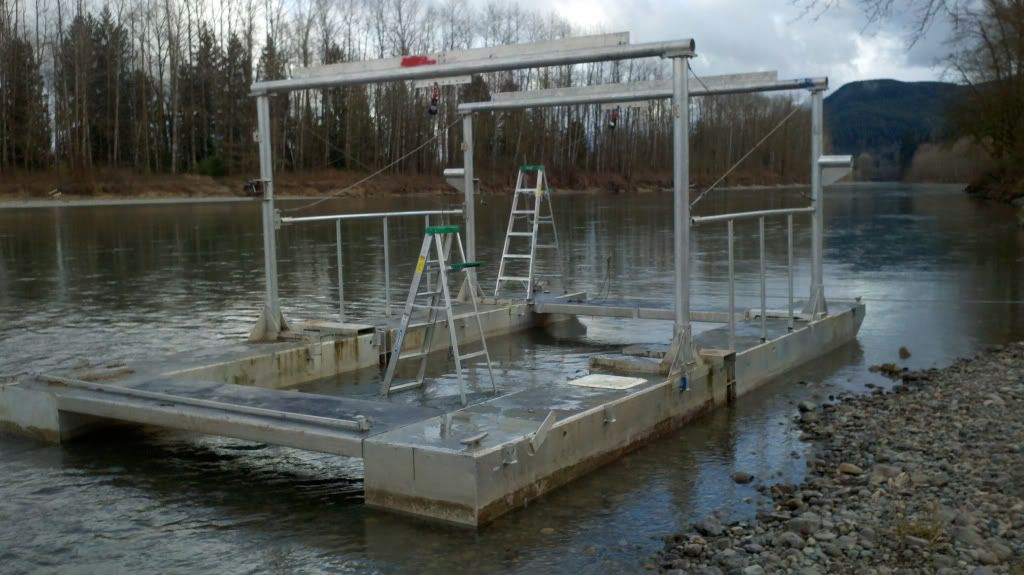
Once the pontoons are both constructed, we place the front and rear walkway in place and ad the uprights that will hold the cone and livebox in place VIA steel cable and retention chains while the trap is fishing. The walkways slide easily into place and are later bolted down, and the uprights just slide into fitted aluminum sleeves, this is the easy part. Once the uprights are in position we begin affixing the upper cross braces; each bar has 4 holes for bolts, and lining them up is difficult as the trap tends to want to twist and turn with the insertion of each bolt.
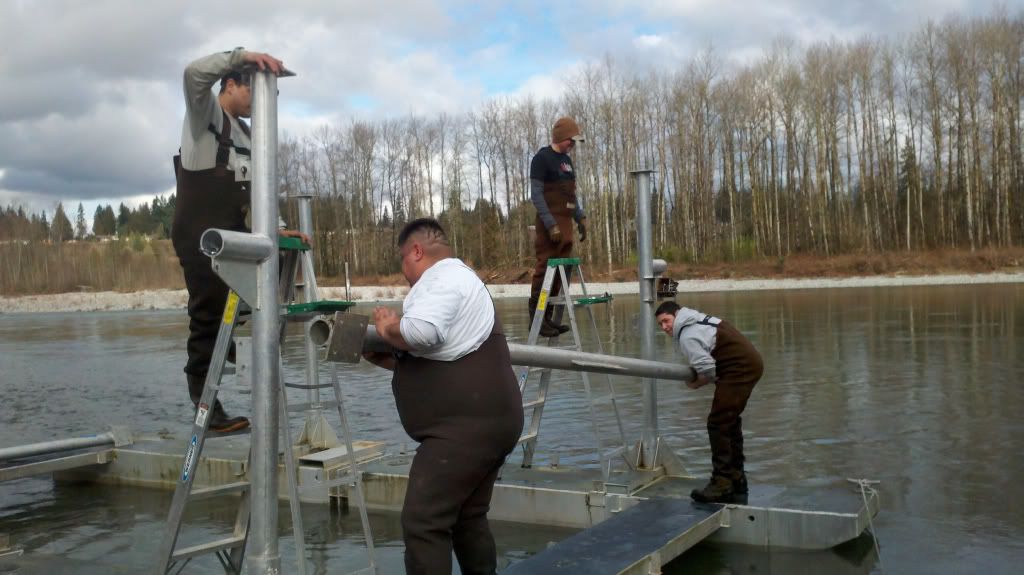
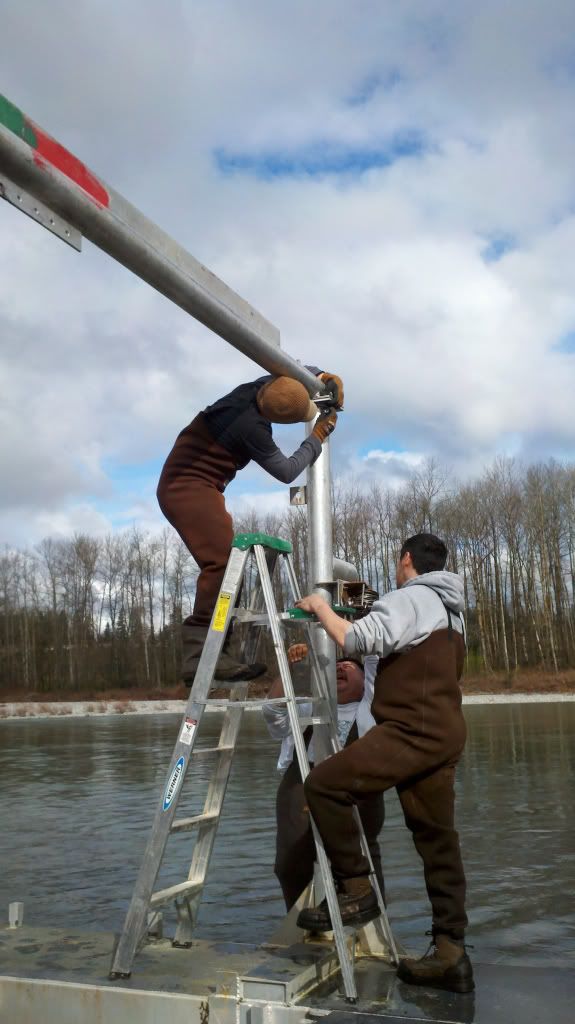
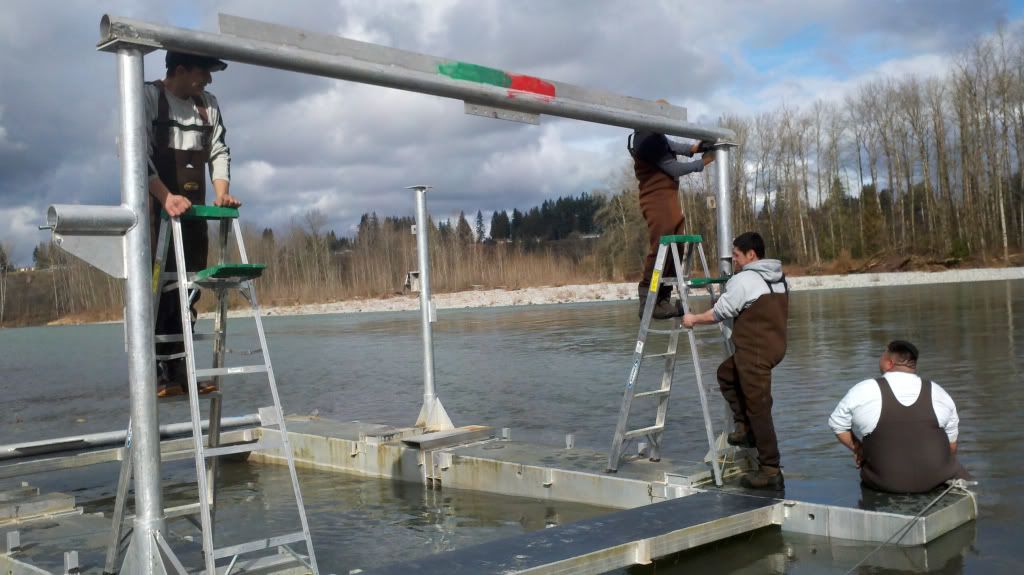
Once we have both of the top crossbars in place, we connect the whole network with handrails and add steel cables for cross bracing stability between the uprights.
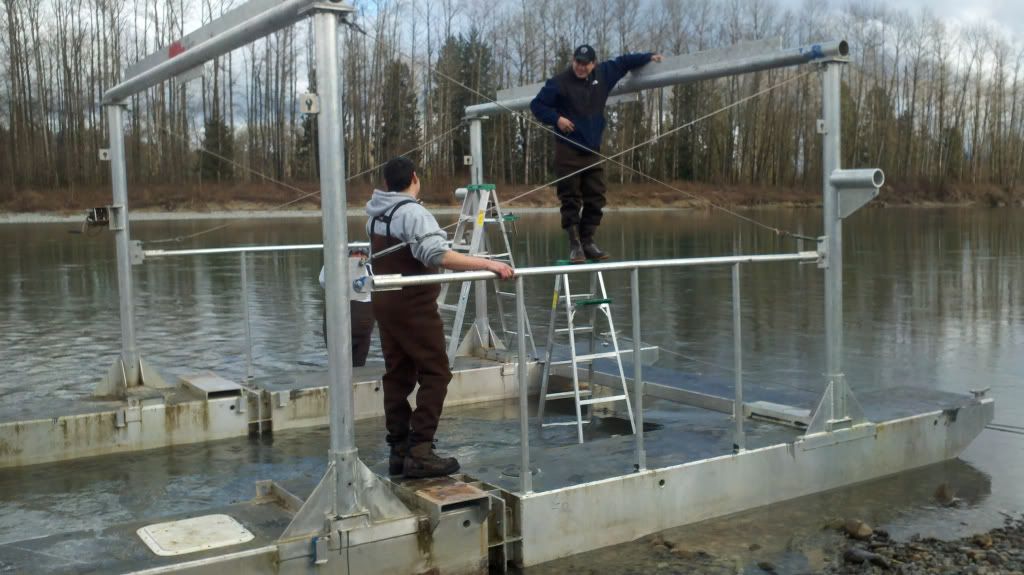
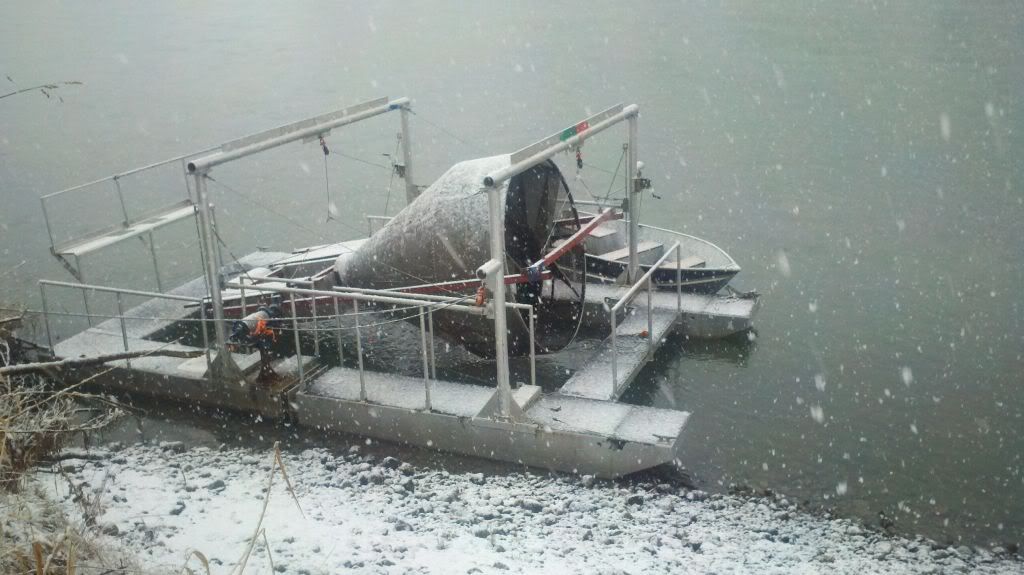
Pulleys are attached to the center of each crossbar. Through these we will thread a large diameter steel cable which holds the weight of the cone and livebox. The cone is raised and lowered with winches, when not fishing the cone is stored up and out of the water, this is frequently how the traps will be seen when on the water if a crew is not actively working at the site.
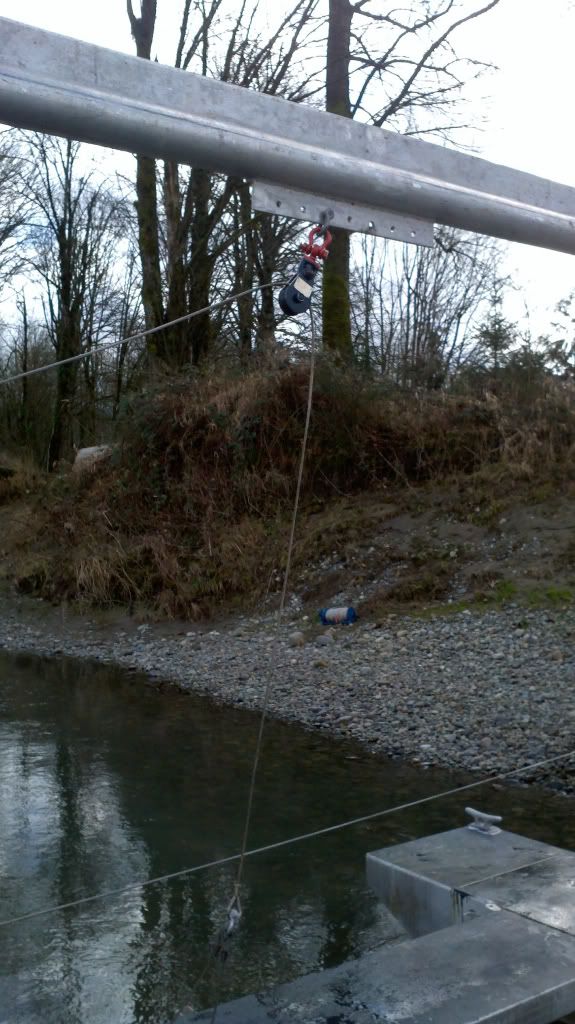
This is what we have at this point, a partially complete trap including pontoons, walkways, uprights, and crossbars.
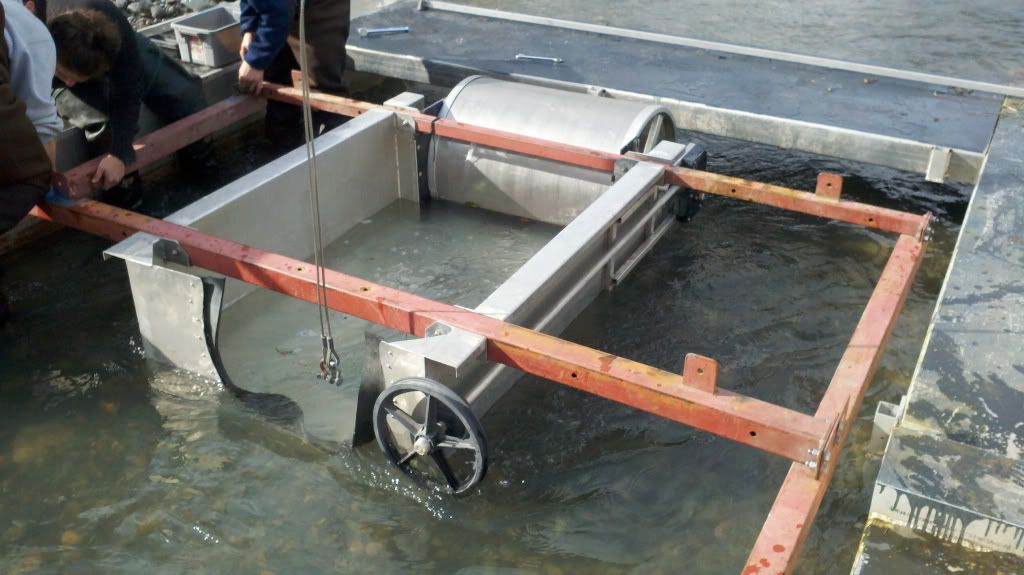
Next comes the hard part, installing the livebox, its frame, and the large aluminum cone. We start by moving the livebox into place and installing the left and right portions of the frame (red).

This is what the livebox looks like. This is where the juvenile fish will be trapped and await sampling once they have entered the front of the cone.
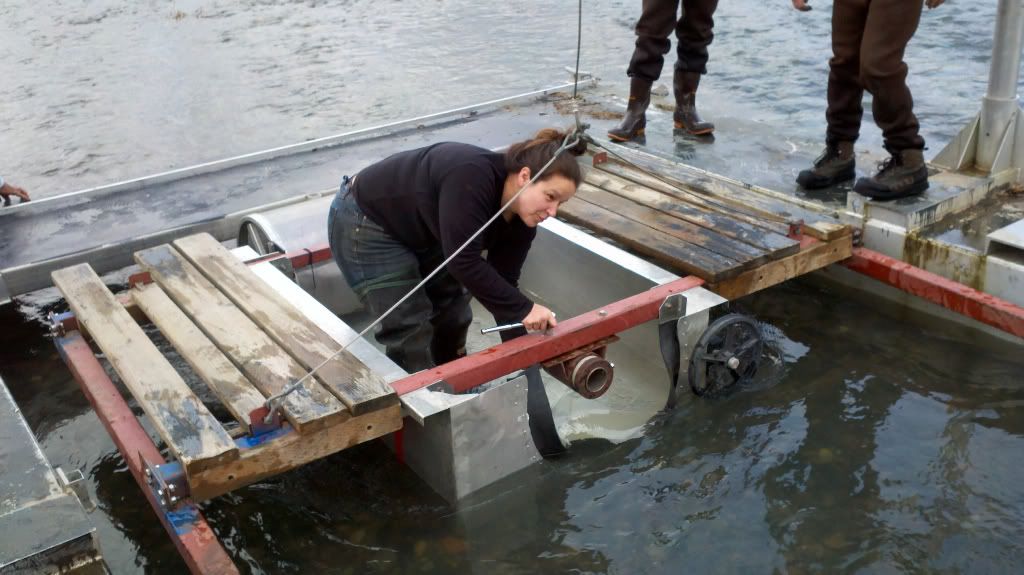
Here we are attaching the bearing that the back of the cone will seat into. It is a steel and delrin piece that spins as the cone spins. The wooden decks on either side of the livebox are where we kneel or sit as we scoop up the fry/smolts awaiting sampling in the livebox. In this image you can also see the steel cable is now attached to the livebox, this will allow the trap to be raised and lowered into the water when fishing/not fishing.
This is where we stand once the livebox and its frame have been installed. They have been raised to accommodate the cone (once we can move he darn thing over here!). Also, you can see in this photo we have attached the 2 main winches onto pedestals on each side of the pontoons. These are used to move the traps out into the river, or back to the shore. They will be attached to a line that runs from bank to bank (attached up in the air to trees on either bank). Flagging can be seen on the winch spool, this is a warning to boaters when the line is lowered near the river if we are setting or removing the trap (starting and stopping shifts), when we move the trap these lines will be touching the water, when it is fishing these lines are roughly 20 feet in the air.

Next we move on to the cone. We more or less roll the cone into position, the trap is moved back and out of the way, we roll the cone down into the water, and we then push the livebox and frame up and around the cone so it can be affixed. Sounds easy, but it ain't! This is the most difficult portion of assembly.
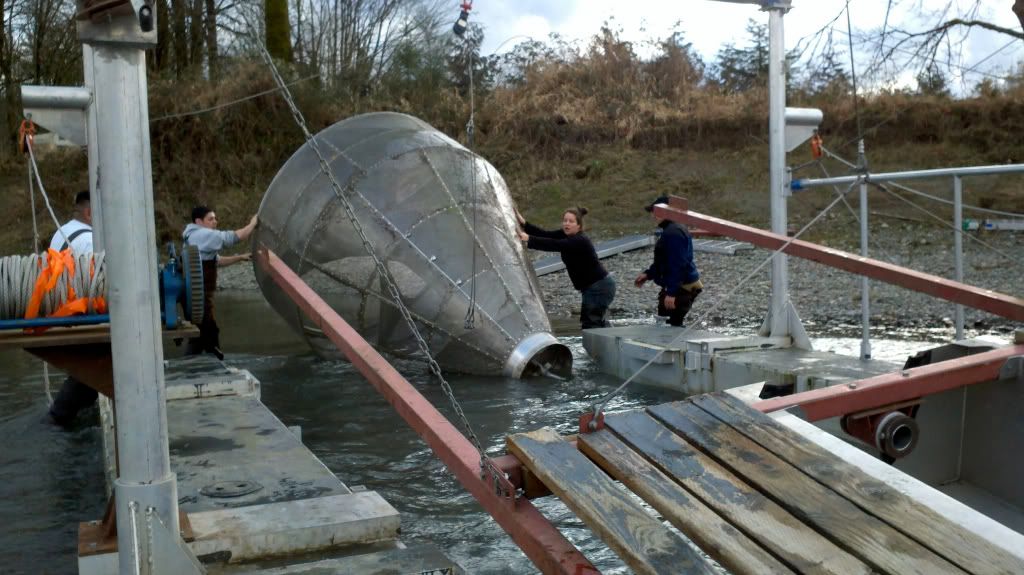
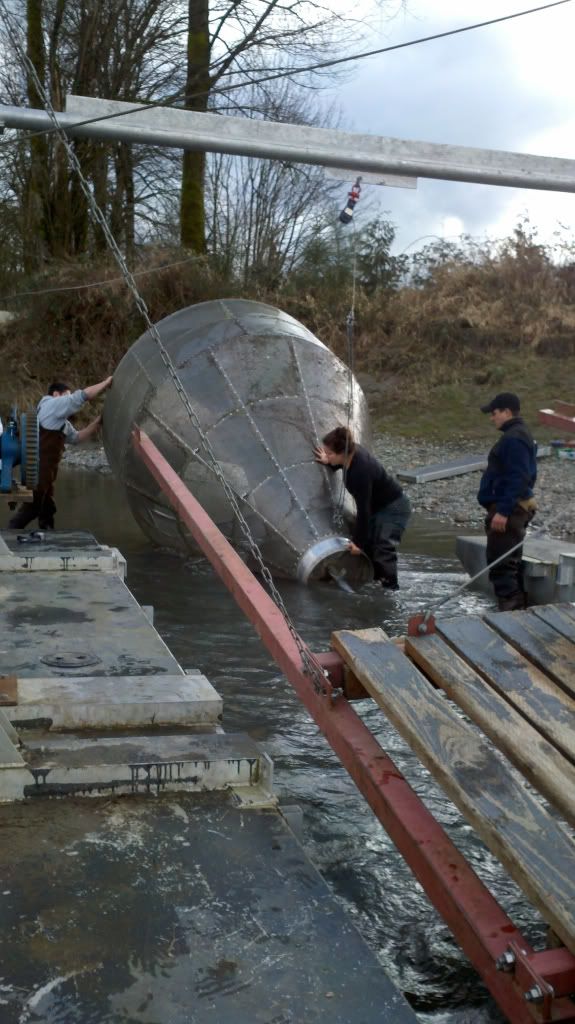
Here is a view of the cone from the front. From this angle you can understand how the flowing water would force the trap to rotate. Quite ingenious design. In order to move the cone into place the front walkway was removed, here you can se


 [/img]