Creating Custom Foil Baits
by
Rick Lawrence, April 01, 2018
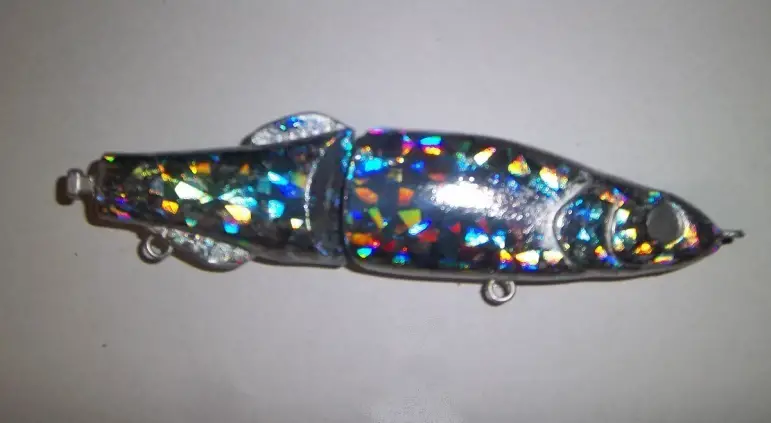
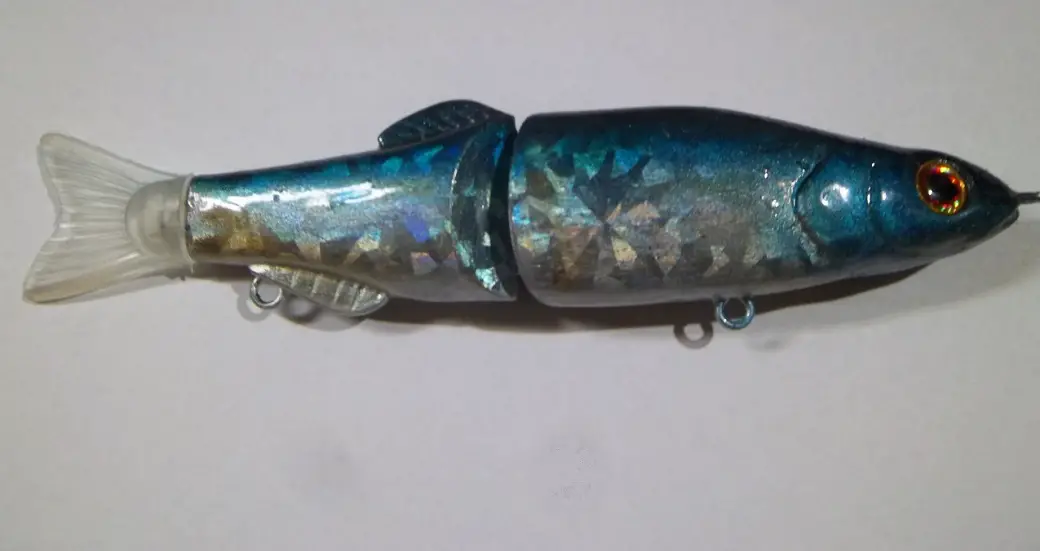
If you have read my articles before, you know I am the mad scientist of fishing and I love creating new things and lures. I’ve invented more baits than a lot of guys have ever fished with. I like to not only create my own unique baits, but change and improve baits made by others. Here lately I have been doing a lot of repainting of some of my old lures because I either didn’t like the color of the bait, or it was getting chewed up from all the fish it had caught and needed a refresher. Now I’m buying unpainted blanks and creating my own custom baits. In learning to paint my own hard baits it grew into learning how to foil baits. Foiling is merely applying a holographic film on the bait that you paint and clear coat over to make some incredible designs. Here is what a freshly foiled bait looks like.
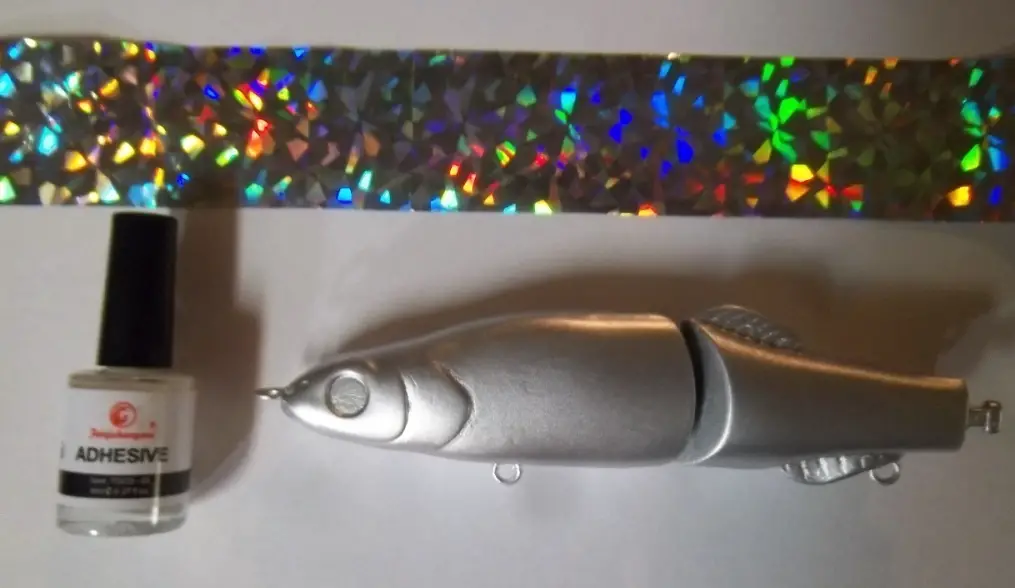
The basic process is much easier than you would think. All you need for this is a lure to paint, the holographic transfer foil, and the foil glue. All of which you can find on Ebay for less than 10 bucks. I will talk about this later. Here are the 3 components you need. Substitute the bait of your choice of course...
The first thing you want to do, on either a new knock off bait like this one, or a used bait is to sand it. Start with 300 grit and work down to a 600 grit. The foil needs a smooth surface to bond to. You can foil baits that have a built in scale pattern, but the quality is usually not as good as a smooth bait. After I sand thoroughly, I paint the baits with a silver base color. This does 2 things; it helps fill in any minor imperfections in the bait and gives it a background color, so if you miss foiling a small area it will not stick out as bad.
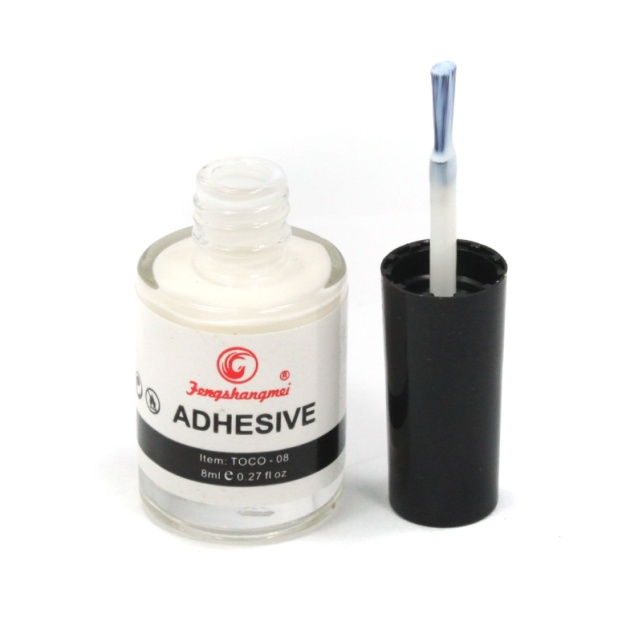
Using the correct glue is the key thing to getting a good foil transfer. This is the only type I recommend.
This glue is a pearl blue then you apply it wet and dries clear. That is how you know it’s ready to put the foil on the lure when it goes clear. Apply as thin of coat as you can. I try not to foil to large of an area at a time, so you can break up a jointed swimbait like this into 4 sections
Here is the glue applied to one side of the tail section of the bait.
Precut a piece of foil a little larger than the area you want to foil. If you are foiling a regular one piece crankbait you want to do one whole side at a time. Once the glue has dried to the point it turns clear position the foil over the bait with the shiny pretty side up and smooth it out with your fingers. Starting on the flat side of the bait and working it around the corners slowly. If there are depressions like gill covers that you can’t get to easily try a soft rounded tool of some kind. I use a popsicle stick, but I’m sure there are other things that would work better. Just don’t use a hard metal object. The transfer foil can be ruined if you press on it to hard as the glue works right through the foil. Once you have rubbed the foil on the bait you simply peel off the plastic. Don’t worry about foiling the top or bottom of the bait as you will be painting over that area so it doesn’t matter if you get full coverage or not. If you did it all correct you should see this when you peel it off.
If your plastic is totally clear where the bait was you know you did a good job. If you see a patchy look then it was not as good as it should be. One nice thing about this stuff, if it doesn’t turn out as good as you think it should you can re-glue it and after the correct drying time re-foil the bait. Once you get your bait foiled you can air brush transparent colors over it to get the end result you are looking for. Be warned though it is easy to kill the holo affect of the foil with too much paint and even over spray can kill it so if you have areas you want to keep the holographic foil unpainted mask it off to keep the overspray off it. Here is a bait that the holo effect got dulled because of over spray although it’s still a great looking bait it doesn’t pop as much as I would have liked.
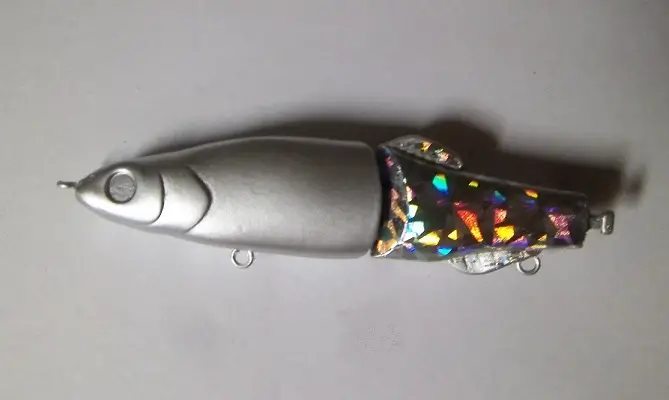
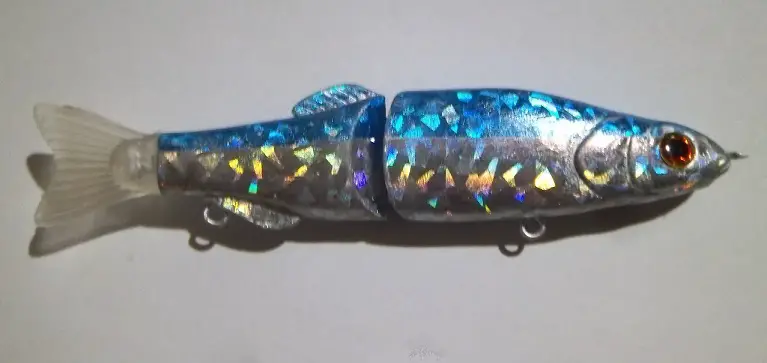
So I started playing with the idea of a all foiled bait for maximum flash by using 2 different colors of foil and I was pretty pleased with the result. This was done with Silver and blue shattered glass.
The last thing I will say about this foil is it has to be clear coated over, as it is not durable by itself. The best clear coat is KBS that comes in a small can from most hardware stores and it is a one step process that you don’t have to mix anything, just either dip your baits or brush on and hang them to dry. Note; you can’t dip any jointed baits, as it will gum up the joint and make the bait not work properly. For crankbaits just dip them lip and all and hang from a wire and add a wire off the bottom hook eye for the KBS to drip off the excess.
Second choice would be Devon 2 ton epoxy mixed thoroughly with a small amount of denatured alcohol, just enough to be able to brush it on. To me this clear coat does kill the holo affect some, so I prefer the KBS which is on the spendy side, but worth it.
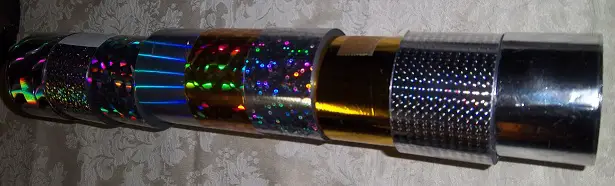
The foil comes in as many colors as the rainbow and as many patterns as you can think of. Here are just a few,
It’s all reasonably cheap as you can get a 1 ½” by 10 ft section of foil (which will do about 50 small crankbaits or 20 large swimbaits) and the glue off ebay for less than 8 bucks without the shipping. Most ship the foil for free and you only pay to ship the glue. The glue goes a long ways so 1 bottle would be enough for about three or four 10 ft sections of foil. So you could get 3 colors of foil and a bottle of glue shipped to you for less than $20 If you’re interested in picking up some, just do a search on ebay for “Flashy nail art foil”. You can also get the glue there as well. Some of the listings have links as to where to get the glue, so you can get it all from the same seller. If you have any questions I didn’t cover here, please ask them below and I will try to help out.
Comments
Why is this comment inappropriate?
Delete this comment? Provide reason.