Proper Fish Care
by
Jason Brooks, January 05, 2019
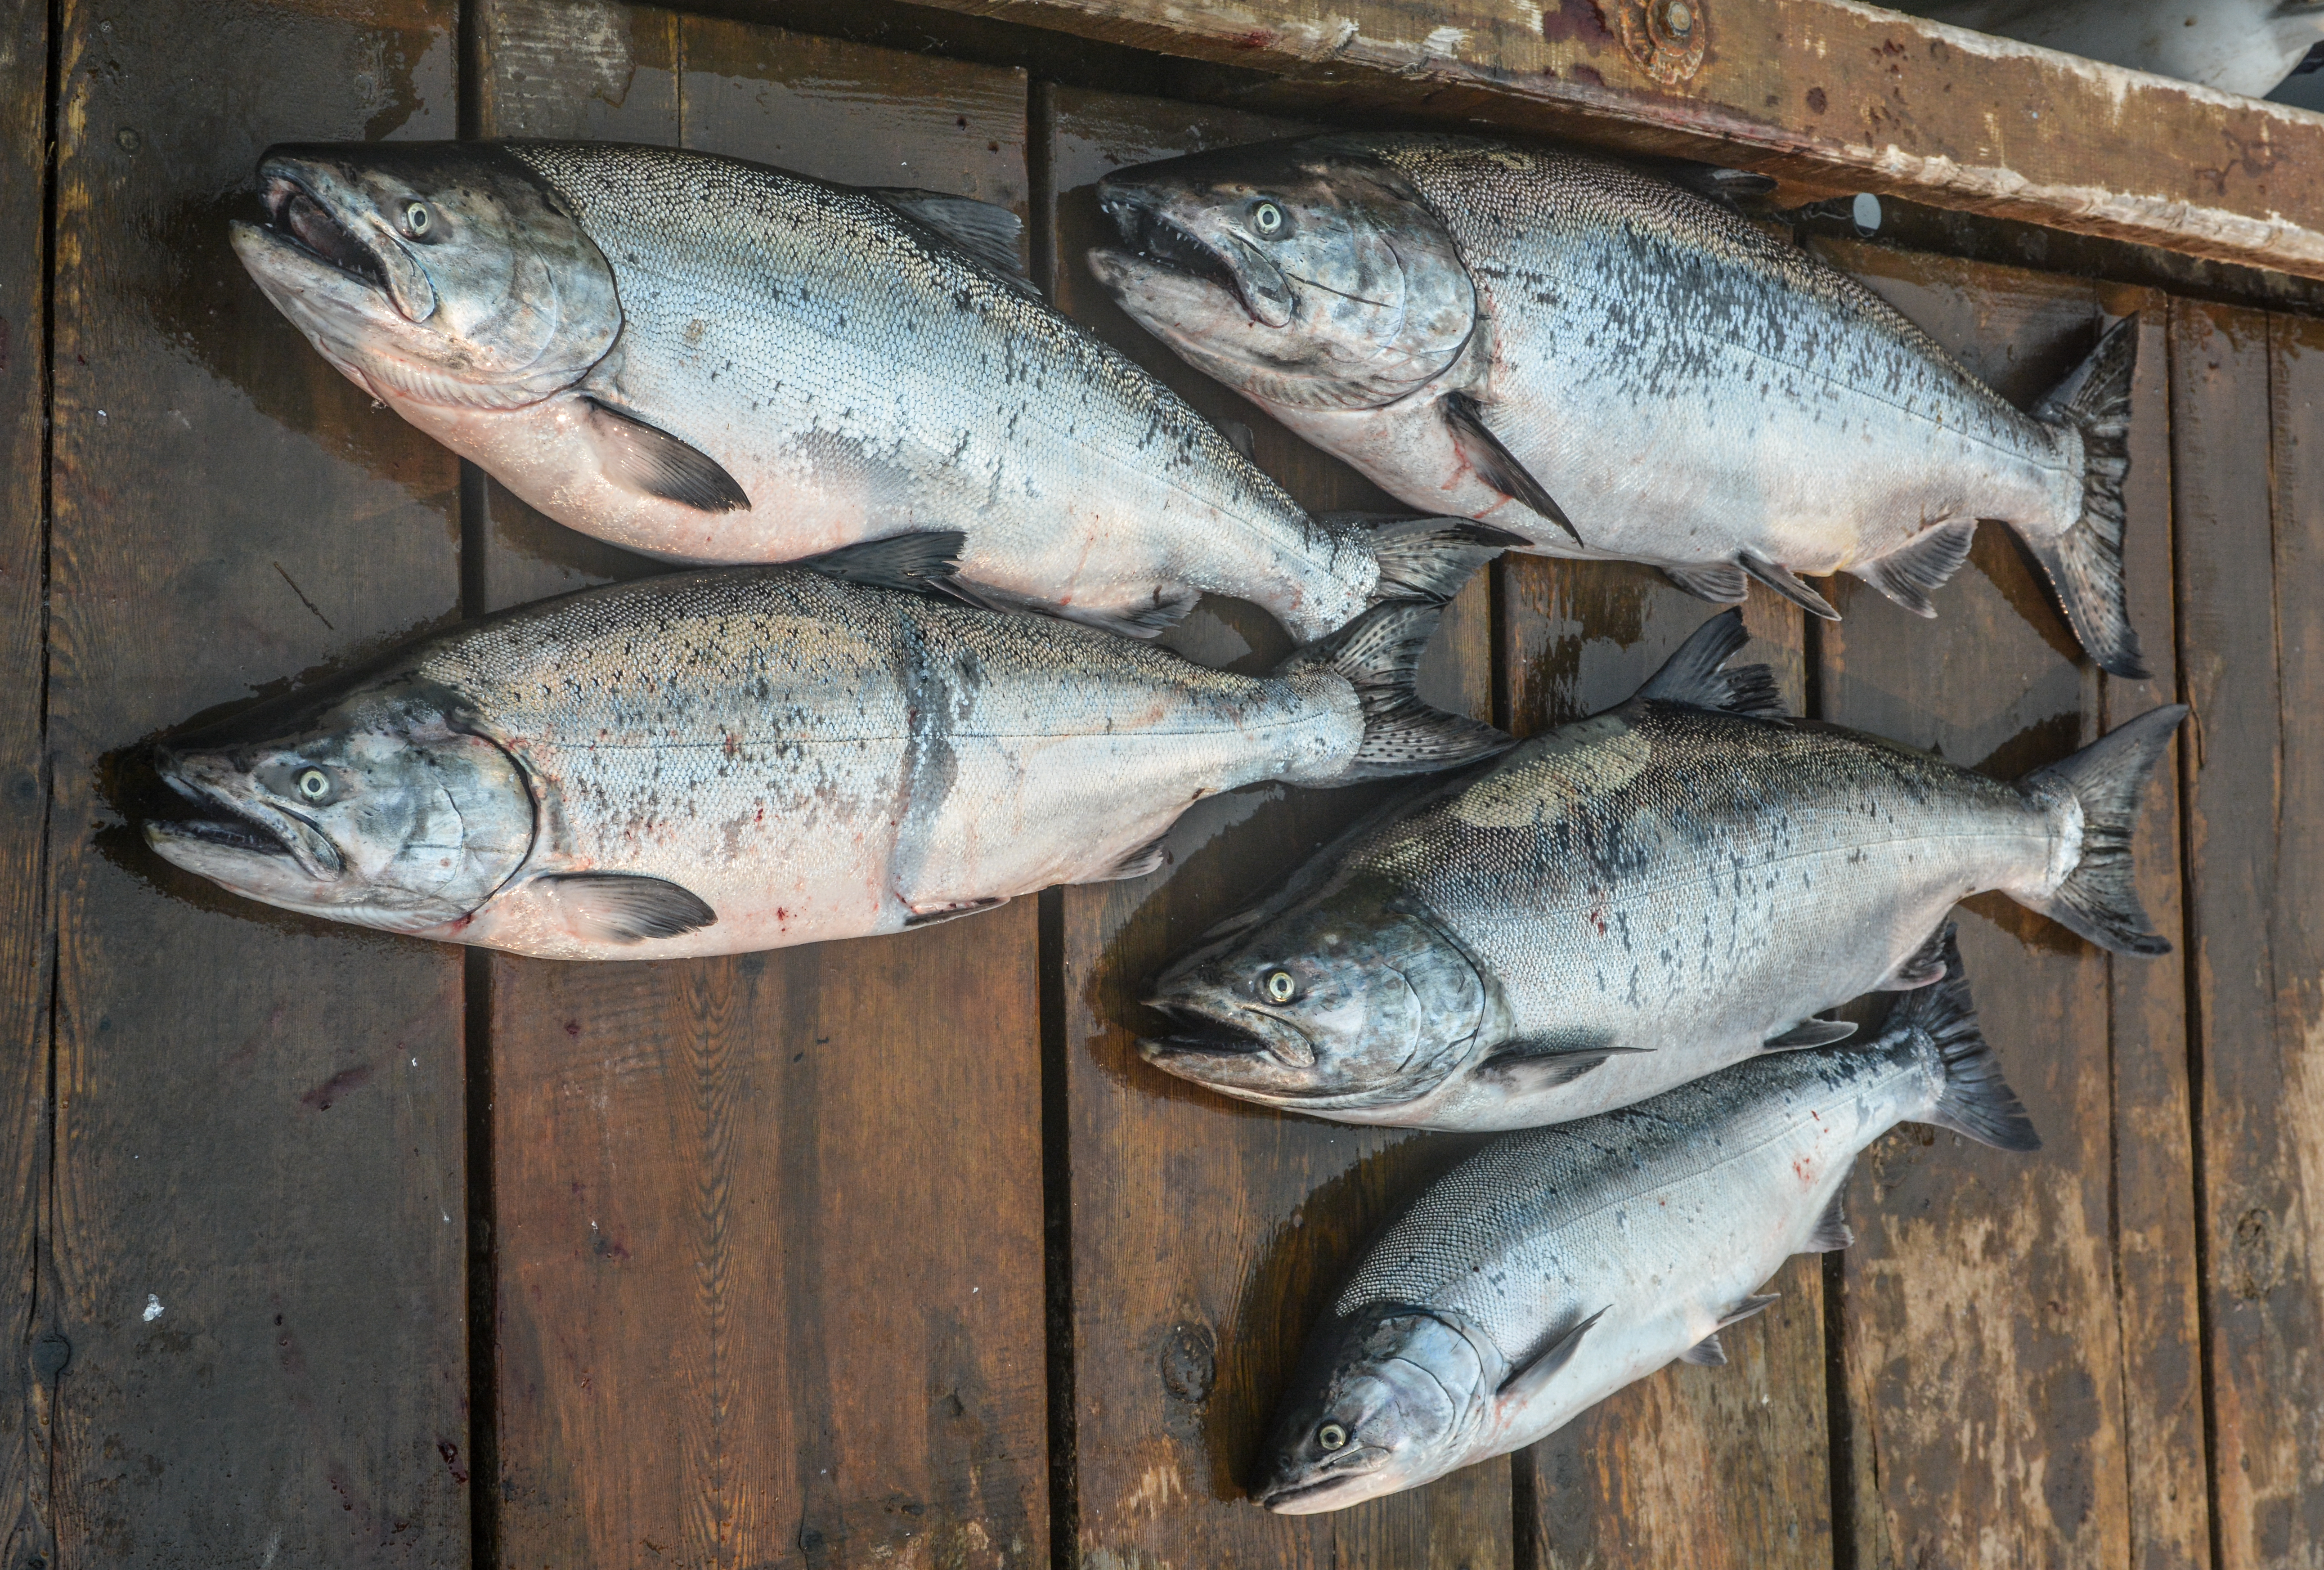
Most anglers know that you should bleed the fish you catch and keep. Doing so means to cut a gill right after you decide to retain the fish and mark it on your catch record card. But that is only one step in a multi-step process to properly care for your catch.
Even before bleeding a quick bonk on the head is not only humane but it also keeps the fish from becoming bruised. A fish flopping on the bank or a boat can cause severe bruising which will start to taint the flesh before the fish is even filleted. One swift knock on the head will cause the eyes to relax and the fish will convulse a bit. This means the heart is still beating but the fish is now stationary. Even small fish should be “bonked” so you can easily and safely cut the gills. When you knock the fish on the head be sure to use a tool that will get the job done quickly and safely. I’ve seen anglers use their fist, a rock, or even take the fish and whack it against the side of the boat. This can work but you risk bruising the meat as well as not making it swift and quick. Instead use a designated “fish bonker” which is shaped like a small baseball bat as this will allow one quick “pop” and the fish is dazed. Using other methods often leads to you having to grip the fish hard, again bruising the meat, or not properly knocking the fish out and can lead to you cutting yourself when trying to cut the gills. The idea is not to completely kill the fish as you want the heart to still be beating so it will pump the blood out of the fish when you bleed it.
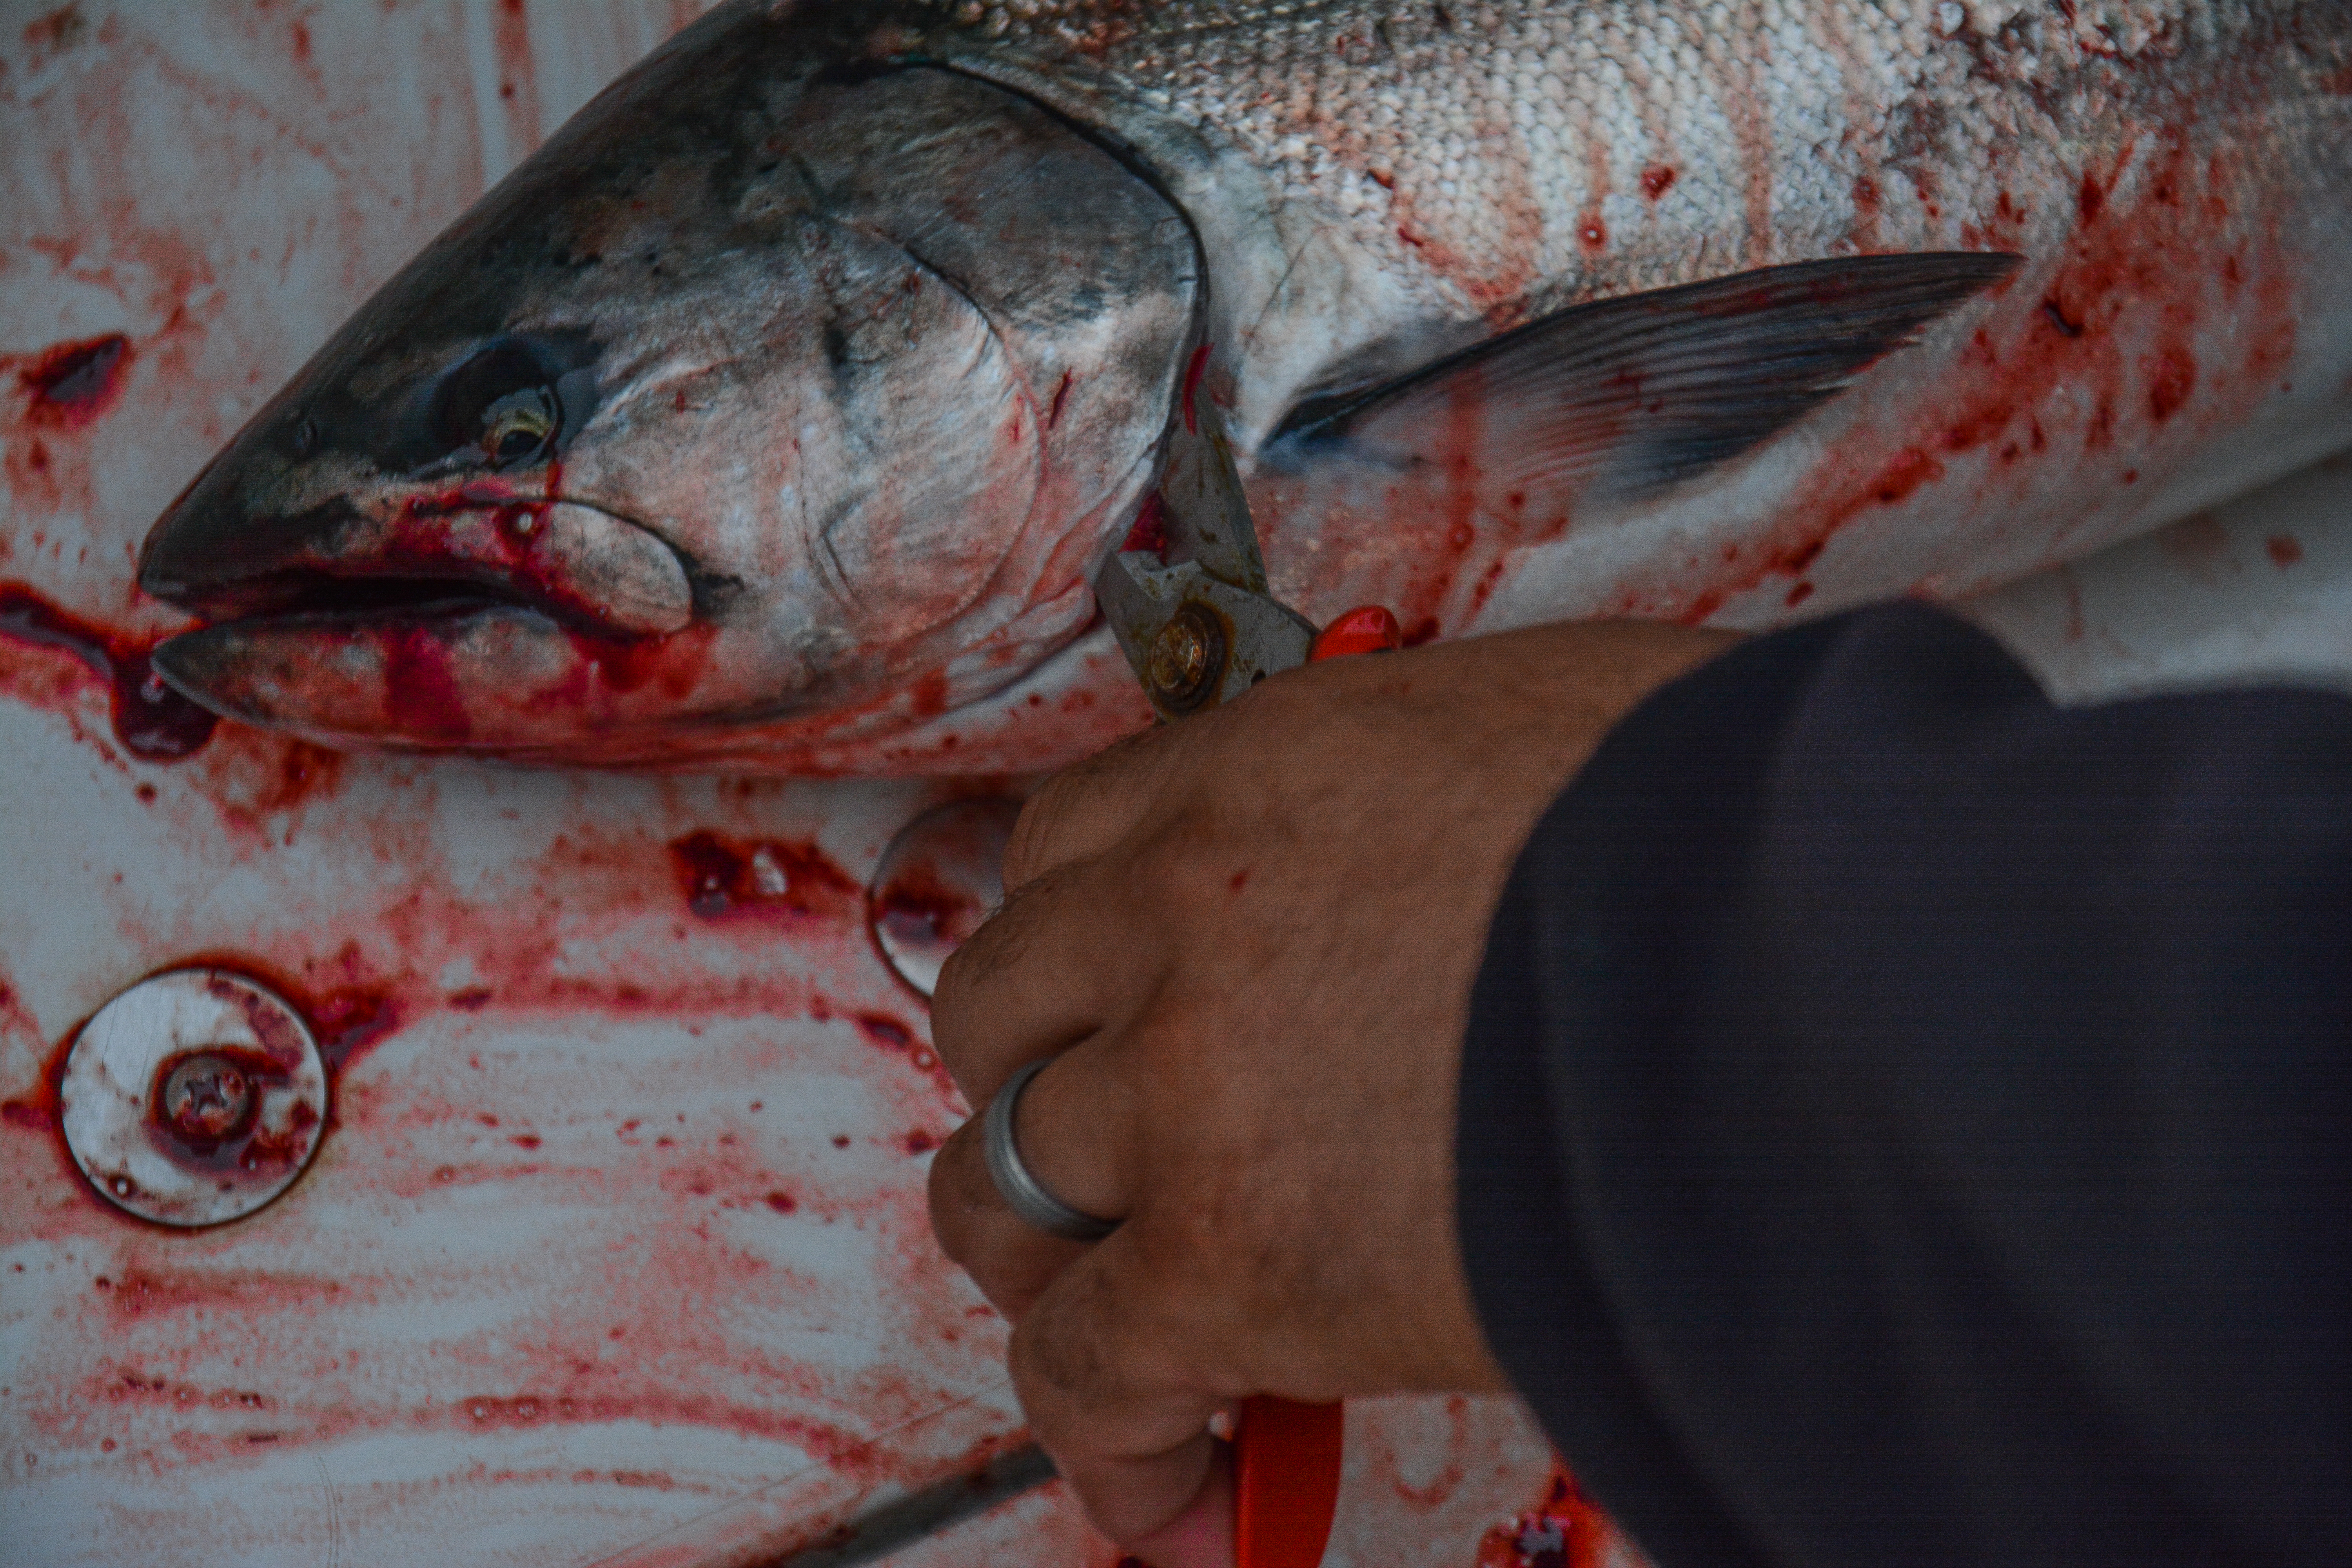
Cut the gills on both sides and a safe way to do this is to use a pair of sheers or scissors.
But if you must use a knife try going in from the mouth instead of under the gill plate, keeping the blade facing away from your hand. You should notice a steady stream of thick red blood running out of the gills. Then flush the fish in water, since the heart is still beating this will keep the blood from coagulating and free flowing. If you are fishing in fresh water where there is no worry of another predator coming up and grabbing the fish, then you can run a rope or stringer through the gill plate and put it in the water to continue the flushing of blood out of the gills. If you are fishing in salt water or places like the lower Columbia where seals, sea lions, and even sharks are present then keep the fish in the boat and use a bucket of water or the live well. It is important to flush the fish’s gills with water to keep the blood flowing otherwise it will stop and the blood will remain in the flesh. Blood is comprised of many things including iron which has a bad taste and this is what you want to flush out of the flesh so you don’t have that “metallic” taste or early spoilage from blood breaking down in the meat.
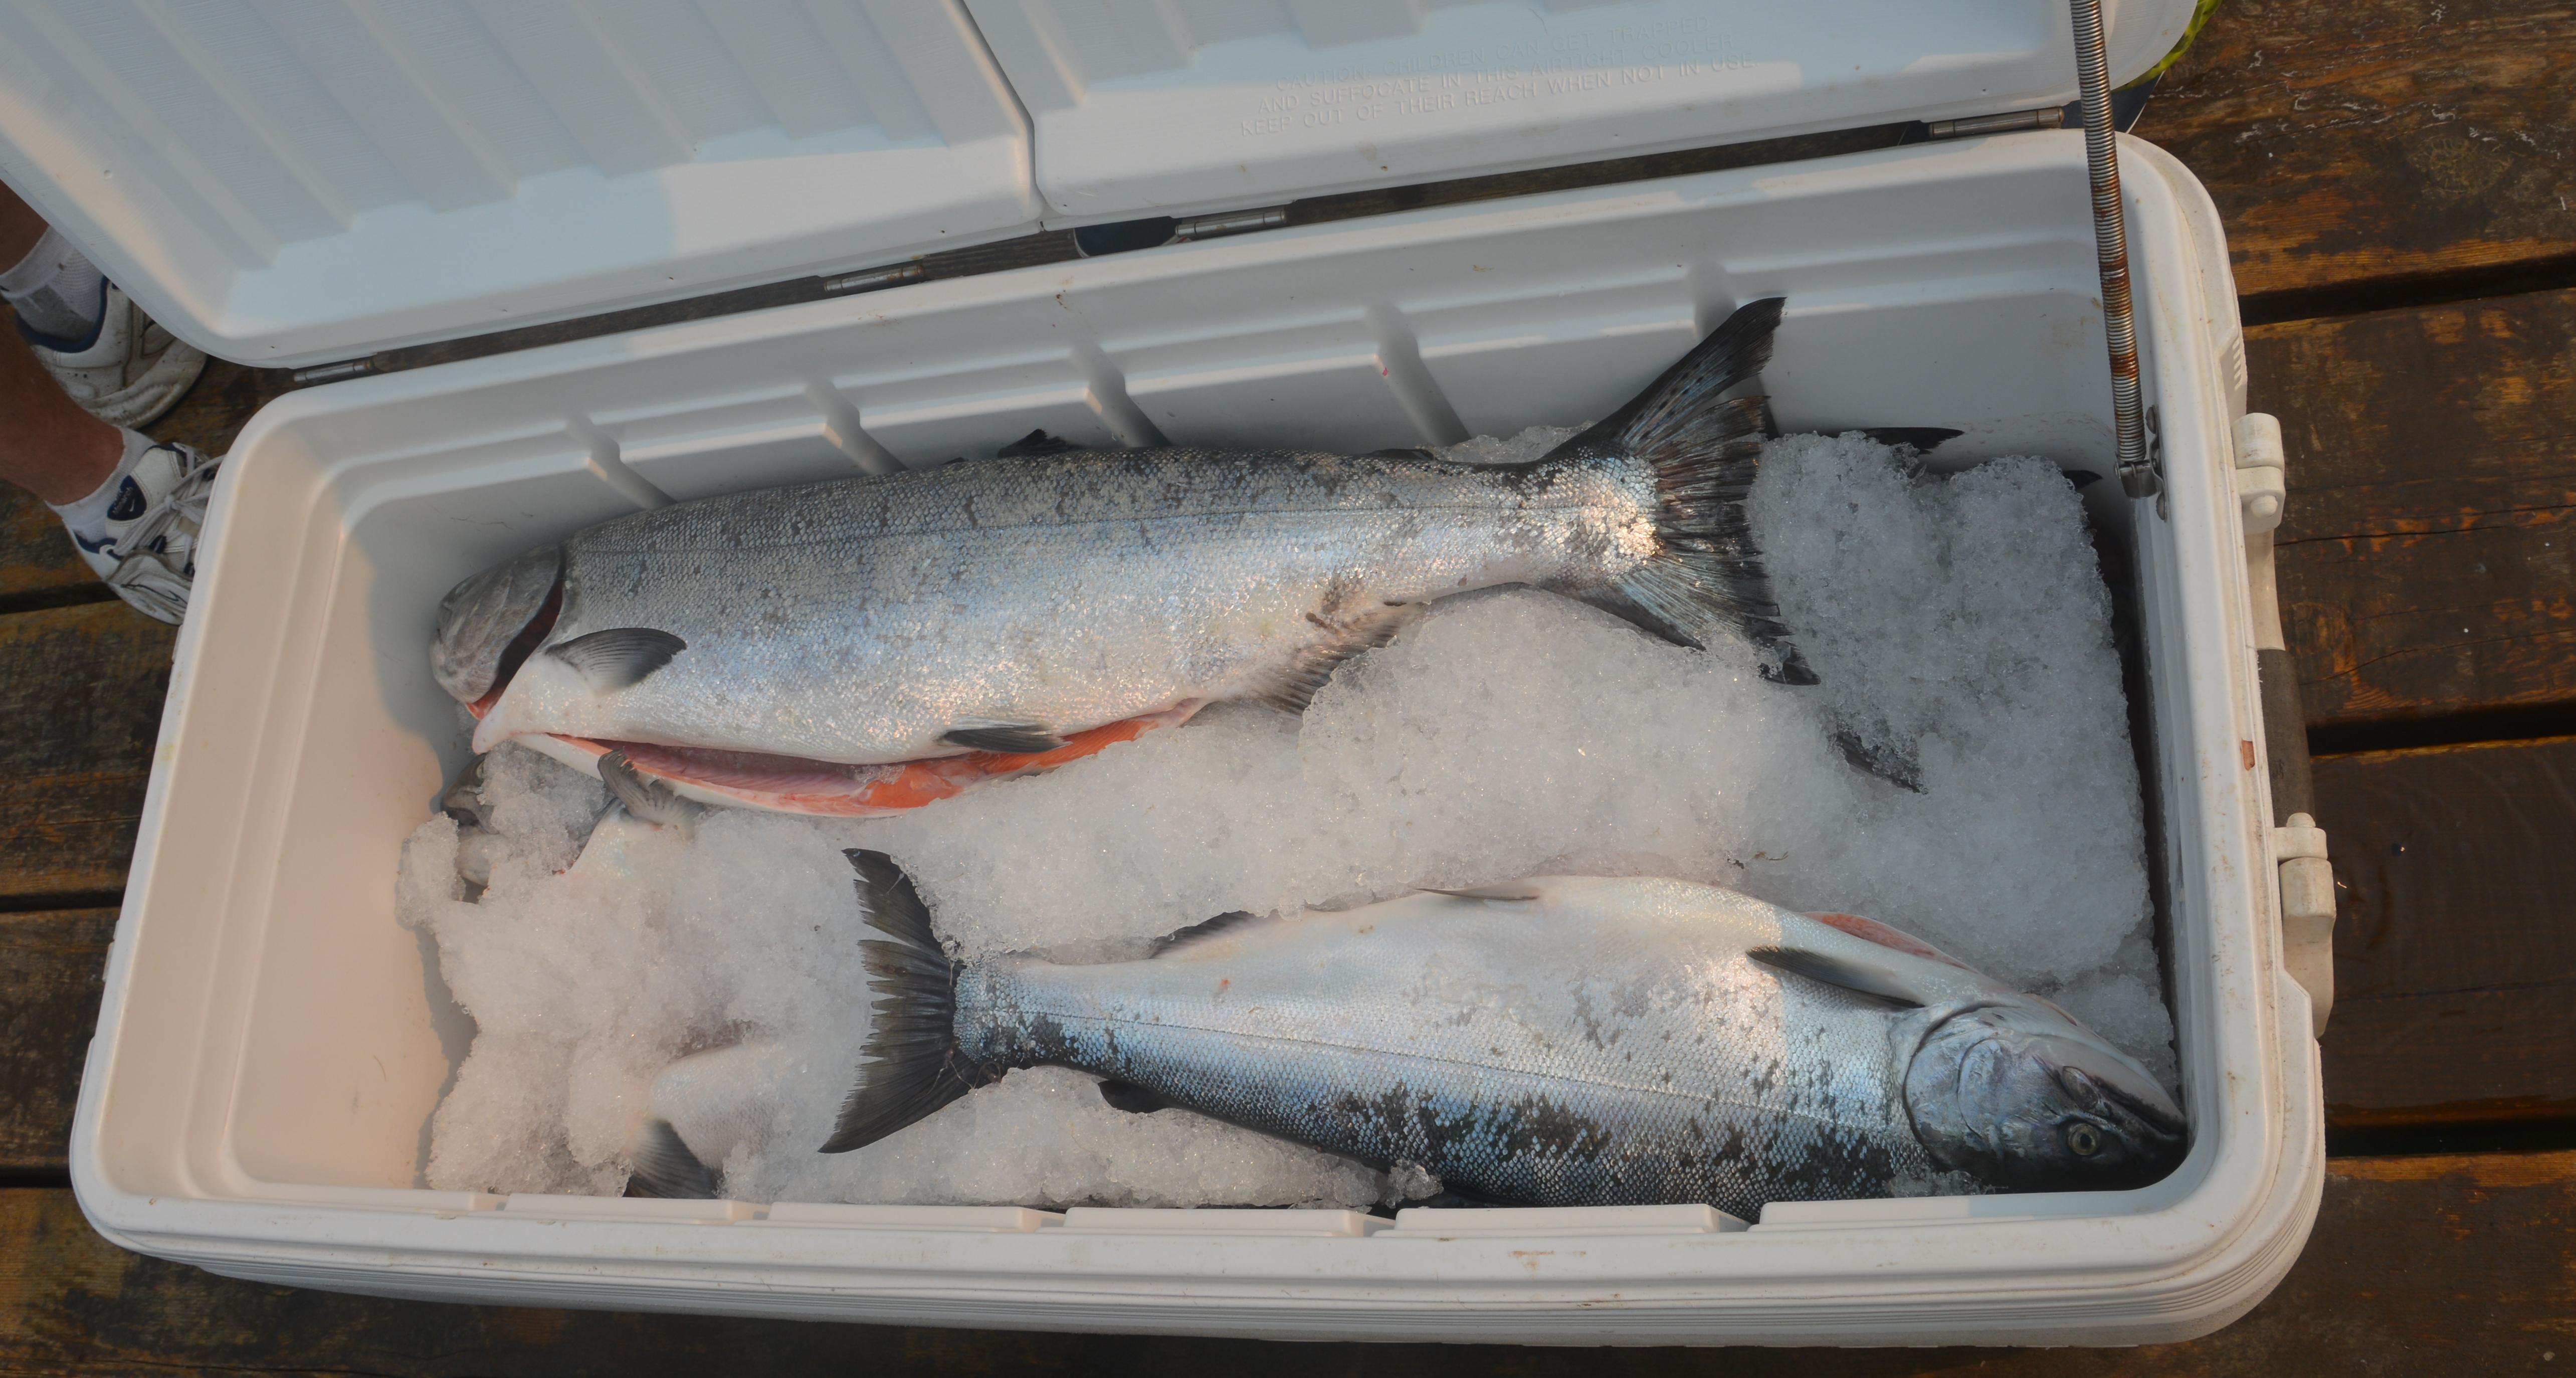
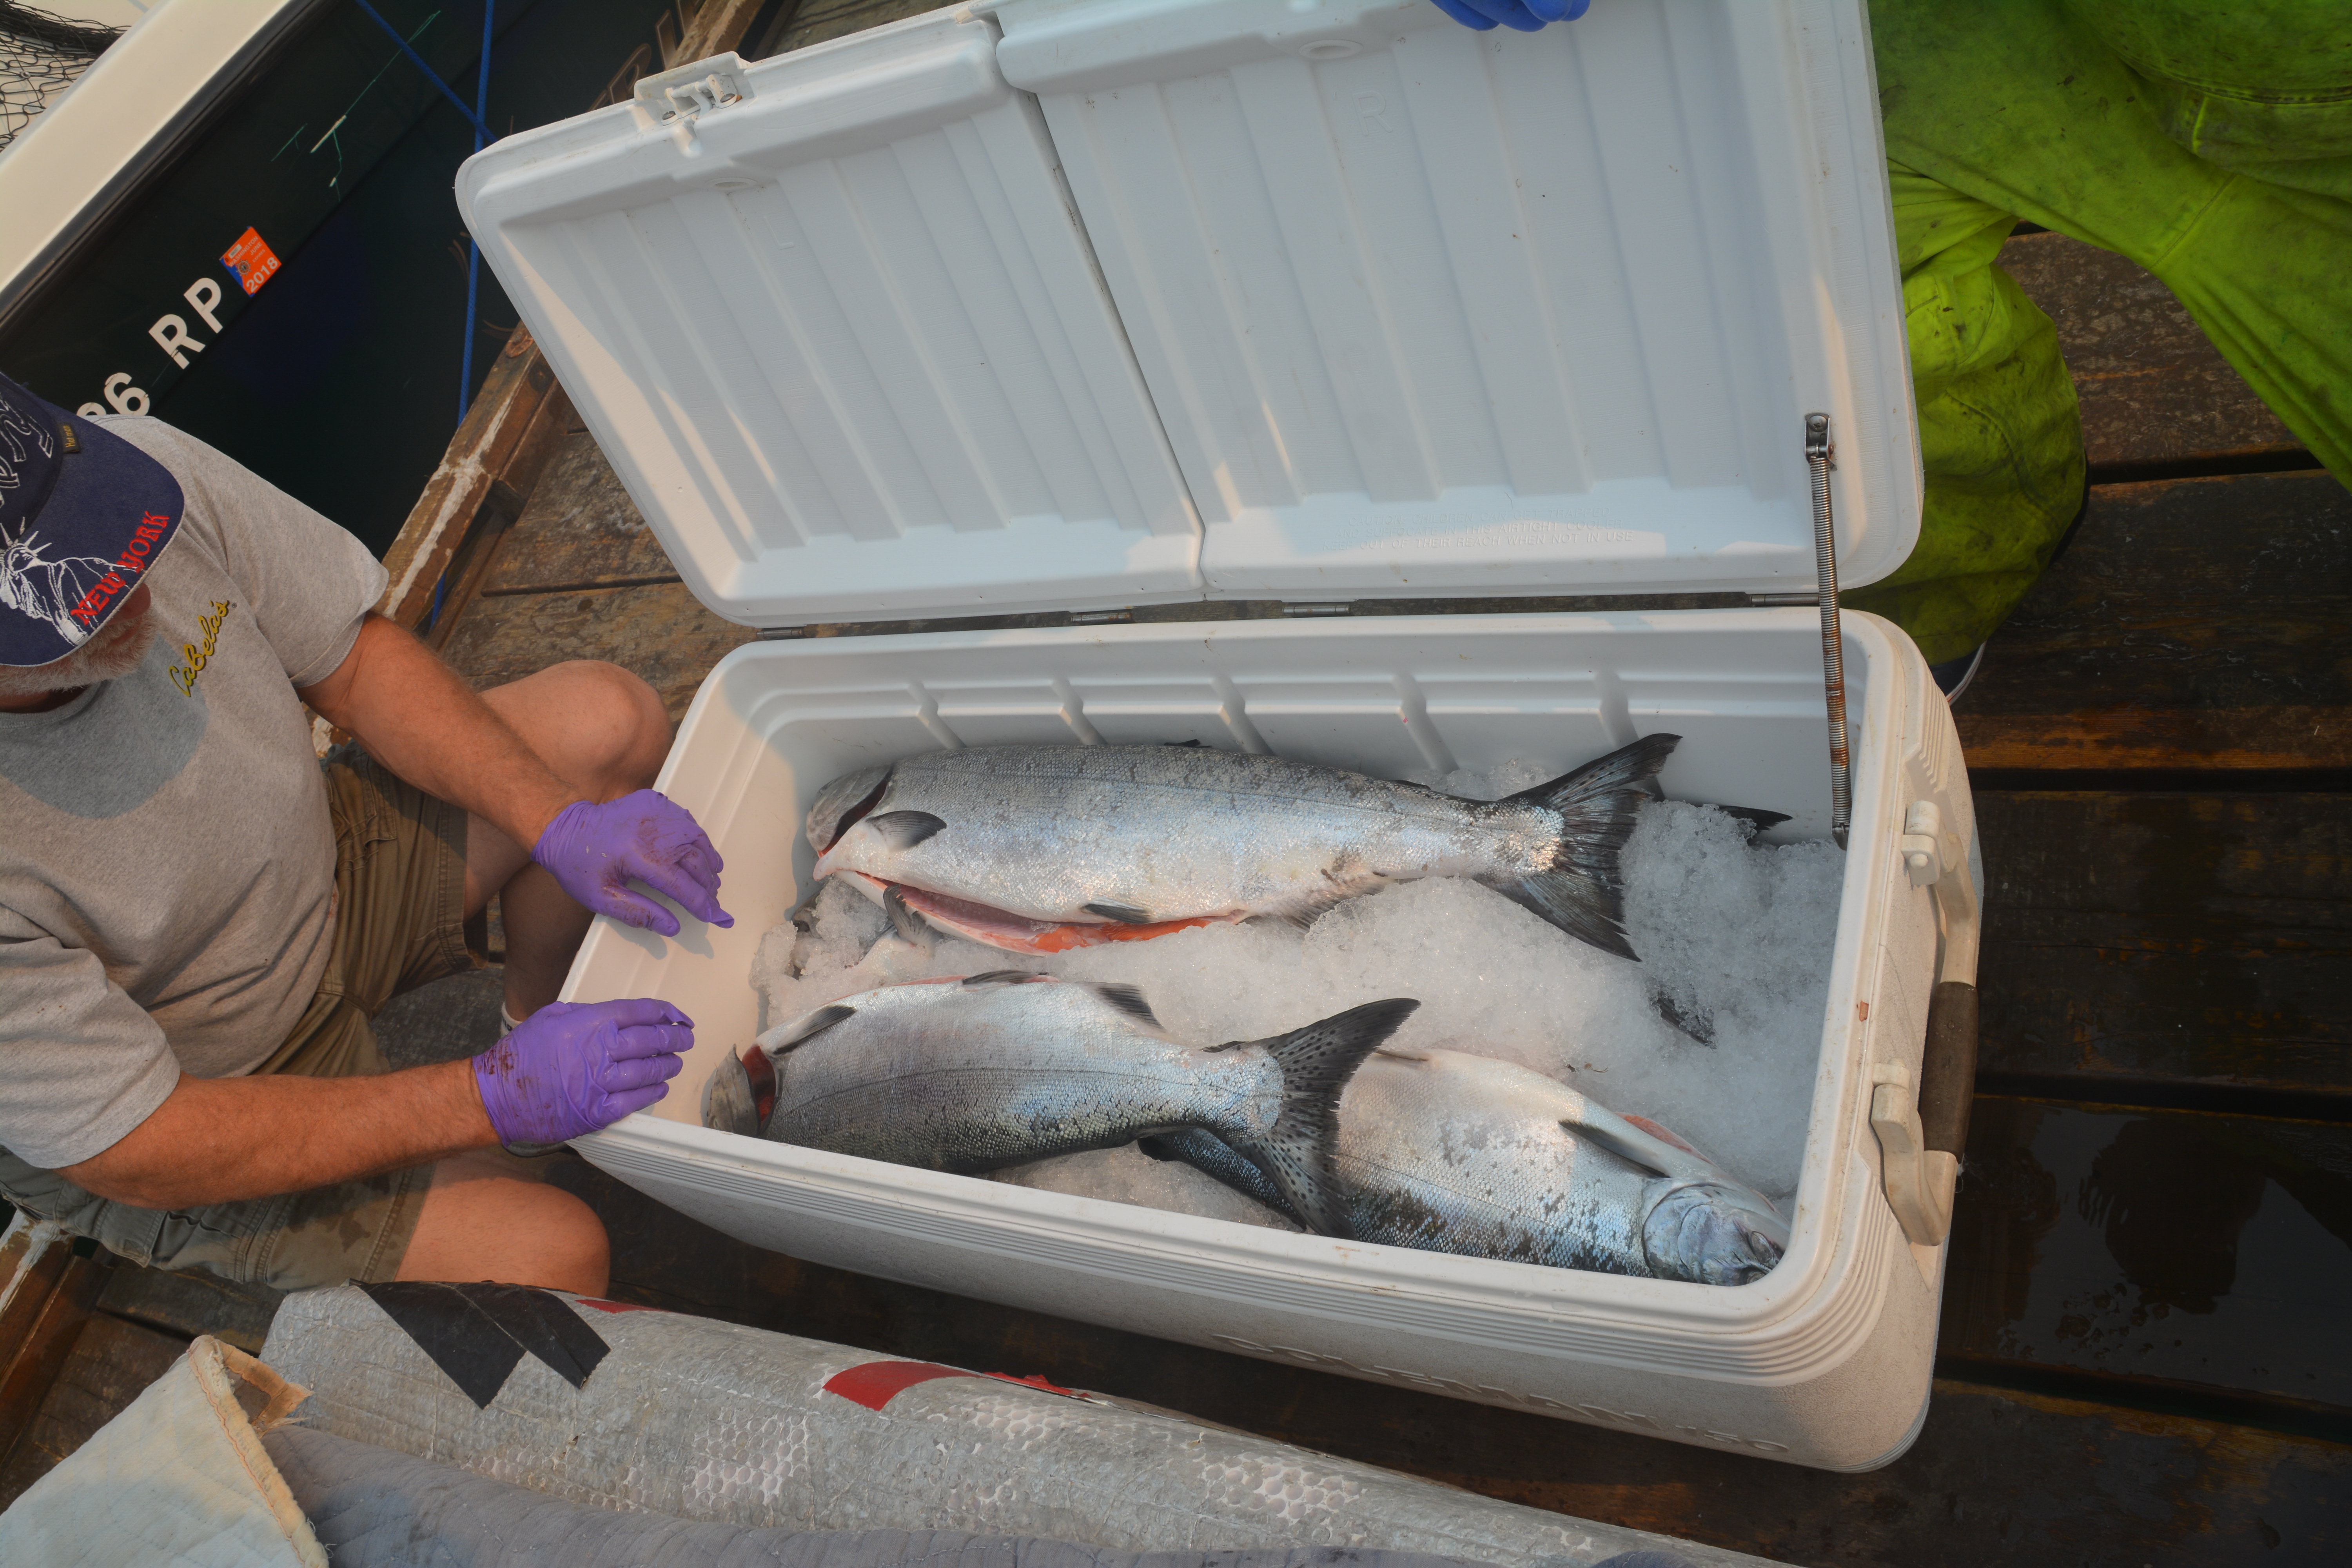
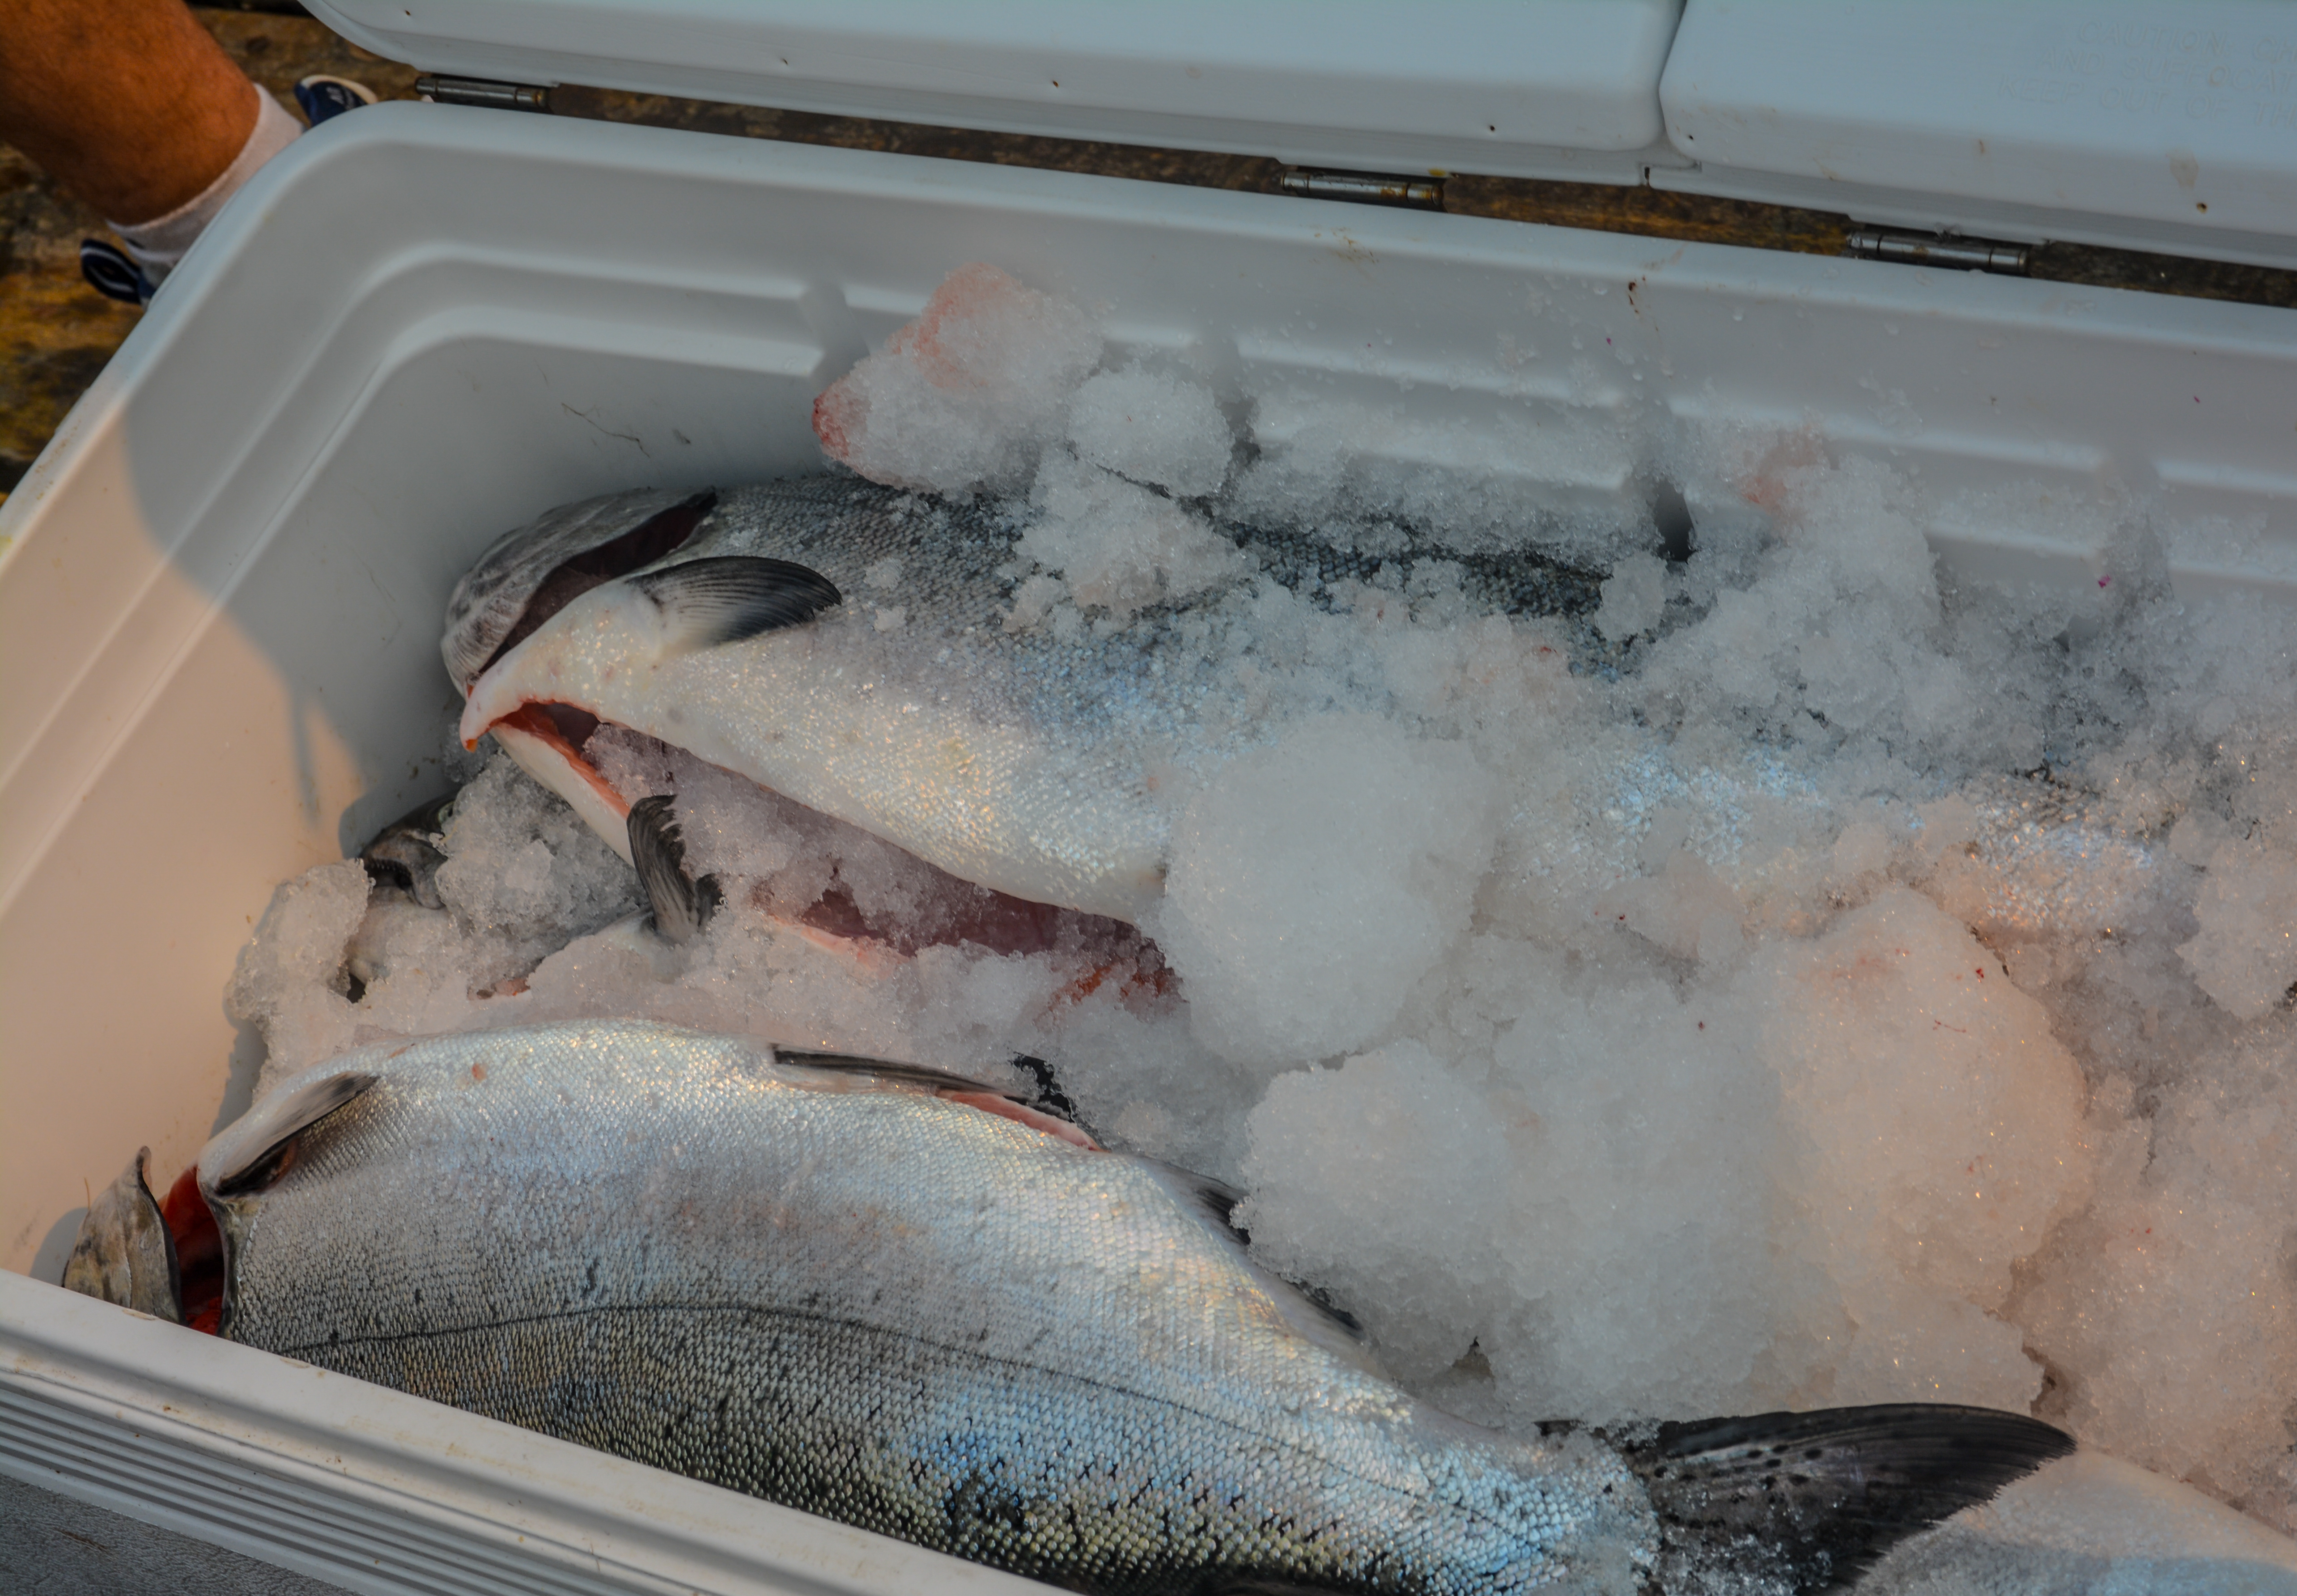
Once the fish is bonked and bled it’s time to get it cold as quickly as possible. Commercial fisherman often use a “salt water slush” which is chipped ice with ocean water added. The salt keeps the water and ice from re-freezing and drops the solution to below 32 degrees Fahrenheit. If you are fishing in fresh water, simply add some rock salt to your ice and some water to make your slush. Keep in mind this solution can be very cold and cause burns on your hands, especially on a cold day. Keep an ice chest with you for the ice slush and make this your storage container for fish on the boat or bank for the day. If you are on a boat, then use the fish box as a place to bleed the fish and then put it into the ice chest for cooling and storage after its bled.
At the end of the day keep the fish whole and in the ice slush until you get home, or if you prefer to gut the fish in the field then do so, and remove the gills as well and put it back in the ice slush or fish box. I rarely clean a fish in the field as there really is no need to. This is the best way to keep the fish clean. Their flesh is porous and takes to brining or marinating well, which most of us know since we smoke fish or marinate them for the barbecue. This is why I keep my fish whole in the field as you can expose the meat to bacteria, dirt, and other smells, oils, and substances that will taint the taste. Think of all of the things that we use when we go fishing, from bait oils and sauces, bait itself, gasoline, oils, dirt, water, etcetera and that can get onto your fish’s flesh once you cut it open. Once home you will have a clean surface to fillet your fish. A riverbank or boat launch cleaning station is full of bacteria, dirt, and rotting fish. Once you introduce bacteria to the flesh of the fish it will start to break it down and run the risk to go rancid.
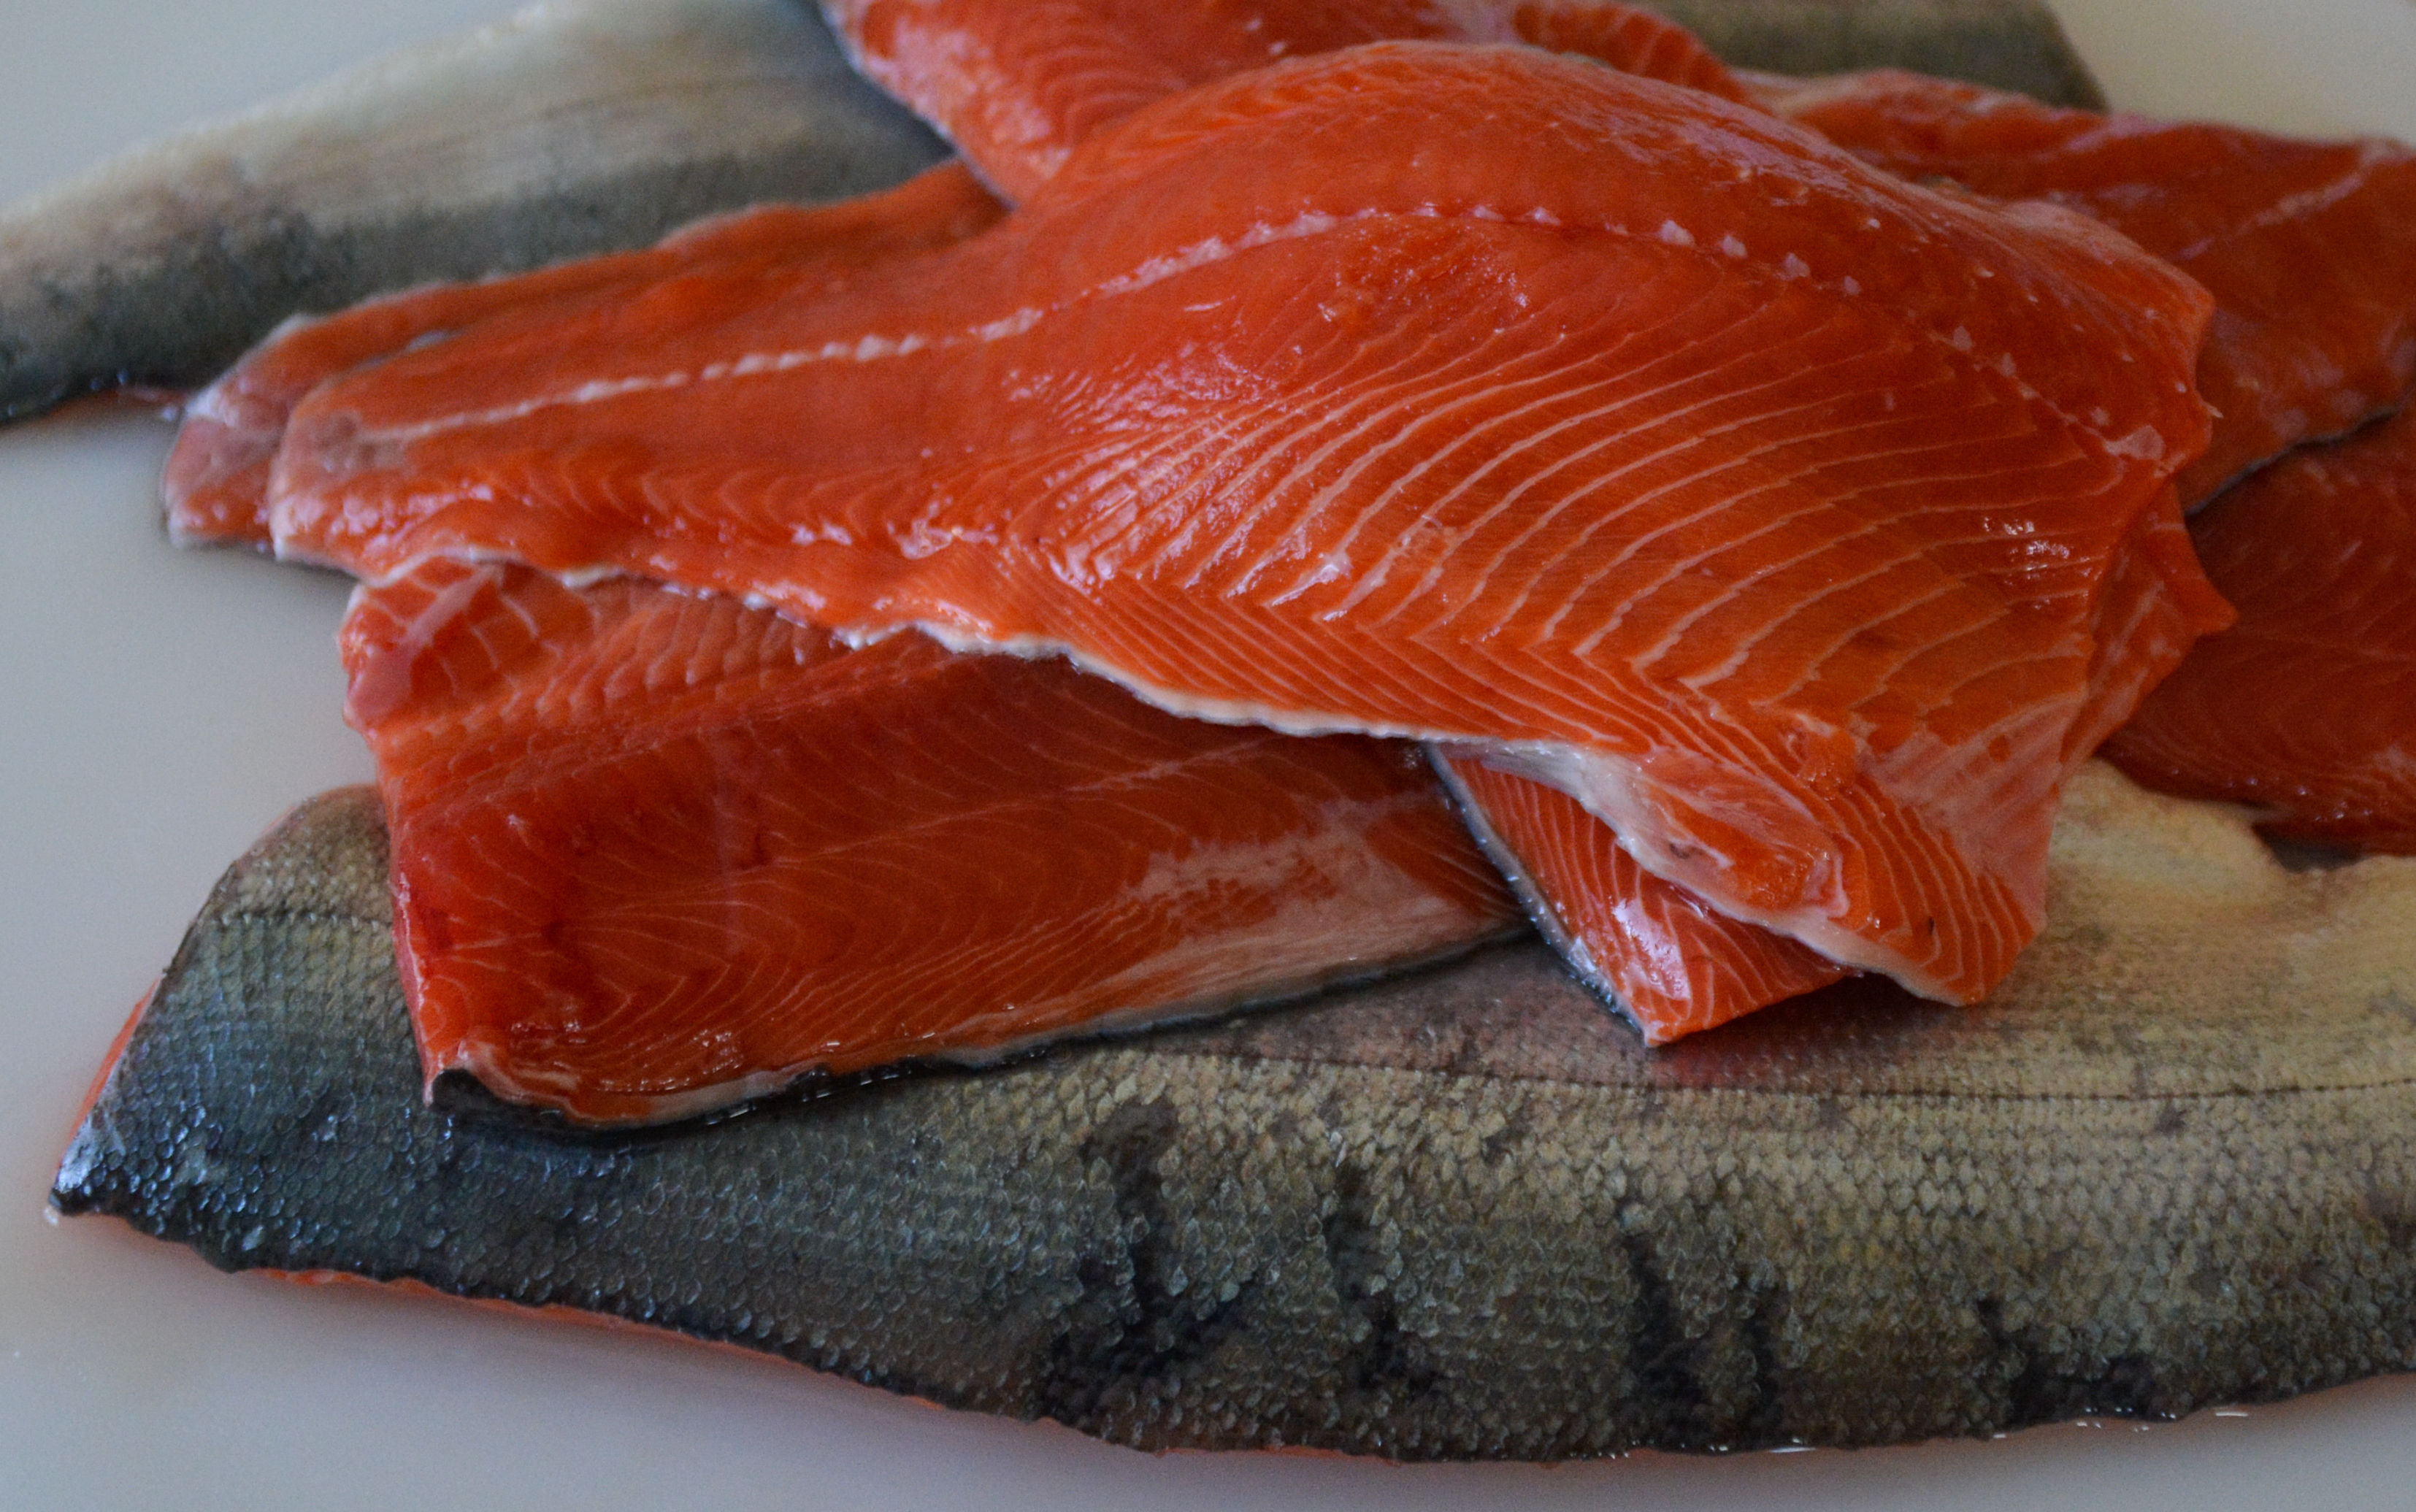
When it comes time to clean your fish there are a few options. Starting with wearing latex or rubber gloves, which I always do. For the salmon angler if you have ever been cut by their teeth or had an exposed cut come into contact with the fish slime you will know that it leads to a bacterial infection by the next day. It’s not life threatening but it is tender and sore and easily avoided. I also wear latex gloves because it keeps everything clean, as I can quickly switch them out and handle things like storage bags, cutting boards, knives and such without getting fish slime all over everything in the kitchen. Gutting the fish or filleting whole is up to you. With larger fish I have found that it is easier for me to keep the fish whole to fillet it as this makes it easier to separate the rib bones from the meat. Small fish often get gutted and cooked whole or filleted for smoking. Kokanee are a small sockeye salmon and are one of the best smoking fish there is. But since they are so small I often butterfly them instead of filleting them. Simply gut the fish and cut the head off, then run the knife along the backbone from inside the fish. Be sure to not cut through the skin along the back and continue the cut past the anal opening to the tail and lay the fish out, butterflied. This takes to brining well and evenly dry during the smoking process.
Very large fish, such as a twenty-pound Chinook will have a very thick fillet at the top and a thin rib area. This often leads to over cooking the rib area and the “collar” of the fish is still rare or undercooked. Instead, I will make a cut along the lateral line, separating the larger fish in half lengthwise to about the anal vent. I then fillet the fish with the top half of the fillet being thick and the bottom half being thin. The belly and rib meat fillet is best fried in a hot frying pan with some olive oil and seasoning salt. The thick portions of the fillet get baked. The “tail fillet” which is the fillet from the anal vent to the tail is bone free and gets barbecued and shared with friends since there is no bones and it is uniform in thickness and cooks evenly.
Storing your fish is one of the most important parts of taking care of your catch. For long term storage be sure to vacuum seal your fish in meal size portions. I often first wrap the fillet’s in a thick plastic wrap. This keeps the slime and water from clogging up my vacuum sealer. It also offers some “insurance” as once the plastic wrap is vacuum sealed with the fillet if the freezer bag accidently gets a hole in it the plastic wrap continues to do the job of protecting the fish from freezer burn for a short period. Air causes freezer burn and the plastic wrap will be pressed against the fish keeping air away if the bag fails. If possible, remove all pin bones which tend to puncture the bags easily. If this is not possible then after wrapping the fish in plastic wrap, simply fold a paper towel a few times and place it over the pin bones as this will act as packing material and keep them from poking through as you vacuum seal the bag. If you don’t have a vacuum sealer another “trick” is to plastic wrap the fish pieces, then place them in a freezer zip-loc bag unzipped and lower it into your sink full of water. This will push the air out of the bag and then zip it closed, forming a vacuum and sealed bag. It won’t remove all of the air but it’s better than just using the plastic wrap alone or just the bag by itself.
Label the fish and keep an eye on the bags in the freezer. Once you see a bag has lost its vacuum be sure to use that package right away. I learned a few years ago from a friend that if you lay the fish flat in the freezer and let them freeze you will have a better chance of the bags not failing. Plus, they taught me that once the fish is frozen you can place them in boxes or containers, stacked like books on a shelf, and organize your freezer much easier and more efficient. This keeps you from having to dig through your freezer looking for that one piece you want to cook that night and possibly puncturing other bags of fish.
I will group my fish in boxes such as “tail pieces”, large pieces, smoking cuts like the collars, knuckles, and bellies, and so forth. This makes it much easier to find what I am looking for months later. By properly caring for your catch you can enjoy the fish for months after the season is over. Proper fish care starts when you get the fish in the boat and continues until you cook it.
Jason Brooks hails from North-Central Washington. The son of a fishing guide, Jason is an avid hunter, angler, outdoor photographer and published writer. He resides in Puyallup with his wife and two boys.
Comments
Why is this comment inappropriate?
Delete this comment? Provide reason.