Search
Latest Articles
Razor Clamming
by Jason Brooks, April 06, 2019
April means so many things to the angler and for once I am not writing about the lowland lakes trout opener in Washington state. This is because WDFW announced a few extra weekends of razor clam digging along the coast and let’s face it, there is a ton of information already out there on how to catch planter rainbows. So, this month instead of going on a traditional fishing trip, let’s go clamming!


Razor clams are fun to collect, easy to clean and taste the best of all of the clams with their soft meat that can be made into several delicious dinners or appetizers. The first thing a “clammer” needs to do is check the beach opening announcements at WDFW (or Oregon’s fisheries managers as they too have some good razor beaches in Oregon). Several have been announced including additional “tentative” dates that are usually not going to change so you can make plans on heading to the beaches. Once you learn which beaches are open then it’s time to gear up.
Clamming is a lot of fun but it can also be messy from the start if you don’t plan accordingly. This past winter when we hit the beaches on our first trip we made the mistake of only using rubber boots. Kneeling down to grab the clams meant getting our pants wet and sand all over. Same with wearing a long sleeve shirt as the cuff gets soaked and saturated with sand. If you have a pair of waders, then wear them as they are a big benefit to clamming. This activity is a lot of fun but very messy and the waders make it easy to go out, get dirty, and then clean up afterwards. Be ready to have a change of clothes in the car and it is even a good idea to put down some towels on the seats and have rubber floor mats. For the actual clam gathering you will need a separate container for each person and the mesh bags with a metal ring to keep them open work well as they attach to your belt, but a plastic bag works just fine too.
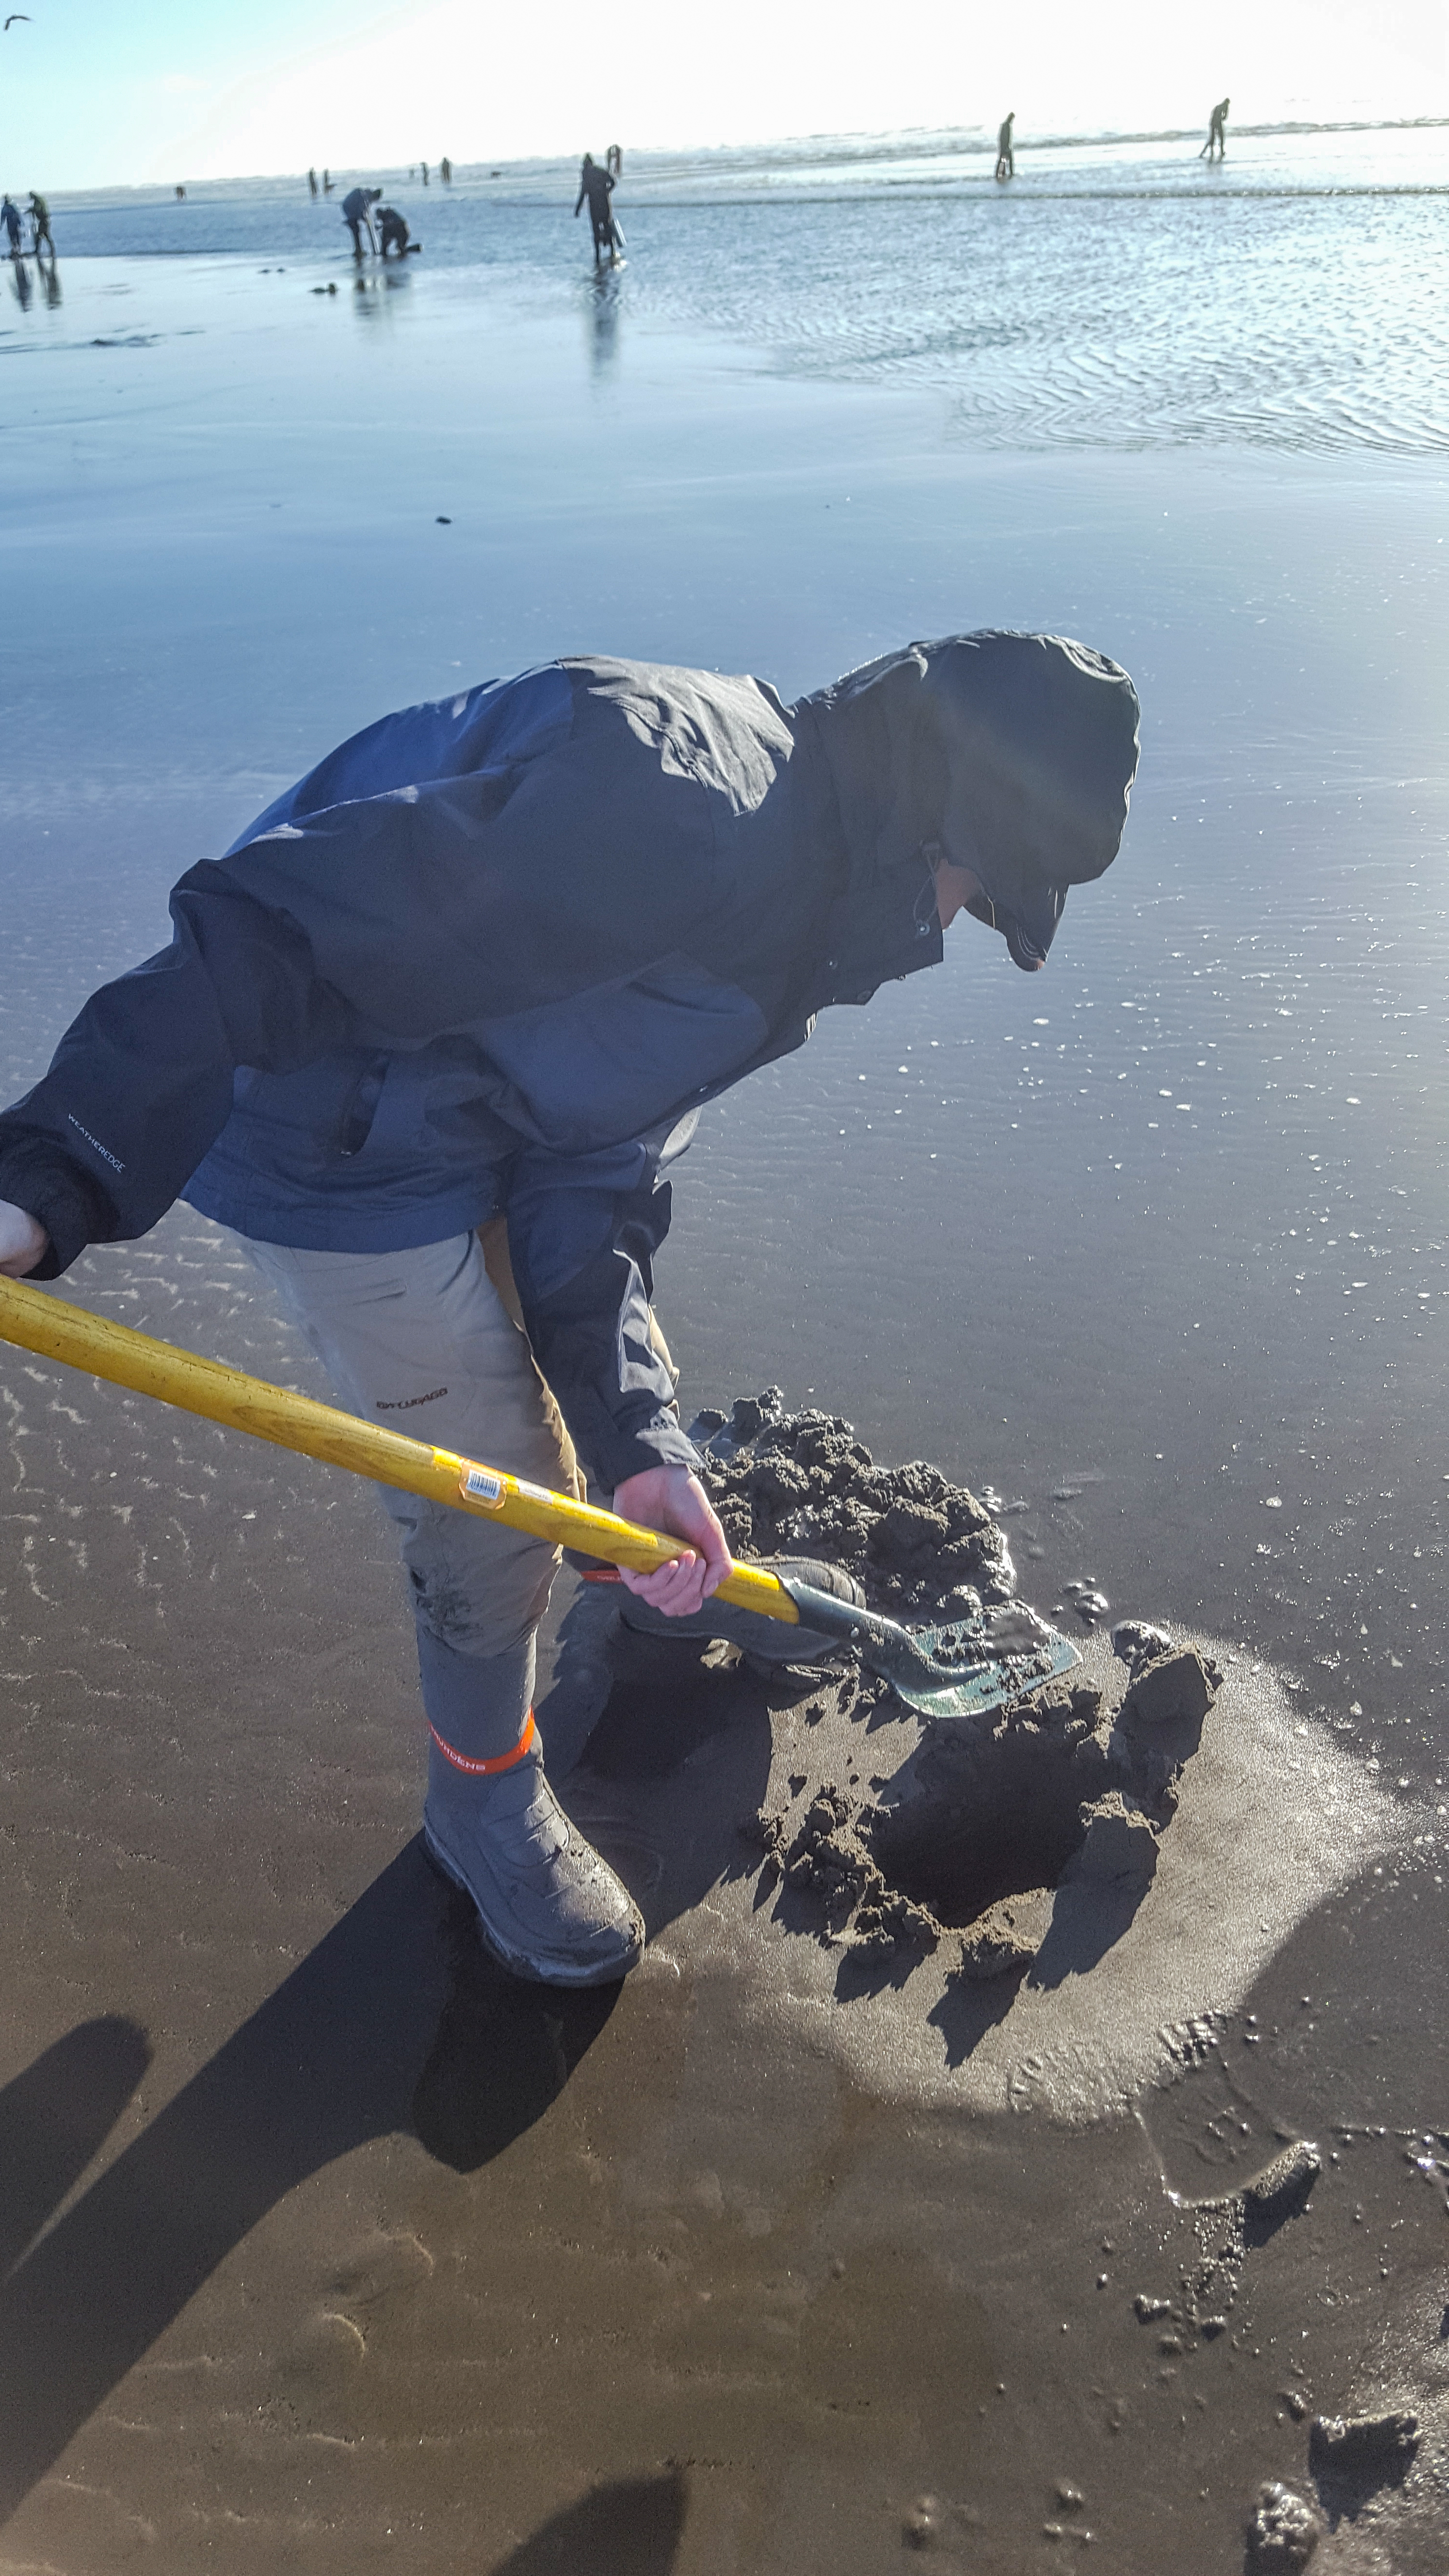
A “clam gun” is a popular choice but a special “clam shovel” works even better once you get it figured out. The clam gun is a tube with a “T” handle and a hole that allows air to escape as you push it into the sand and then cover the hole with your fingers and pull upwards, creating suction and pulling up a column of sand hopefully with a clam inside. The shovel works when you push it down part way and “flip” the sand up and out, doing this a few times in a quick motion until you reach the clam.
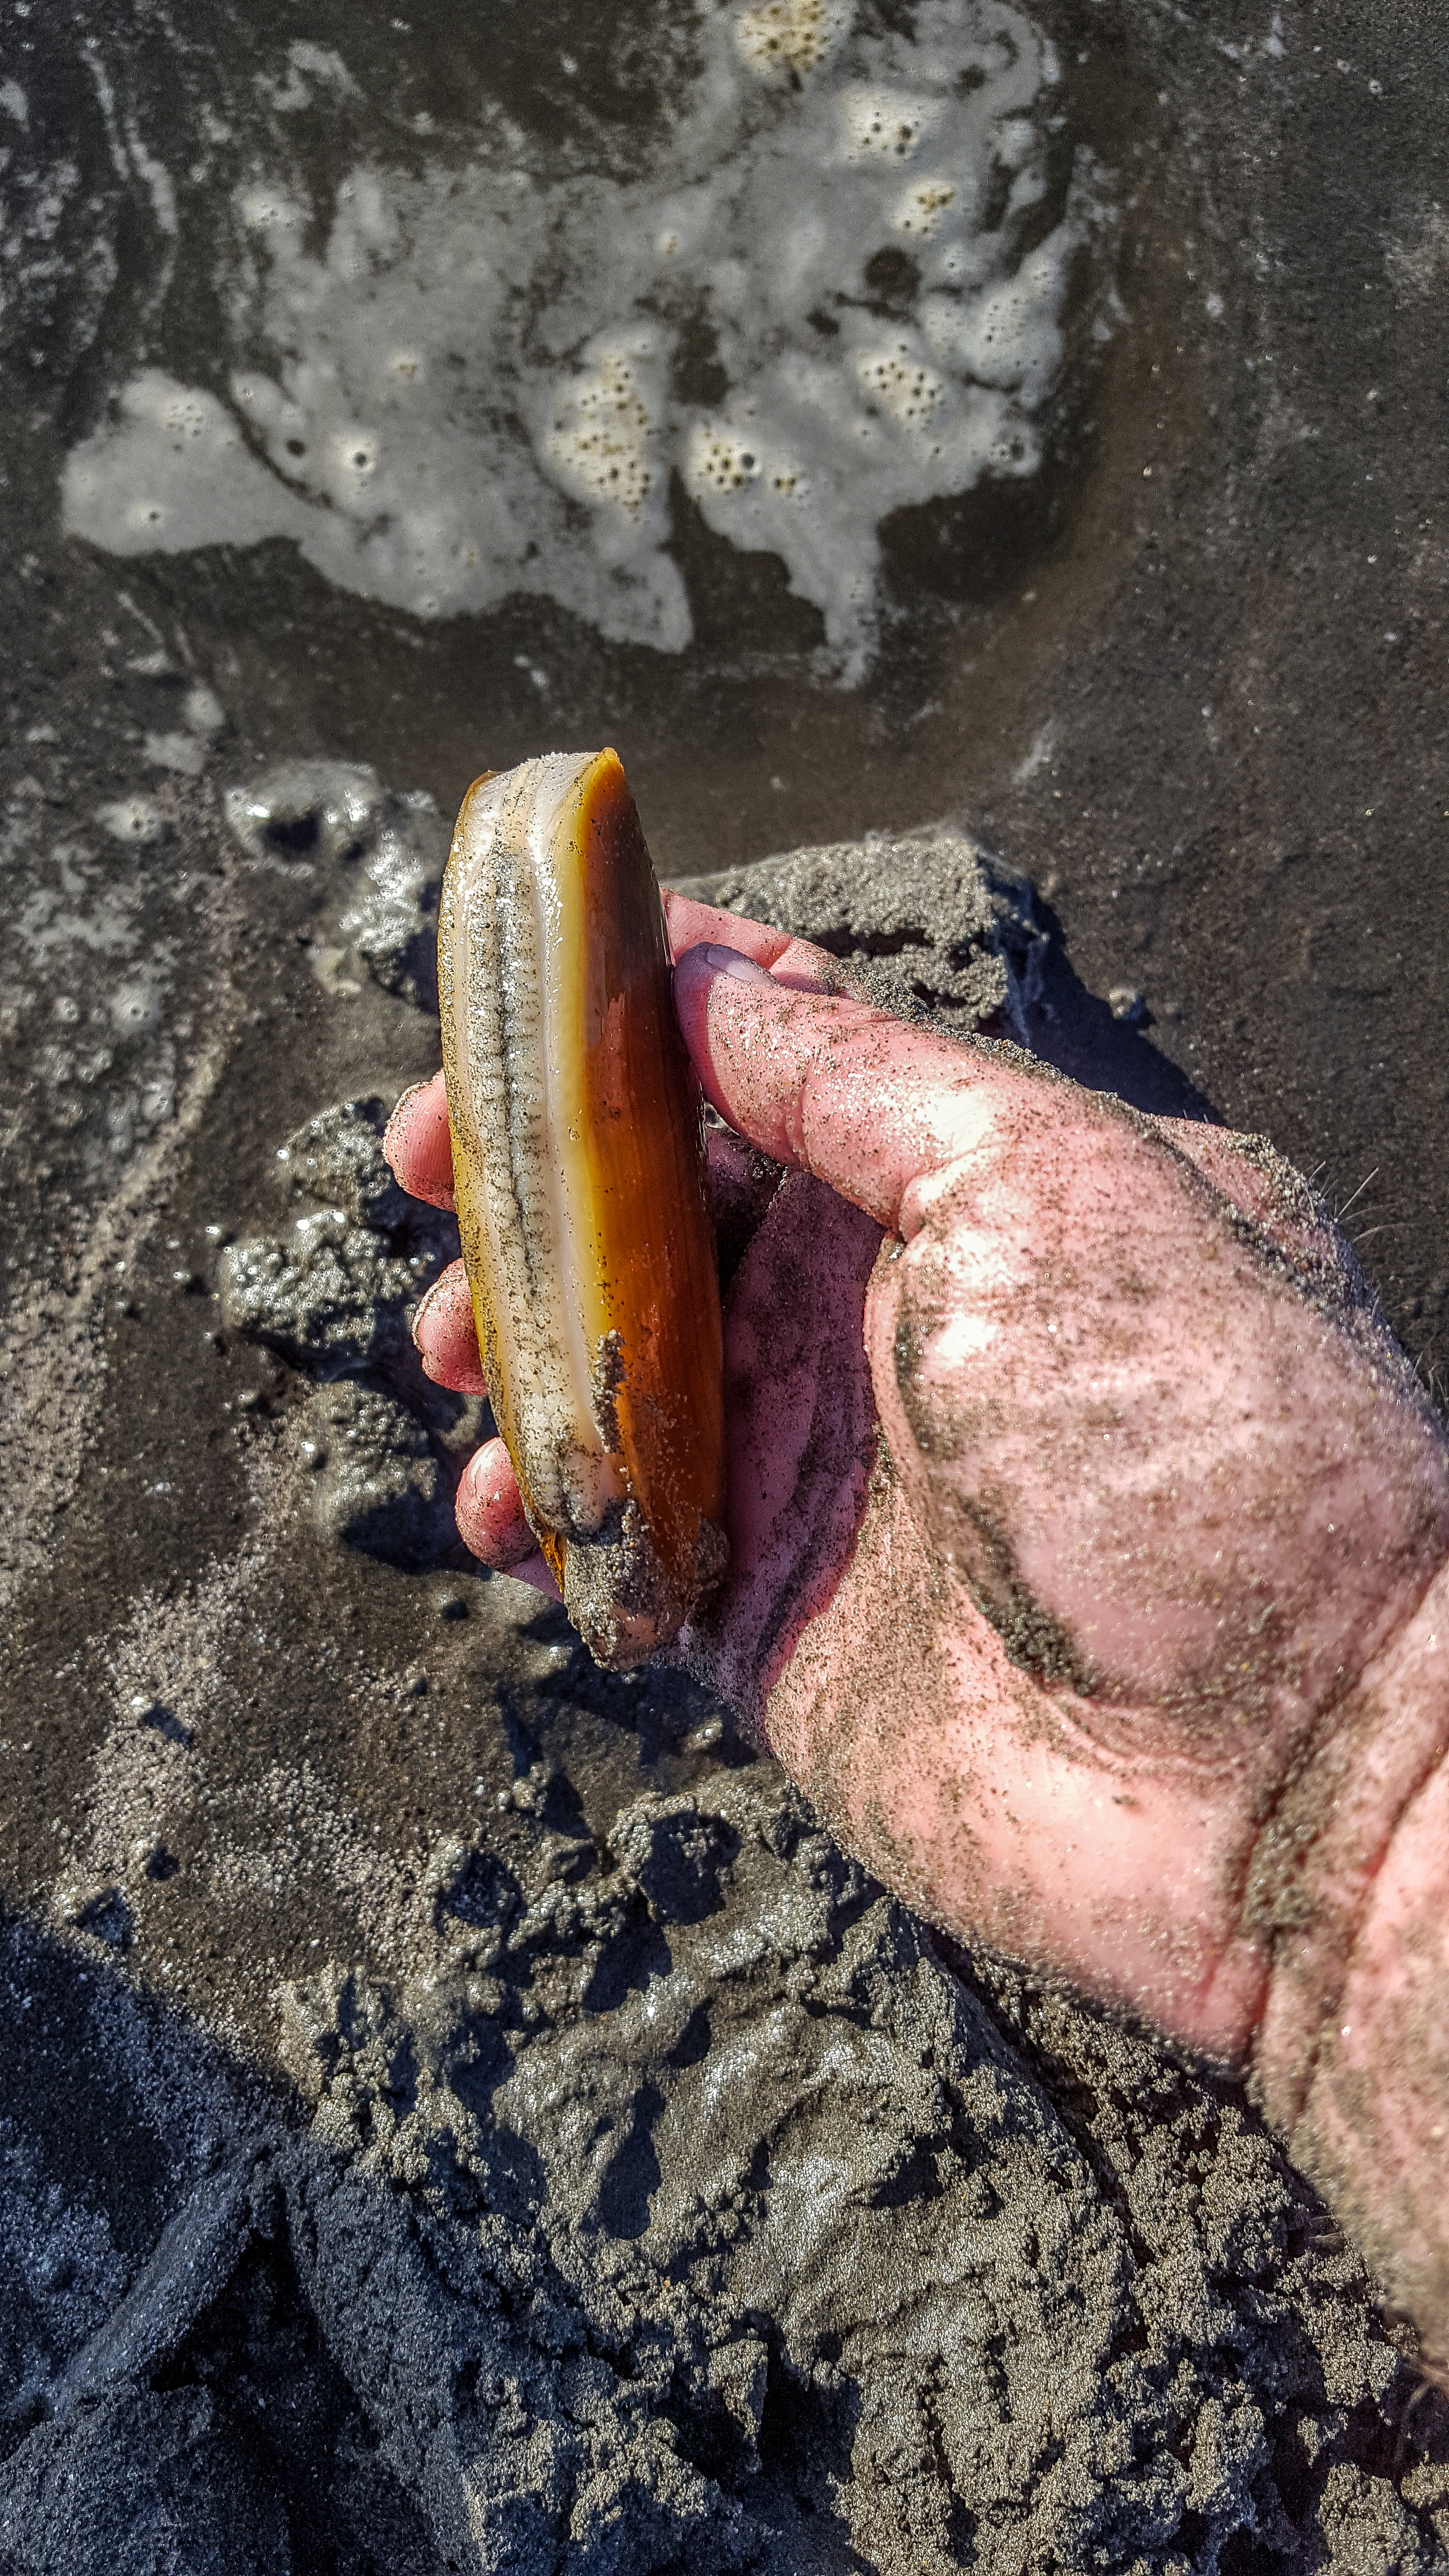
Regardless of which method you use knowing how the clam sits, filters, and digs will help you find more clams as well as remove them without breaking the shell. Razor clams are long and thin averaging three to six inches in length with some as big as eleven inches long and rarely wider than three inches. They have a “foot” that helps assist in digging and a neck where water and food is taken in. The clams are vertical in the sand and slightly angled towards the ocean. Knowing this means you should push our clam gun downward with a slight angle towards the ocean to keep from breaking the shells of the clams. One trick that I do is to push the clam gun down only a few inches and remove the sand, then repeat this process, as the clam will begin digging as soon as you put pressure on the clam gun. It can take a few seconds or more to twist and turn the clam gun downward if you try and push it all the way down before lifting it out of the hole. In the meantime, the clam is digging downward and you are essentially making more work for yourself than needed. This is why the clam shovel can be an advantage once you get the hang of using it as you are quickly removing the sand and catch up to the clam before it can dig too deep.
Being filter feeders the clams prefer to be right at the low tide mark as this is where the sand washes back and forth and during high tides the clams will be as deep as thirty feet under water. Knowing that the clams prefer to be at the low tide line most digs are set for days that have a negative tide. This allows people to arrive early and harvest clams as the tide recedes and keeps from one part of the beach from being over harvested.
Look for beaches that are sandy and have sand bars as the tide goes out. It is best to arrive two hours before the low tide to allow you to gear up and start to cruise the shoreline looking for clams. What you are actually looking for are “shows” or small holes that have a pile of sand around them. Sometimes it is just a small depression about the size of a nickel. You can use the end of the shovel or a walking stick to tap the sand which will cause the clam to dig which also has them spit sand upwards and creates that small depression or “show”. Doing this is an easy way to find clams but it also means that you are setting them in motion to start digging downwards. One thing I do is look for the small depressions and while I am pushing down on my clam gun I start looking for other clams to show from the force of the gun going down.
As the tide goes out be sure to follow it out as the clams right at the surf will be close to the surface. At low tide, especially during a negative tide, it is common to see necks sticking up out of the sand and a small squirt of water as they begin to dig when you step on the sand near them. It is not hard to get limits of razor clams in a quick order once you start to find them.
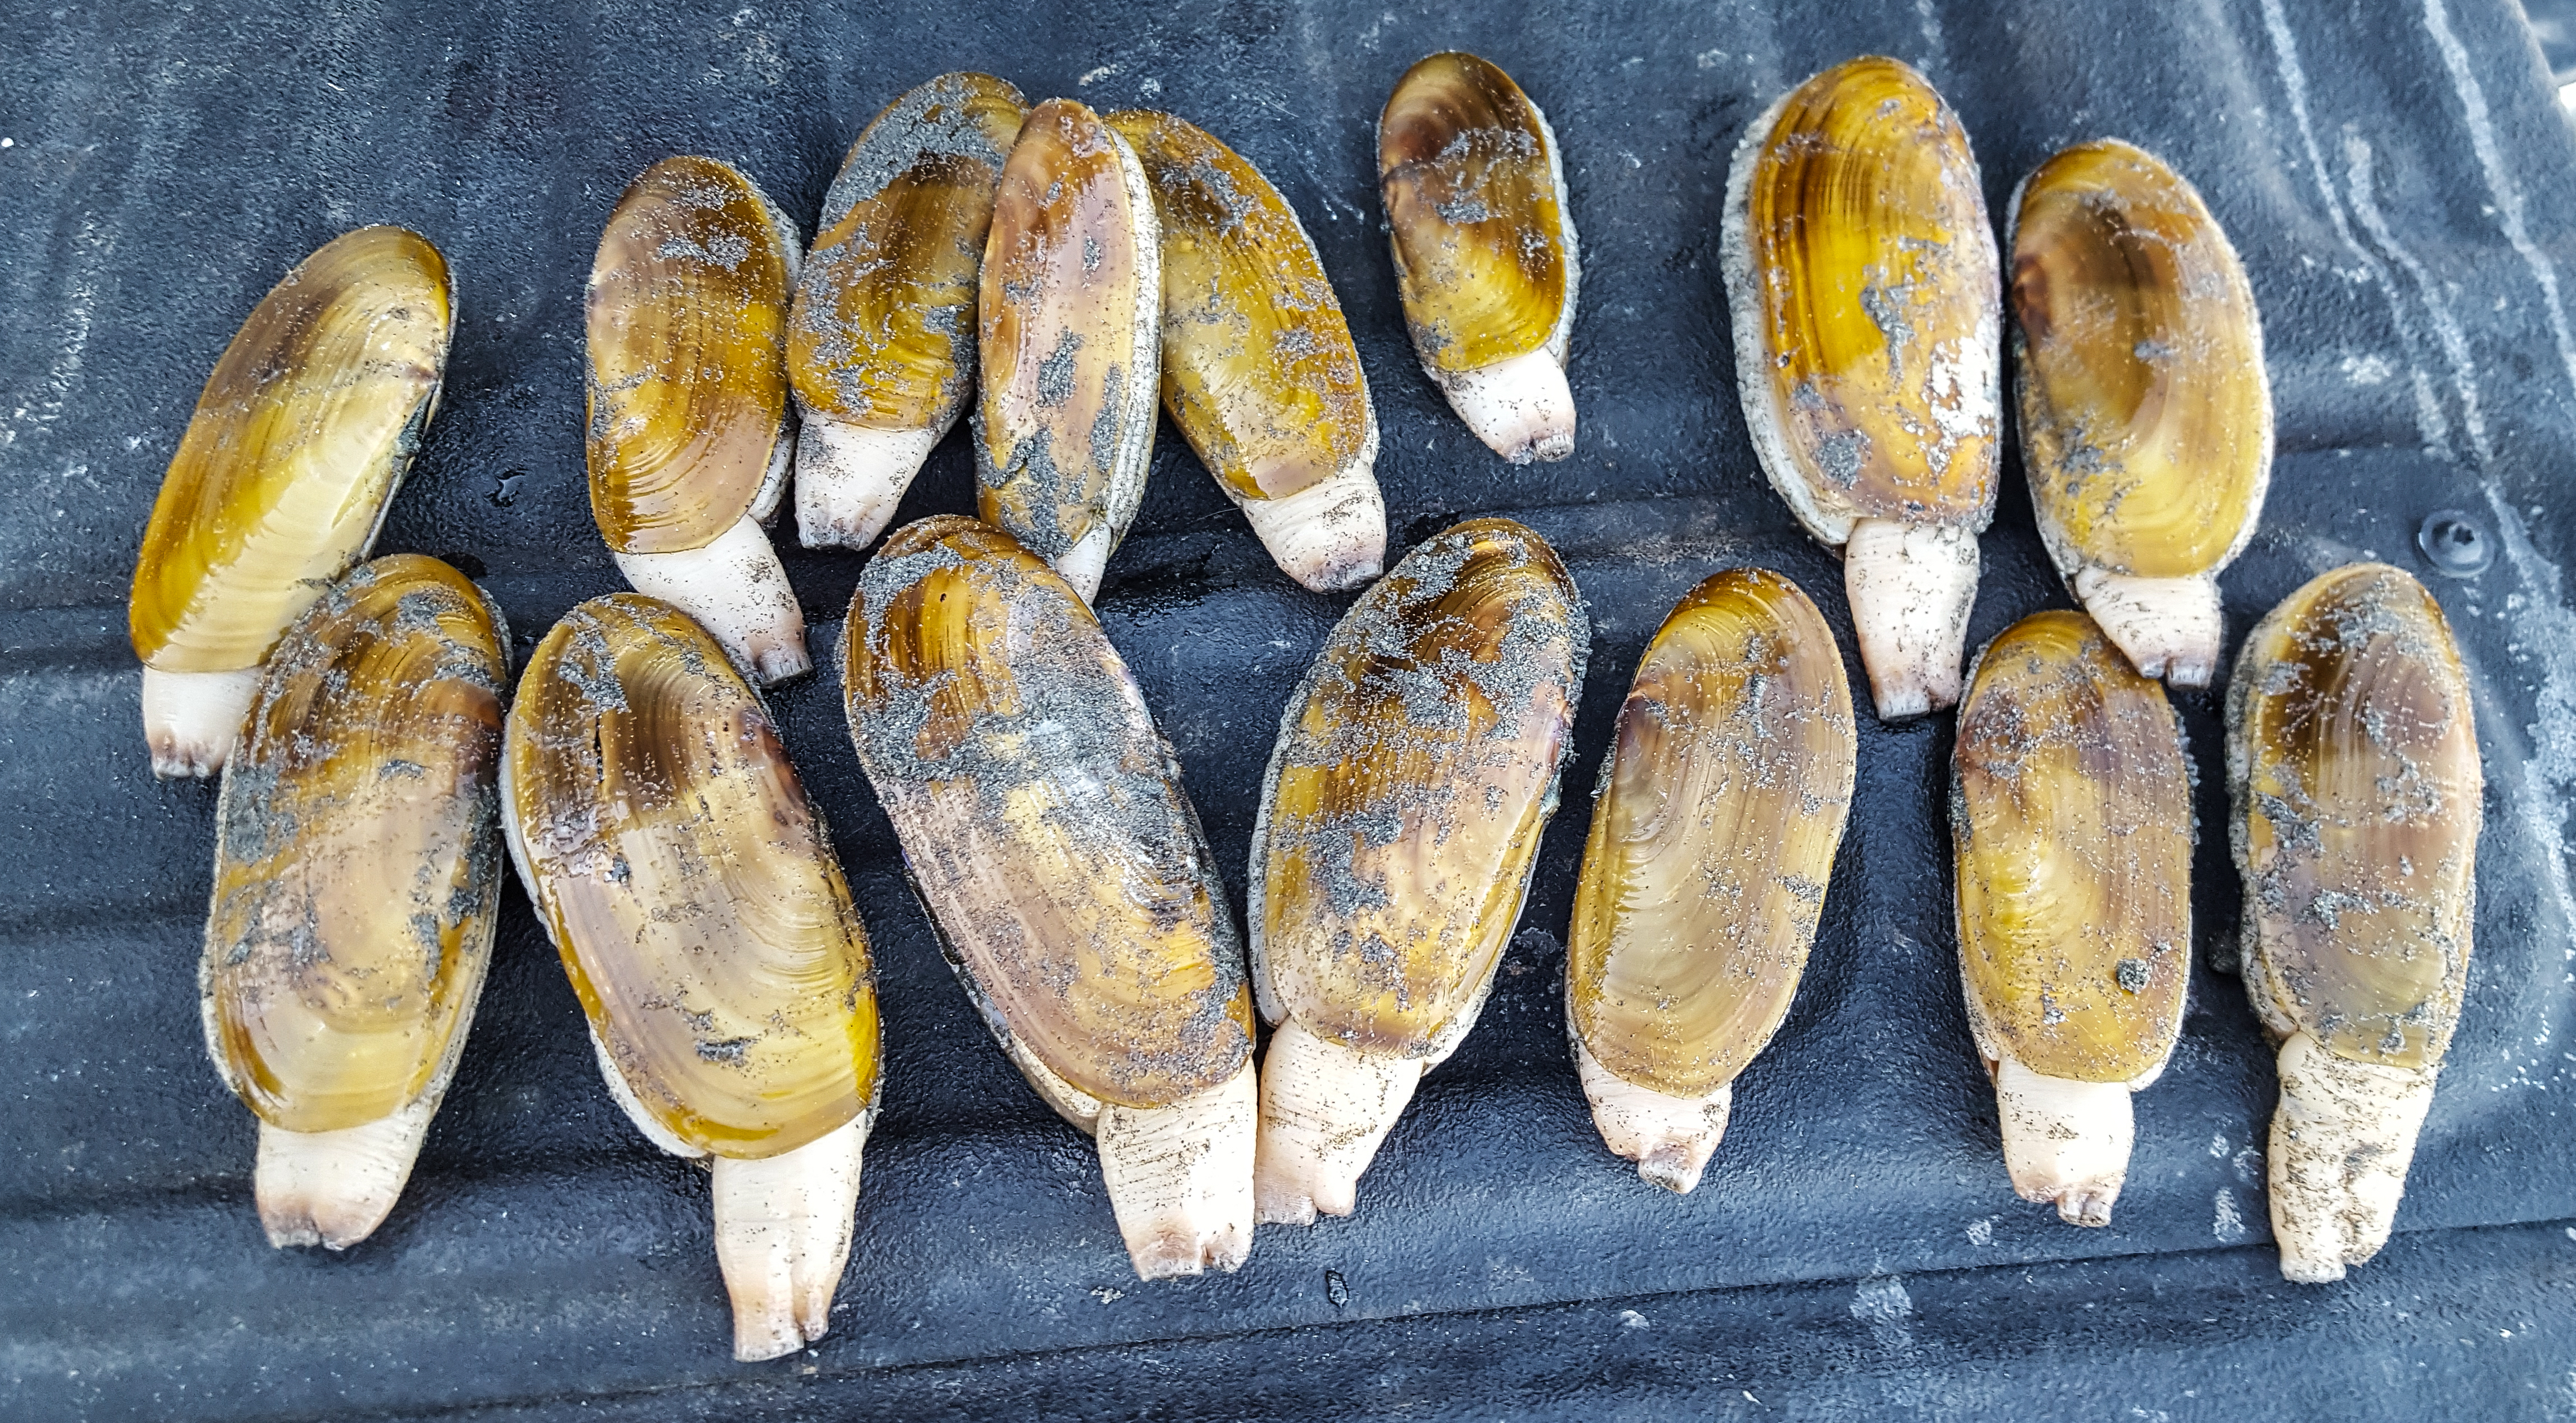
After you are done clamming for the day be sure to rinse the sand off of them and count them to make sure you haven’t gone over your limit. This is a very common mistake as you are in a frenzy to get the clams while at low tide, fighting the waves, and grabbing clams. It is all very exciting and losing count is easily done. To transport them home I often fill a five-gallon bucket with a few gallons of sea water. This helps the clams empty themselves of sand as they filter on the drive home. Once I get home I take a plastic container and and old dish towel. Soak the dish towel in the sea water and place it in the container. Then lay out the clams and cover with another sea water soaked towel and put them in the refrigerator until you can clean them.
Clams can live for a few days in the refrigerator but if you keep them in the bucket of sea water they will die overnight. This is because they use up the oxygen rather quickly being a filter feeder. They are used to being out of the water when there are extreme low tides and they stay in the cool and moist sand so the towel in the refrigerator works well.
Cleaning clams can be messy but it is very easy to do. I use two colanders, one will have the clams in them in the sink and the other will be used to keep the meat in once they are gutted. Use a cooking pot with boiling water on the stove, a pair of kitchen tongs, a bowl of ice water and a pair of scissors. Now you are ready to clean some razor clams. Rinse a clam with cold water and then drop it into the boiling water. In about twenty seconds it will “pop” open. Remove the clam with the kitchen tongs immediately after the shells pop open and put the clam into the bowl of ice water. The boiling water makes the clams muscles contract and pull from the shell but you don’t want to cook the clam so by placing it in ice water it immediately stops any cooking and keeps the clam meat raw. If the clam is still slightly attached to the shell just give it a little pull and it will pull free. I then rinse the clam again, and cut off the tip of the neck. Then hold the clam in the palm of your hand with the seam that resembles a zipper facing upwards. Insert the scissors and butterfly it open all the way to the top of the neck, and be sure to open the second tube on the neck which is just below the top one. From there you can use the scissors to remove the guts and foot and then butterfly the foot open and remove any entrails. Some people like to keep the foot attached and cut the entrails sack open and scrape the entrails out. Either way you will end up with some delicious razor clam meat. Rinse again and then cook them to your liking. A limit of razor clams, which in Washington is 15 clams takes me about 20 minutes to clean from start to finish but this includes clean up as well. I place a dinner portion of clams into a vacuum bag and vacuum seal and freeze them for later use. They make great chowder, fried clam strips or even “fritters” which is the way my grandmother would make them. Grind them up and mix them with raw hash browns and form a patty which is then pan fried.
Clamming might not be your “traditional” fishing trip but it will quickly become a traditional family trip to the beach. It is a lot of fun, easy to do, and provides a tasty meal or two. If you really want to get some fishing in, then take along a surf perch rod and catch a few surf perch after you get your limit of clams. One last thing to remember is that crab love clams more than we do and I keep the guts, freeze them, and later in the summer use them in my crab pots to supplement the bait. Good luck and go clamming!
Jason Brooks hails from North-Central Washington. The son of a fishing guide, Jason is an avid hunter, angler, outdoor photographer and published writer. He resides in Puyallup with his wife and two boys.