Search
Latest Articles
Salt, Pepper, and Magic
by Ryan Hung, December 30, 2015
Long have humans cultivated the art of food preservation -- from pemmican to hardtack, and the prized delectable we'll be learning how to concoct today. For the latent chef or kitchen bystander: food reveals it's true flavors by the practiced hand, adept in planning and repetition -- and yes, writing down your cooking goals most certainly helps. Before we begin, please remember how the end result will always reflect the original quality; it cannot surpass it. And to that end, for the primitive angler who uses the "one for the smoker" term--a common excuse for retaining fish of inferior quality--there are other articles written for you, however this is not one. For the remainder still interested in steadying their hand at smoking, let us begin.
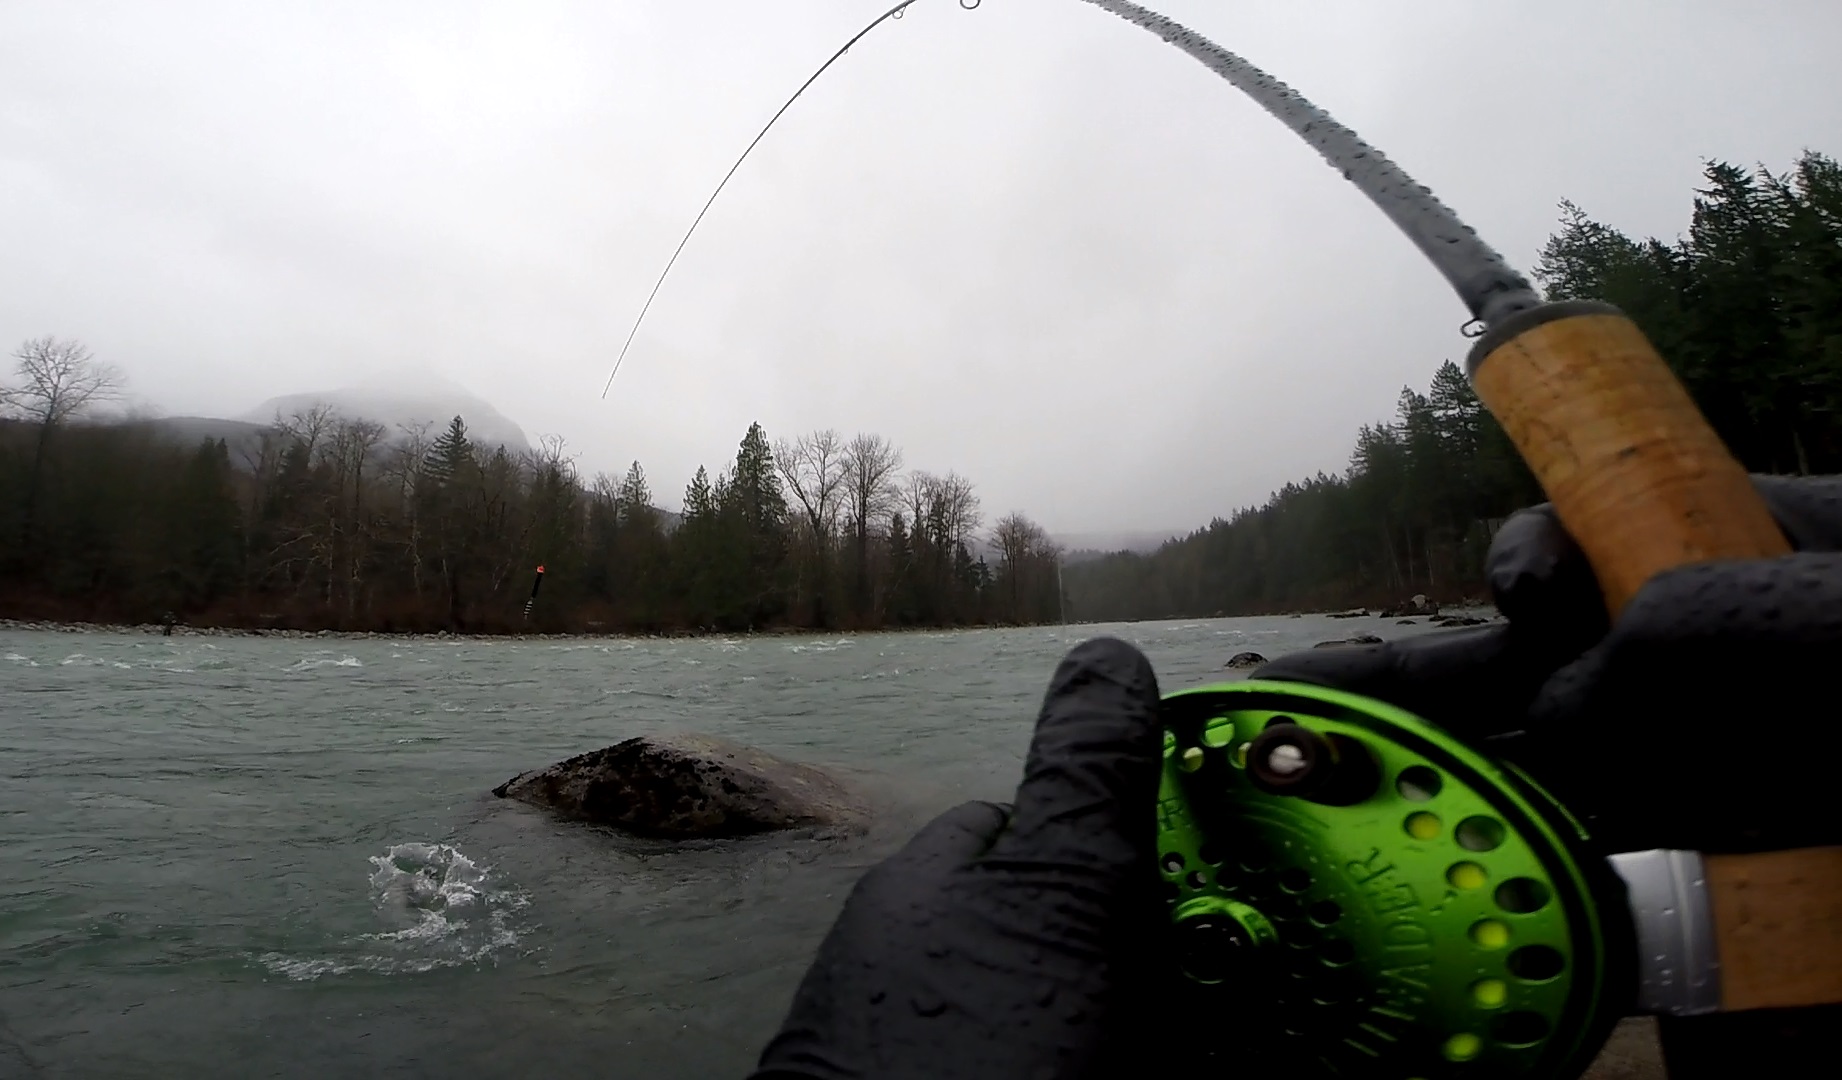
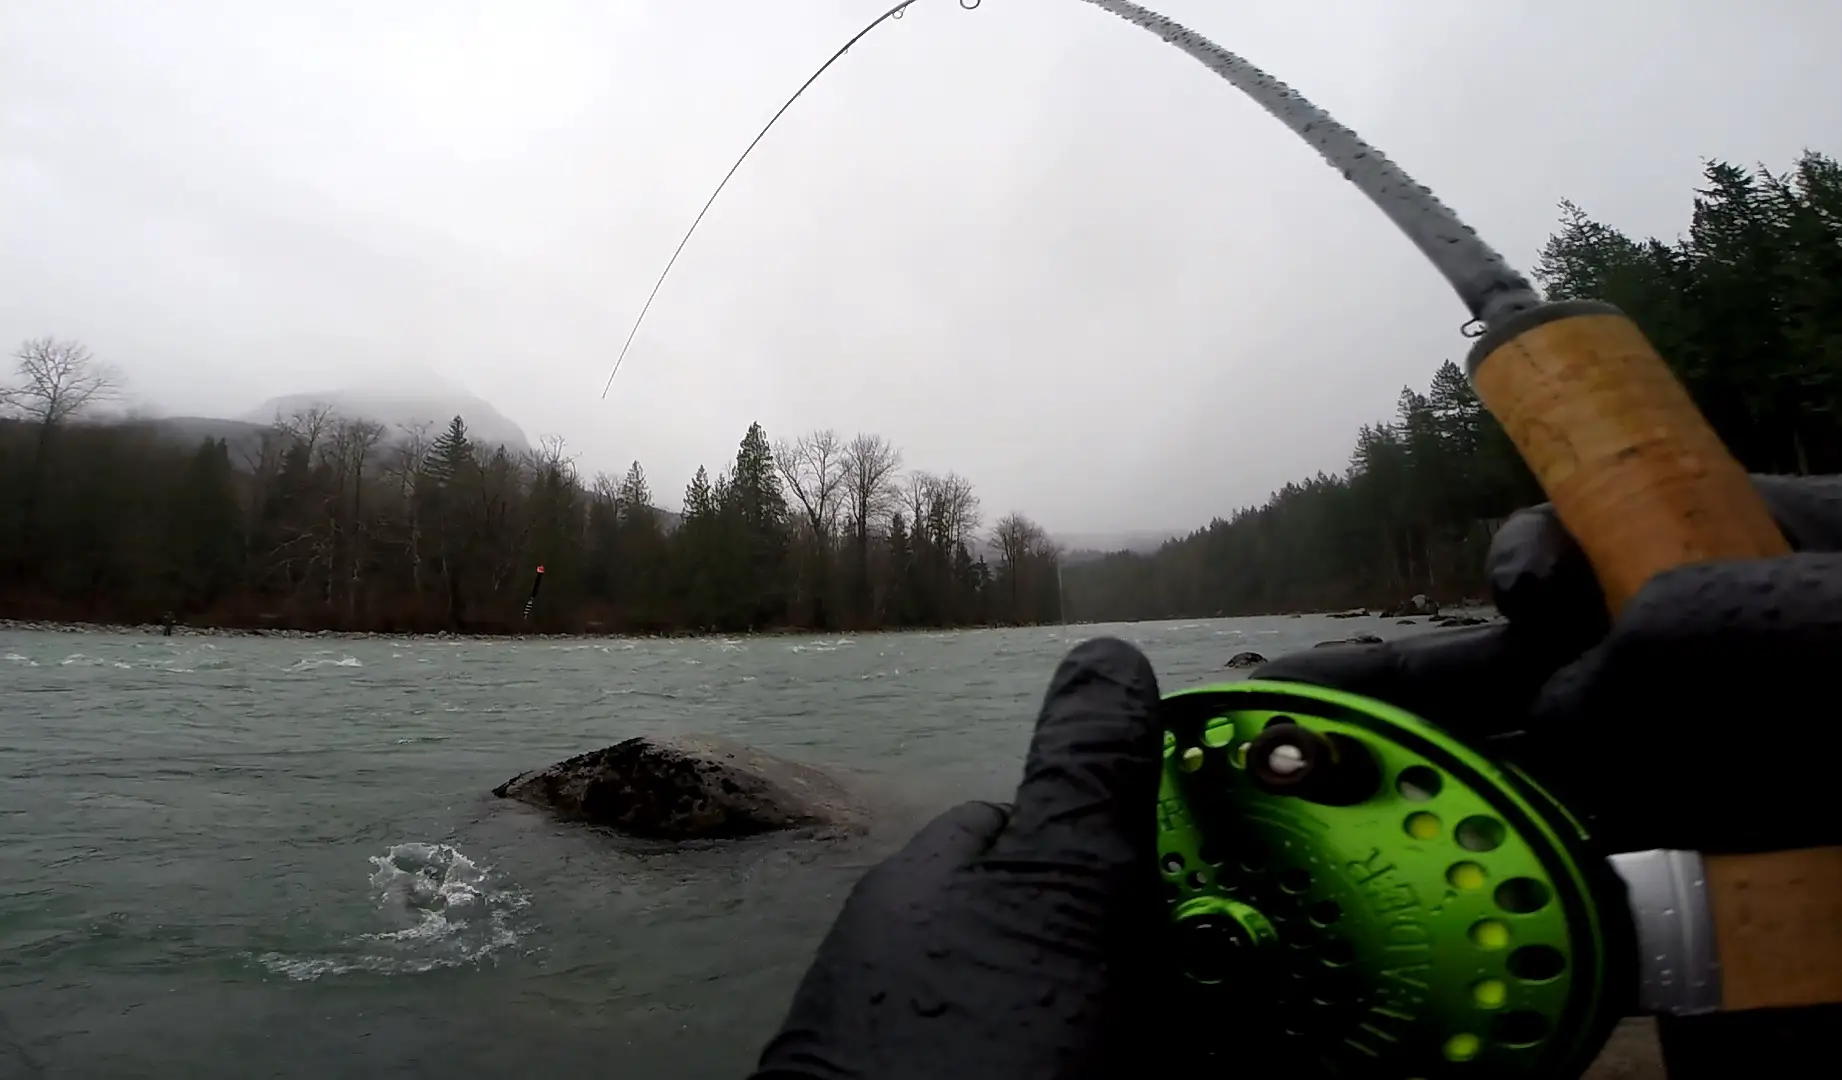
Smoking world class steelhead begins inside the fishing outfitter. Why, you may ask? For top-notch fillets, one must first upgrade their gear -- heavier main lines and leaders are a must. Though drawn-out skirmishes with olive-backs provide mouth-watering GoPro footage, prolonged exposure to cortisol--a stress hormone--significantly degrades the flavor and texture of the catch. Thankfully, winter steelheads are fairly easy to coerce bankside, in stark contrast to their adversarial, summer run cousins. After you've successfully played your winter opponent to the bank, we start with "pre-smoking."

Making certain you have a wool glove's grip around the fish's tail, bring the fish back to the water. Taking the butt end of your blade, firmly strike the fish upon the head three times--dead center between the eyes--until the fish’s eyes goes "blank." With hooked index finger of your free hand, lift the operculum (gill pate) and plunge the tip of your blade into first blue patch you see -- any deeper than 1" will score the flesh. After punching the heart, slice beneath the gills towards the mouth, making certain to not cut all the way through. You will now commence "active bleeding." Hold the tail out of the water and gently stroke the fish with a cupped hand--from the belly to head--making sure to shake the fish every few seconds to preclude any clotting that may occur.

Every so often, bring the fish out of the water to commence the bleeding. Steelhead blood has a remarkable clot factor; it's not uncommon for the blood flow to cease, if left alone on the bank. When the bleeding subsides, immediately clean your catch, making a point to massage all of the blood from of the inner cavity. Seeing how your work at the riverside is now complete, the time has come for the second part of "pre-smoking."
Angling related steps aside, it's time to let the freezer work it's magic. First and foremost, fillet and quarter your fish; each fish should yield 8 fillets. Partition them into gallon-sized, Ziploc freezer bags, and allow them to sit in the freezer overnight. Remove the fillets when frozen, and prepare them for vacuum sealing -- failure to freeze prior to vacuum sealing results in crushed flesh, further degrading the quality of the final product. A word on freezing: the only documented way to kill parasites is a deep freeze at -4 degrees Fahrenheit, for a duration of 7 days. Seeing how many kitchen freezers aren't fit for duty, reassigning the task to your chest freezer should remedy the situation. Rest assured, all parasites will be eradicated once the smoker reaches 150 degrees, as food safety dictates how "145 degrees Fahrenheit for 15 minutes destroys all parasites." Assuming all parasites are dead by day 7, remove the fillets from the freezer and roll up your sleeves; it's time to brine.
Add your vacuum sealed fillets to a clean, 5 gallon bucket filled with cold water. Once defrosted, open the bags one at a time, being mindful that doing so further mitigates the level of inherent oxidative damage. On a cutting board, make three evenly spaced, parallel incisions in each fillet, keeping all skin intact which holds the fillet together. Upon completion, begin mixing your dry brine.
Reel Priorities Brine:
4 Cups of Baker's Sugar
1 Cup of Kosher Salt
1 Tablespoon of Black Pepper
1 Tablespoon of Onion Powder
2 Tablespoons of Galic Powder
1 Tablespoon of Red Chili Flakes
Combine all ingredients in a 1 gallon Ziploc freezer bag--for extra durability--shaking thoroughly until the mixture appears homogeneous. Taking each fillet by hand--assisted by a small measuring cup--begin ladling the brine onto the fillets; cover every square inch with brine, trim included. If you enjoy a non-metallic tasting product, make it a point to set your brining fillets on a non-metallic surface, and while plastic containers do work, I find granite countertop to my liking.

Brine: Make it a point to keep an inch of space between each fillet, for the moisture to be drawn from them.
Do not layer nor stack your fillets; keep them out in the open, leaving plenty of space between them. Depending on the size of your batch (I always smoke a minimum of 30 fillets) you may need to mix another batch of brine to provide ample coverage. Allow them to brine at room temperature for 6 hours. When the timer goes off, thoroughly rinse each fillet under a cold tap. When finished, sanitize the brining surface and repeat the process, keeping watchful eye over the smaller fillets as they tend to finish near the 8th hour. Repeat rinsing come the 12th hour, and set the fillets on drying racks for pellicle formation.
All roads attributing to flavor and texture stem from a properly formed pellicle; professional chefs worldwide heavily emphasize the step, understanding the depth of its importance. Inside the smoker, a properly formed pellicle acts like a shield, allowing smoke to adhere to the each fillet's surface, while keeping the albumin (white goo) and excessive moisture, from leaking outside of the flesh; you should never have gelatinous white spots covering any portion of your fillets. Pellicle formation is a "make or break step," and if treated hastily, will ruin many batches -- please be patient with this process. For proper formation, stand each fillet vertically, in a manner allowing every square inch of surface to be exposed to air; if crevices go overlooked, you'll be shooting yourself in the foot, as albumin WILL leak out of the spots undeveloped. If you're in no rush, allow them to "stand at attention" on a cookie cooling rack for 24 hours; if you're on a time schedule, place a small box fan on medium setting in front of the fillets for 1 hour, switching the fan to the other side after 30 minutes.

Pellicle: After thoroughly rinsed and shaken dry, vertically stand the fillets "at attention" for pellicle formation.
A properly formed pellicle will feel tacky--not dry--and will leave no moisture on your fingertips after pressing lightly against the surface. If they're too dry, your fillets will have a rock-hard skin after smoking; if they're wet, your pellicle hasn't yet properly formed, and the fillets will leak albumin and render all smoke useless, moist surface inhibiting adherence of the smoke. For perspective: I would rather smoke a hellatiously brined, poorly bled steelhead--with perfect pellicle--than one perfectly prepared without one -- it's that important. Now that your fillets are gleaning in pellicle armor, we've arrived to the step you've all been waiting for: smoking.
Preheat your smoker to 120 degrees and transfer your fillets to the smoking racks. If you don't have a digitally regulated smoker, saran wrap your fillets and stick them in the refrigerator. For those of you pondering the circumvention of this recommendation-- assisted by Little or Big Chief--please take inventory of what great investment you've made in time, money and effort you've spent getting this far. Log in to Amazon Prime and select next day shipping; you'll be thankful you did, and will never look back.

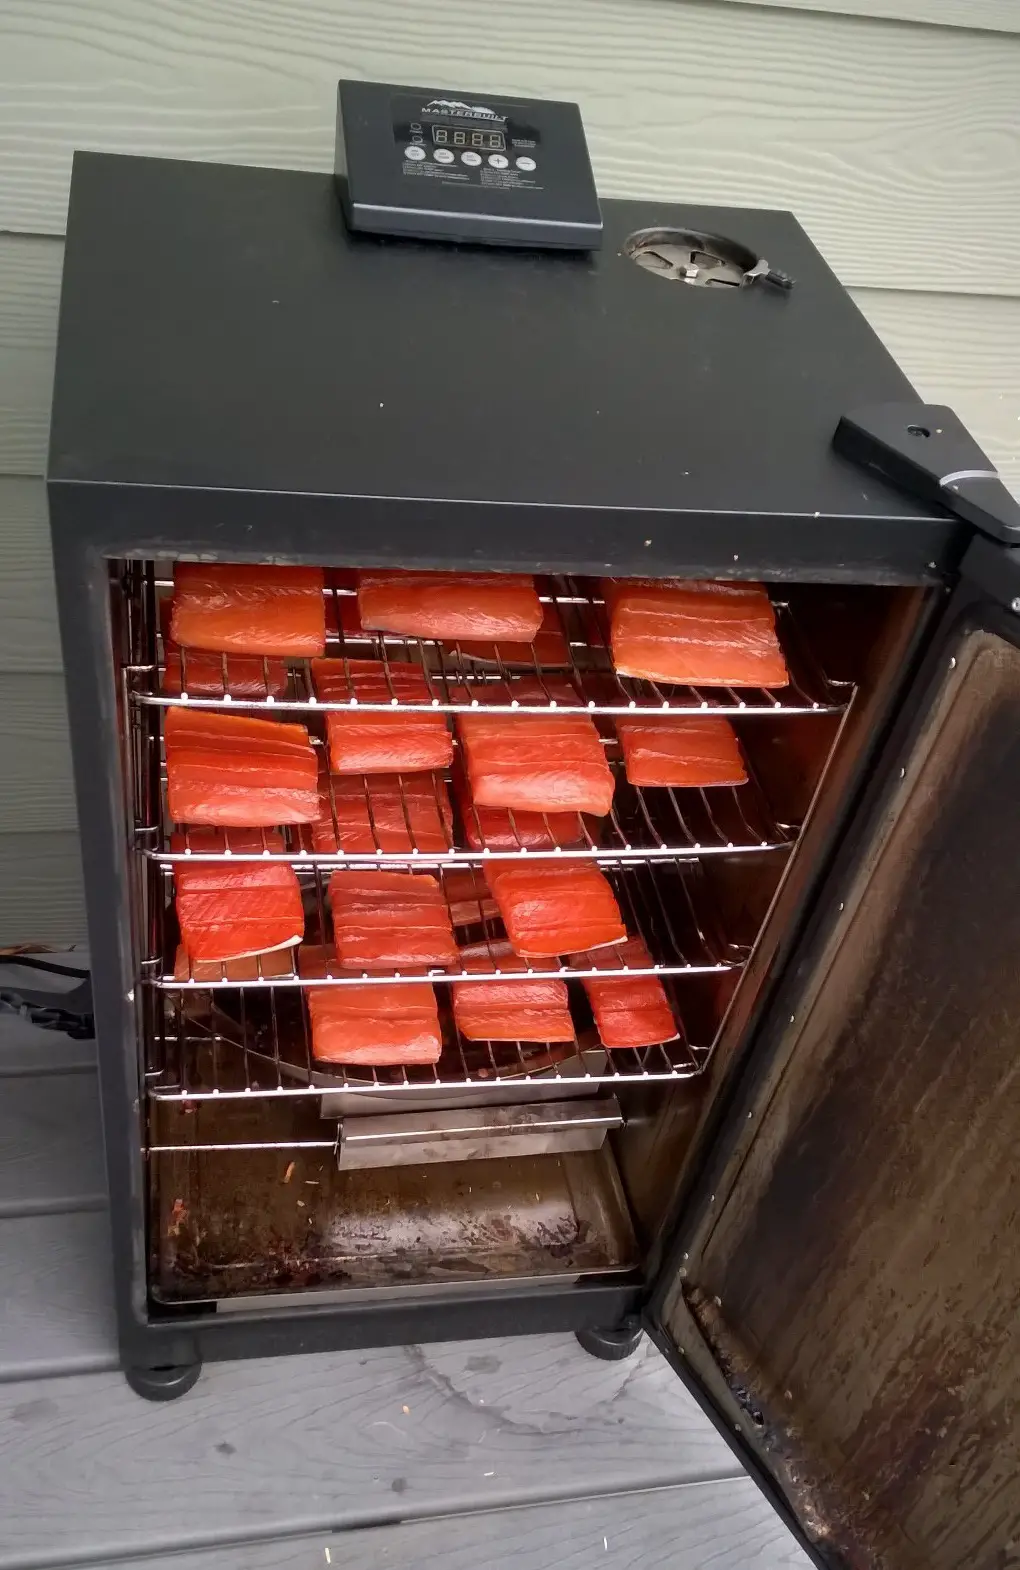
Smoker: These gorgeous, early summer-run fillets take their final breath of fresh air, prior to the smoking process.
The fillets should smoke no longer than 6 hours. Start at 120 degrees with one pan of apple or alder wood smoke chips, increasing the temperature by 10 degrees Fahrenheit with each successive hour. Open the door each hour to exchange chips and allow all moisture and stagnant smoke to escape. Allowing one's smoker to "breathe" enhances the flavor profile and properly solidifies the exterior of the fillets. By the 6th hour, remove the fillets from the smoker and allow them to rest on the countertop at room temperature, in preparation for the final step.

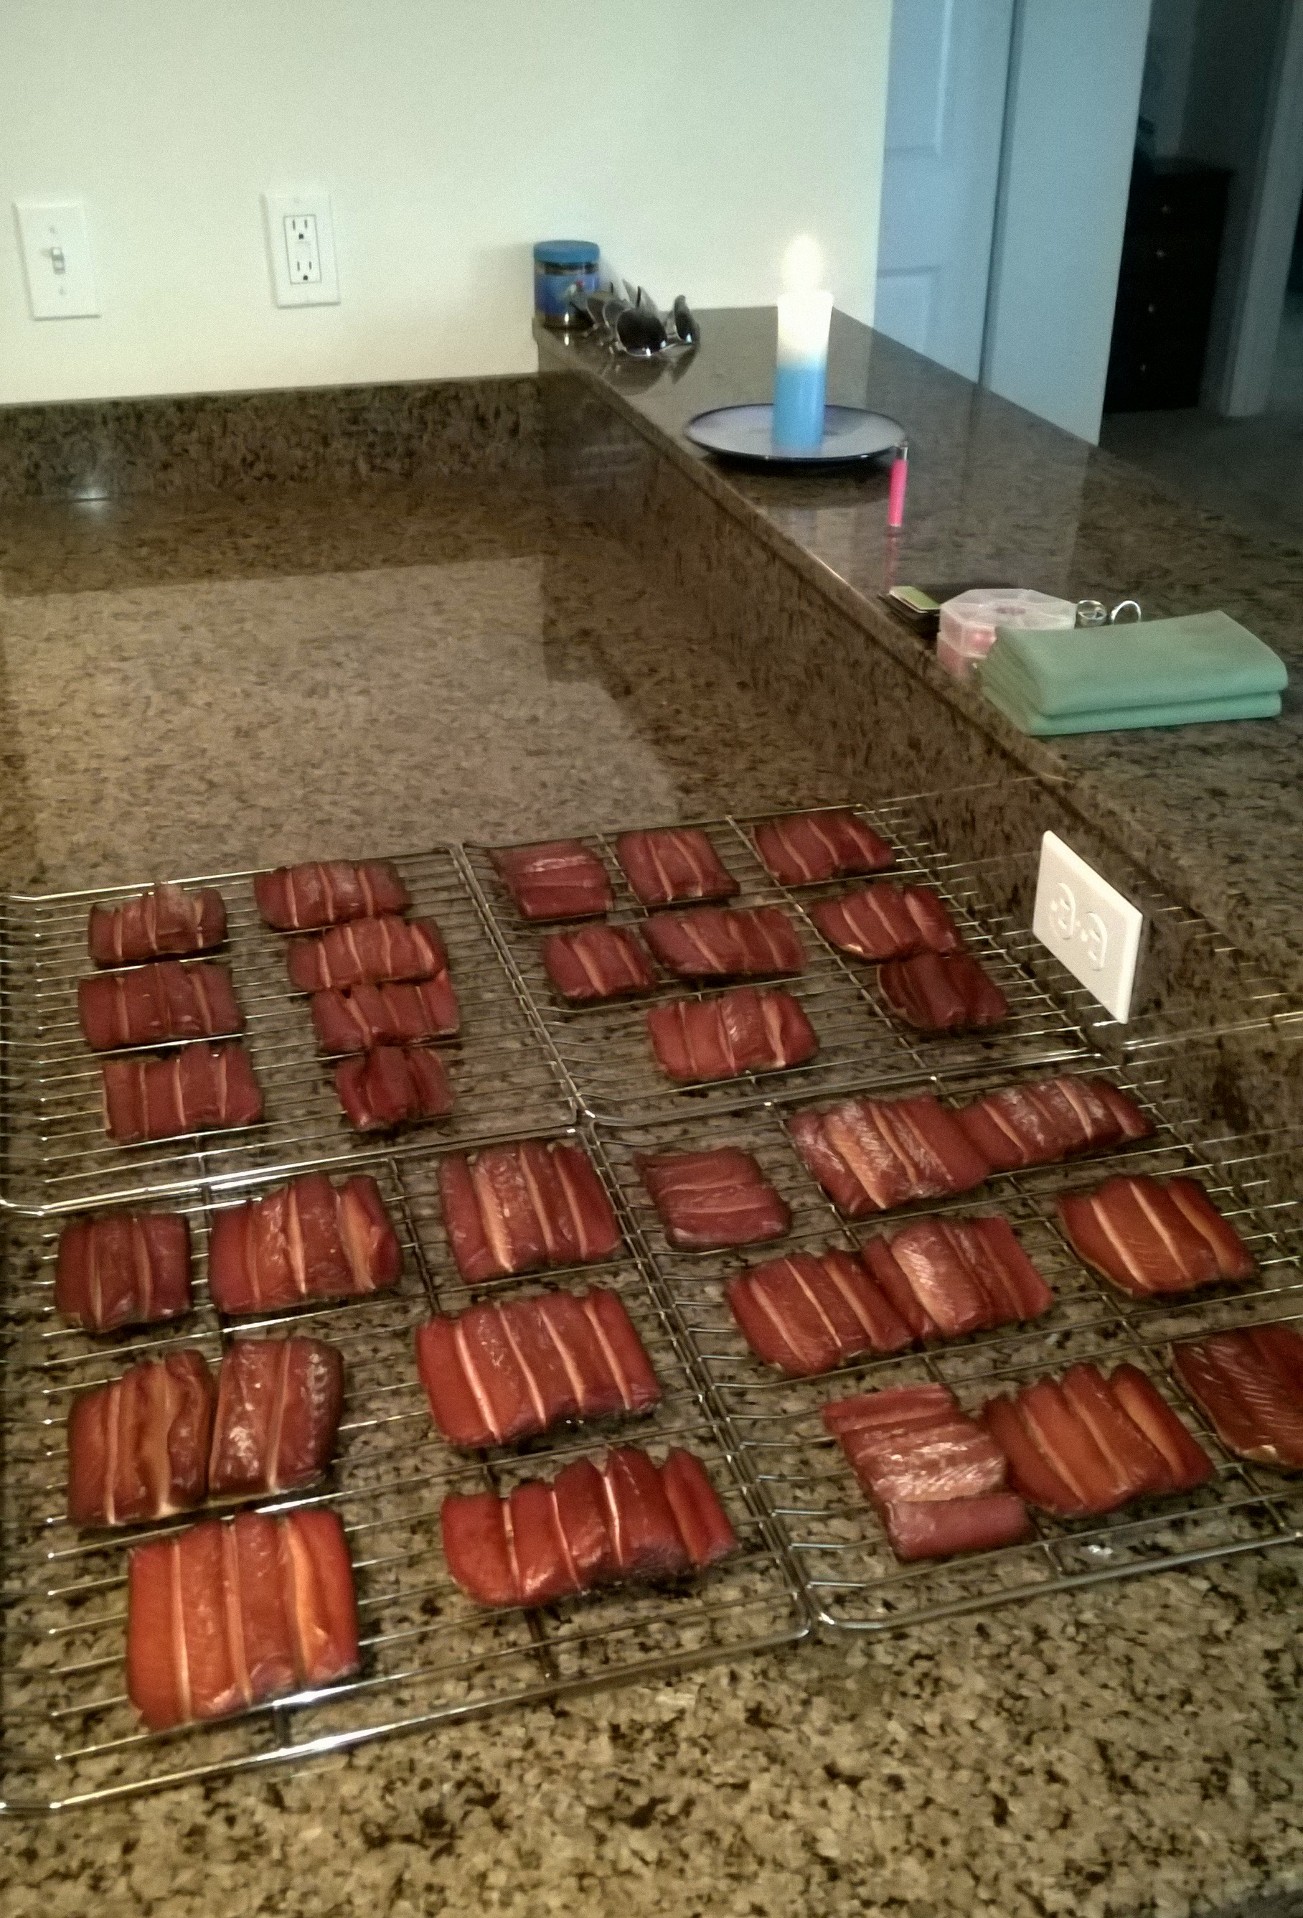
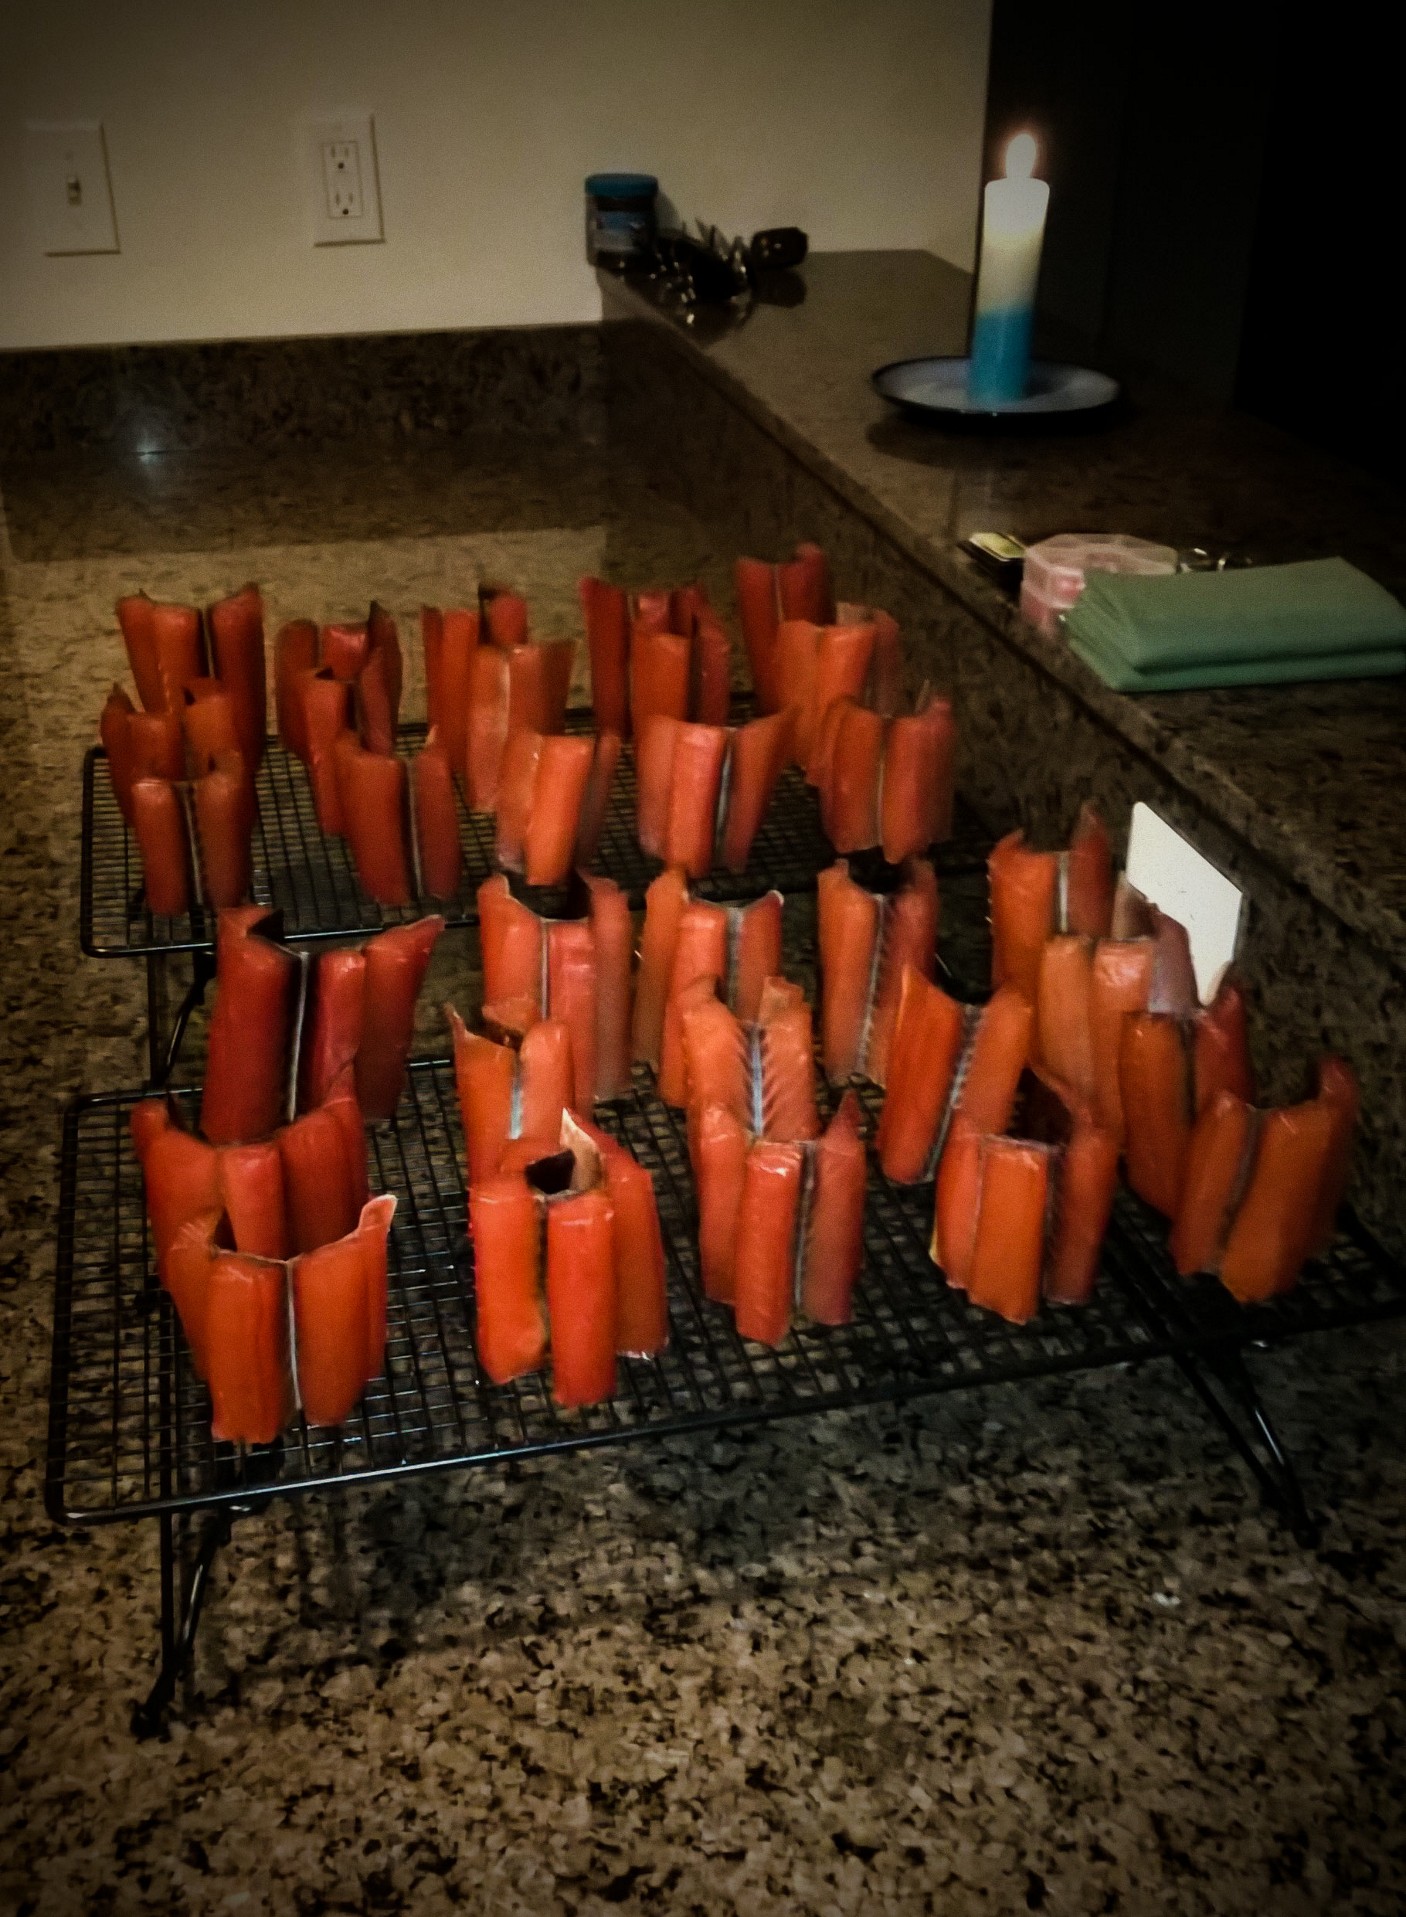
Cooling: The fillets take a rest after relaxing in the smoker for 6 hours, expectant of the maple-brushed finishing touches to come.
In a small, non-metallic bowl, mix equal parts of maple syrup or honey with water. Dipping a cooking brush into the mixture, paint each fillet by hand--hopefully over the sink--gently swabbing the brush into every crack and crevice. Place the freshly painted fillets on a cookie sheet in the oven for 8 minutes at 325 degrees -- if you have a convection oven, turn that puppy on. Let them cool for an additional 30 minutes, prior to vacuum sealing. Though one would deduce by now their product has reached its zenith, remember how "great things take time to build." Allow the vacuum sealed and smoked fillets to sit in the refrigerator for a minimum of 2 days to finish curing. By the 48th hour's end, you will notice a delightful sheen of oil now engulfing each fillet. Congratulations for making it this far -- you may now reap the rewards of your compounded patience and coordinated efforts.

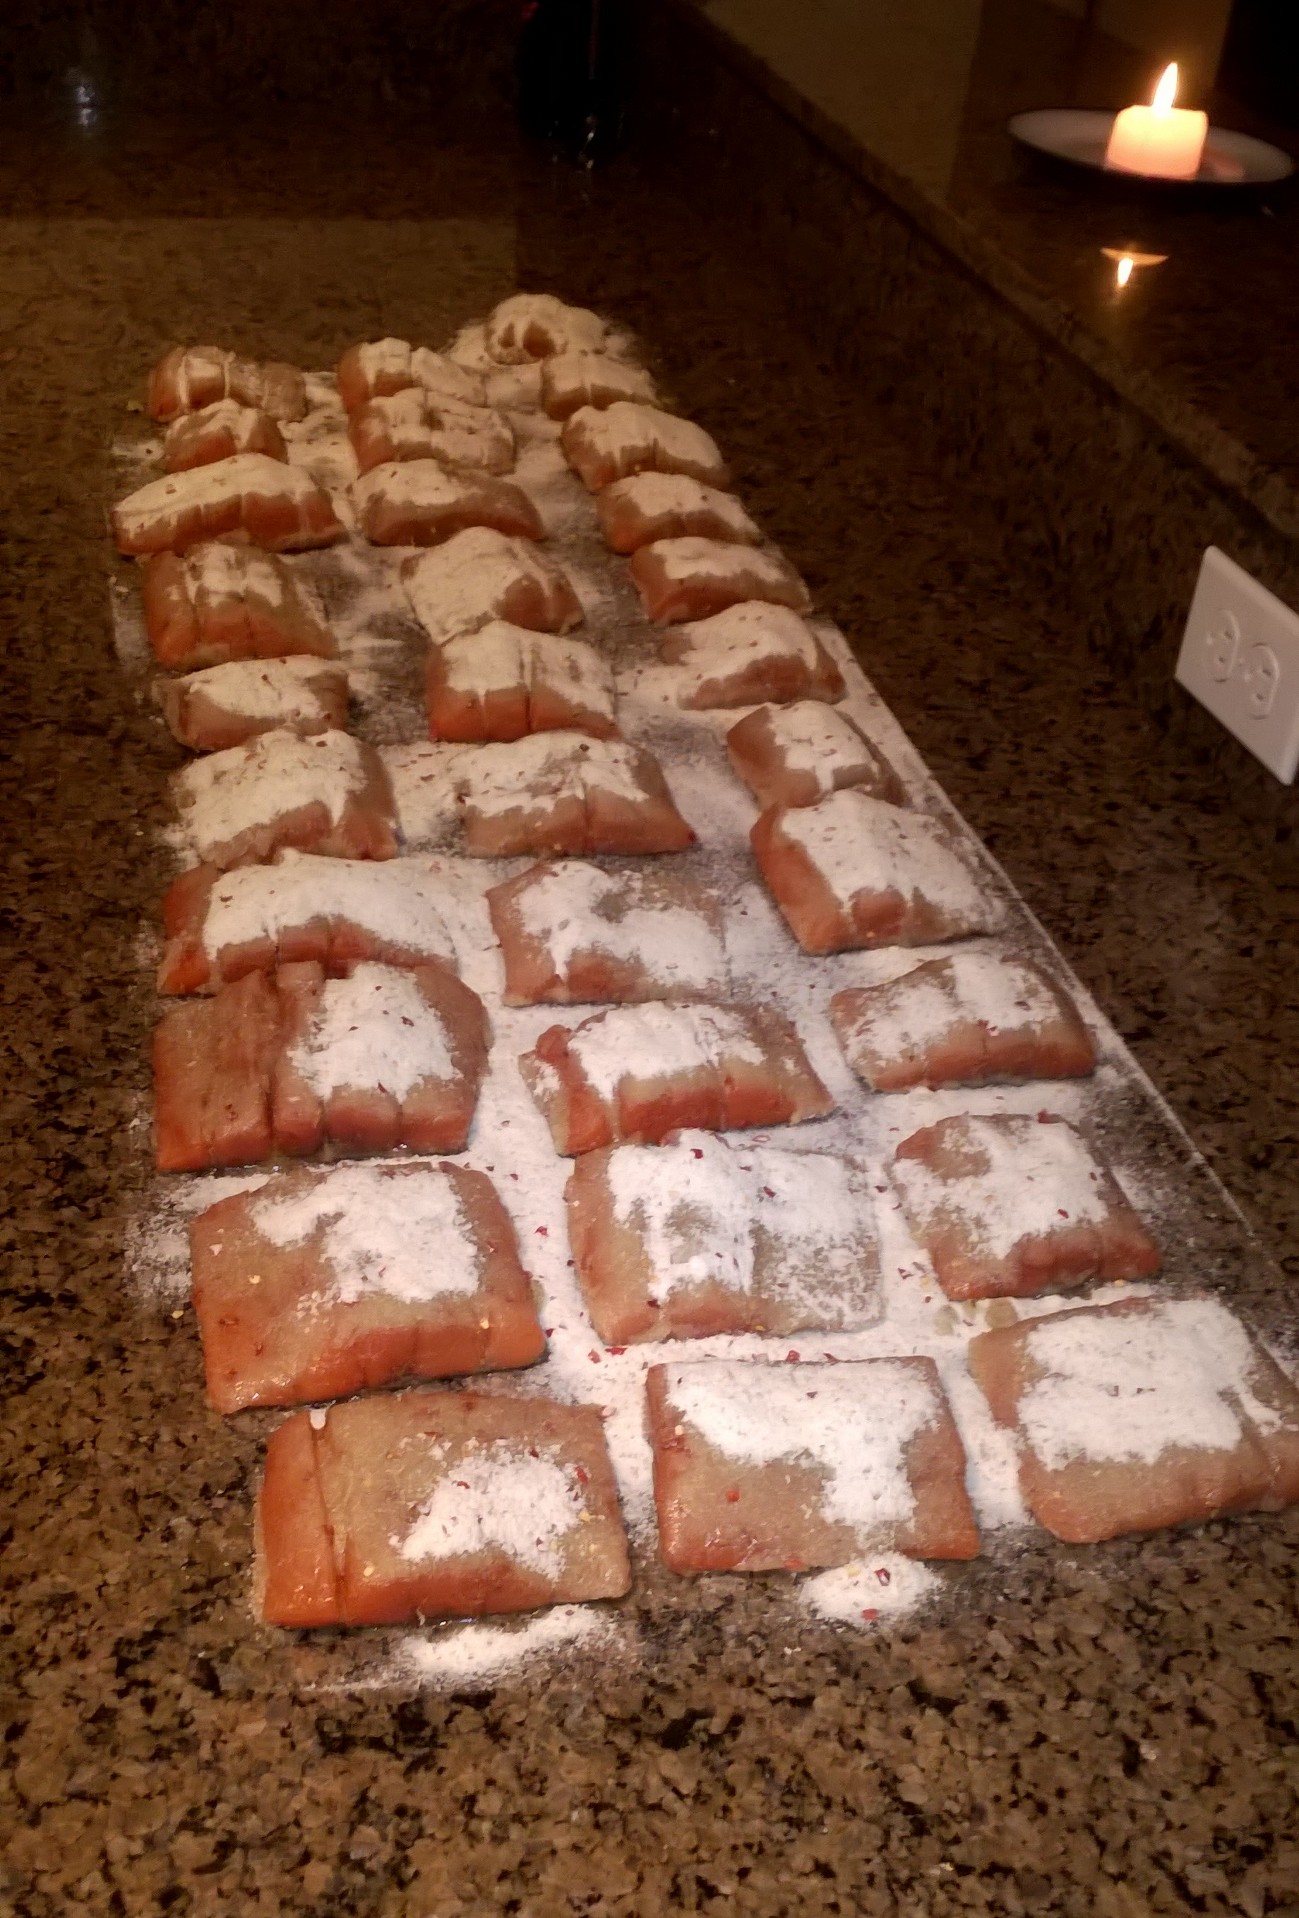
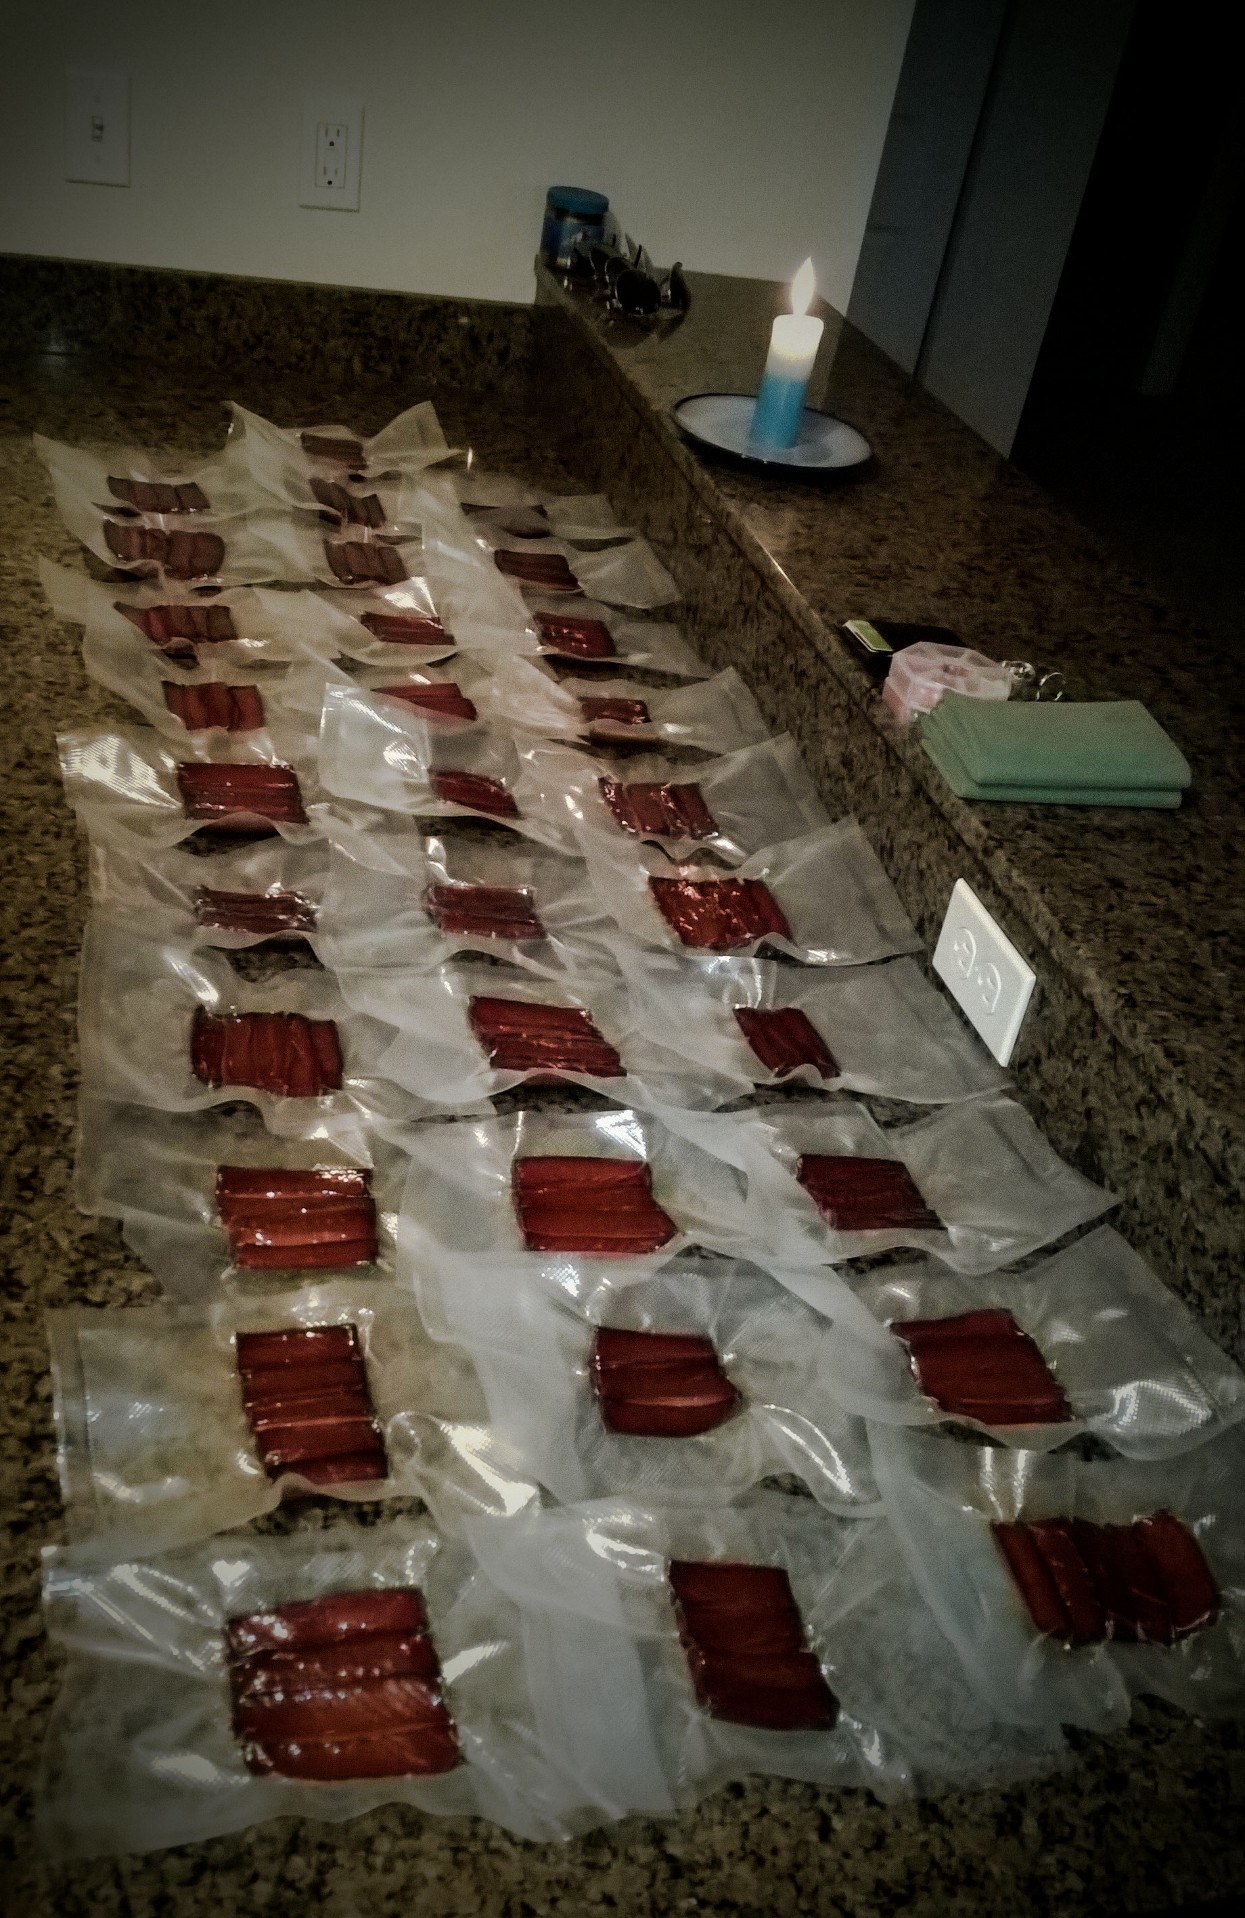
Package: A magnificent sight indeed, to see the fruits of one's labor. Ladies and gentlemen, Christmas is served.
I encourage you to document your progress and share your knowledge with family and friends alike. Give them an intimate glimpse of what it truly means to live life by the riverside -- you never know the impact a slice of perfectly smoked fish will have upon another. In the words of my father "if you can do it once, you can do it again; if you can do it again, you can reach perfection." Stick with it and refuse defeat until then, and don't forego your personal enjoyment!

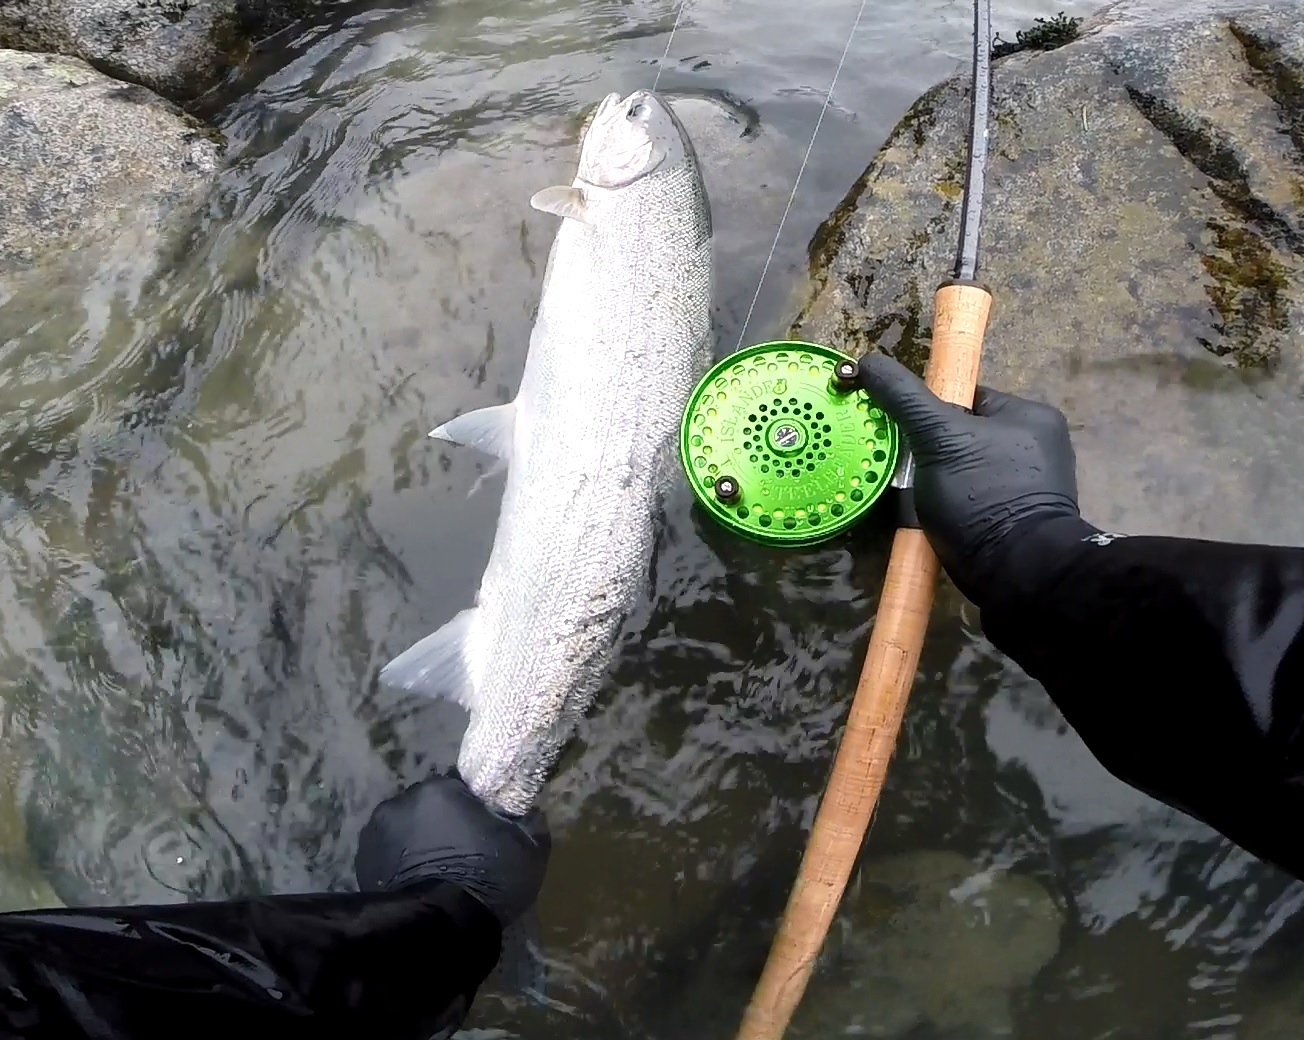
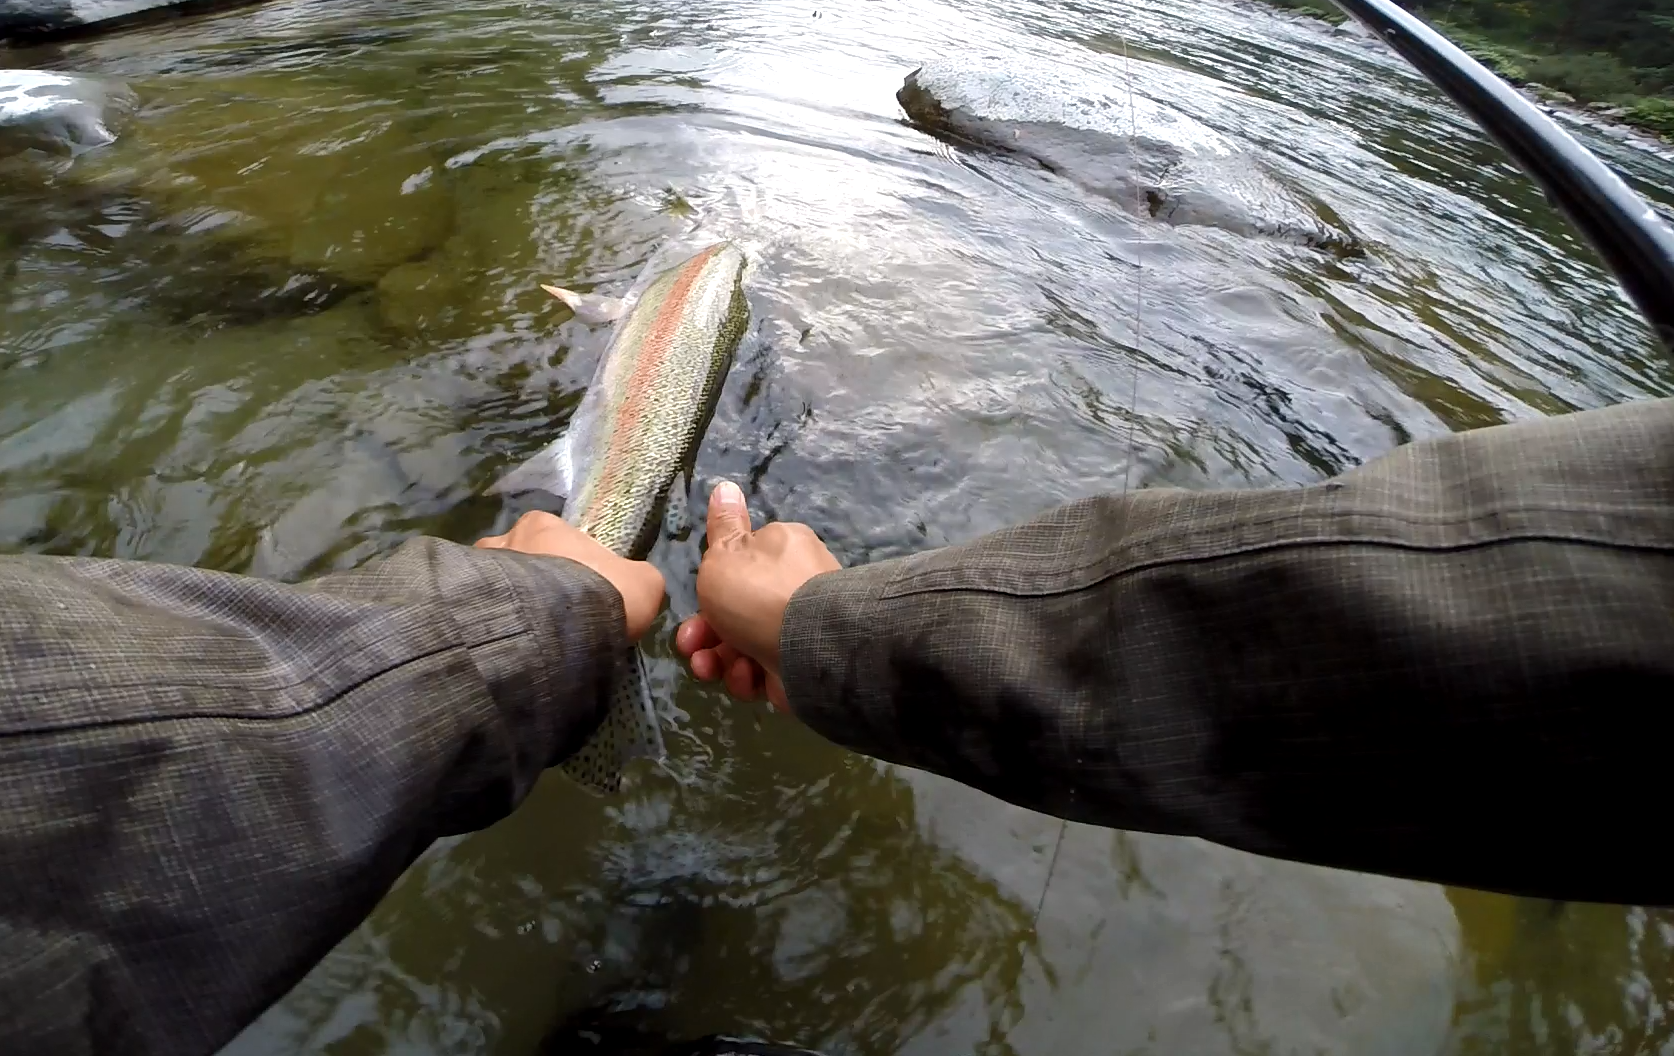
Season: The type of steelhead that will never make it to the smoker. A most exquisite and iconic resource of the Skykomish River, native steelhead continue to captivate hearts of anglers worldwide.
To get an intimate glimpse of how the steelheading process works on a professional level, stay tuned for next month's article: From Tie up to Takedown: A Day in the Life of Reel Priorities. Thank you for reading -- Reel Priorities, out.
Reel Priorities, out.